
Description
120V Dual-LED Pipe Heat Cable with Built-In Thermostat
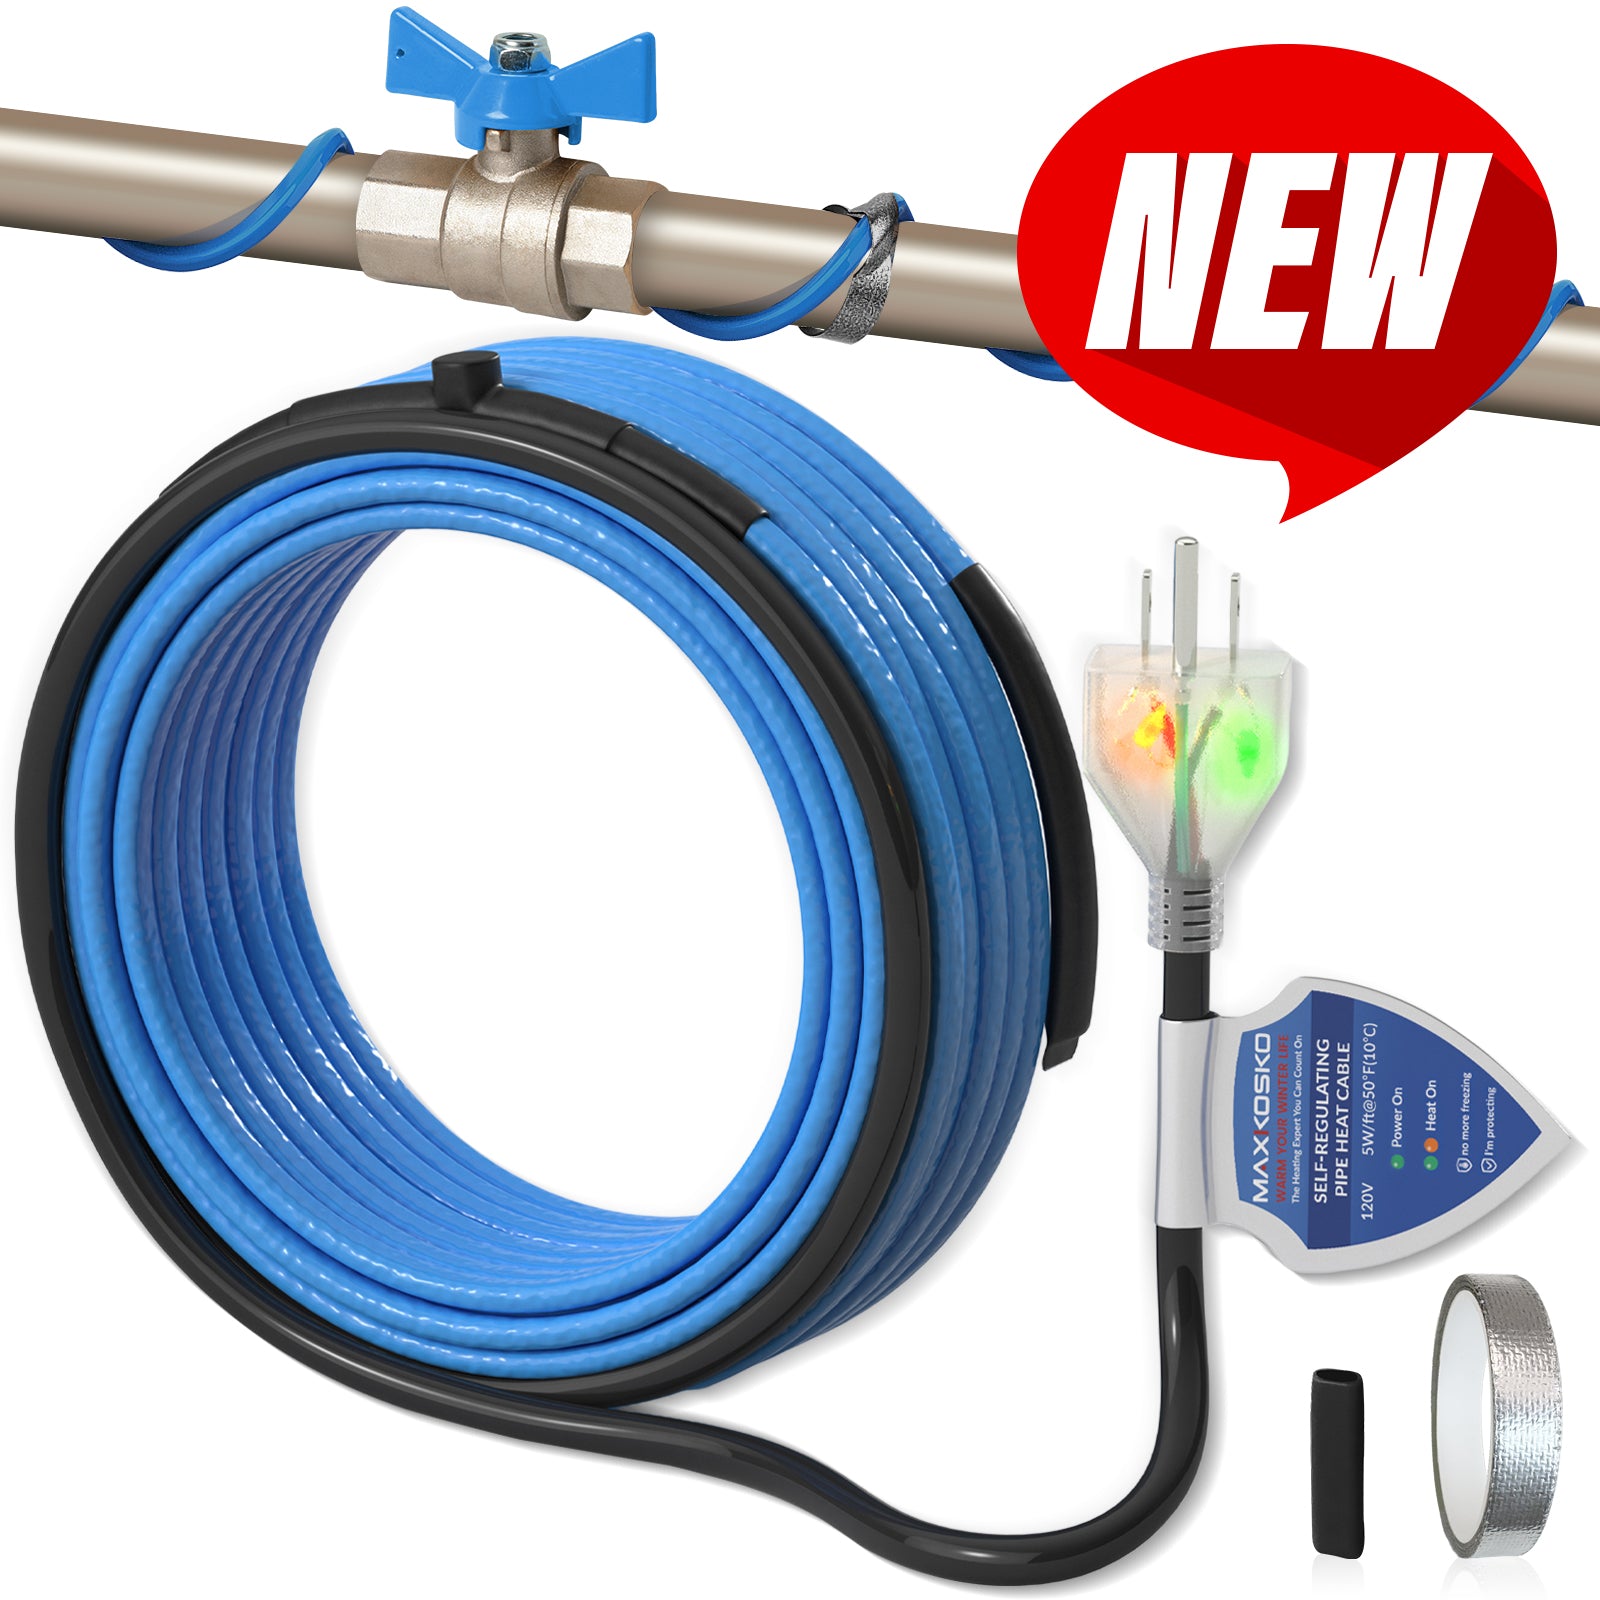
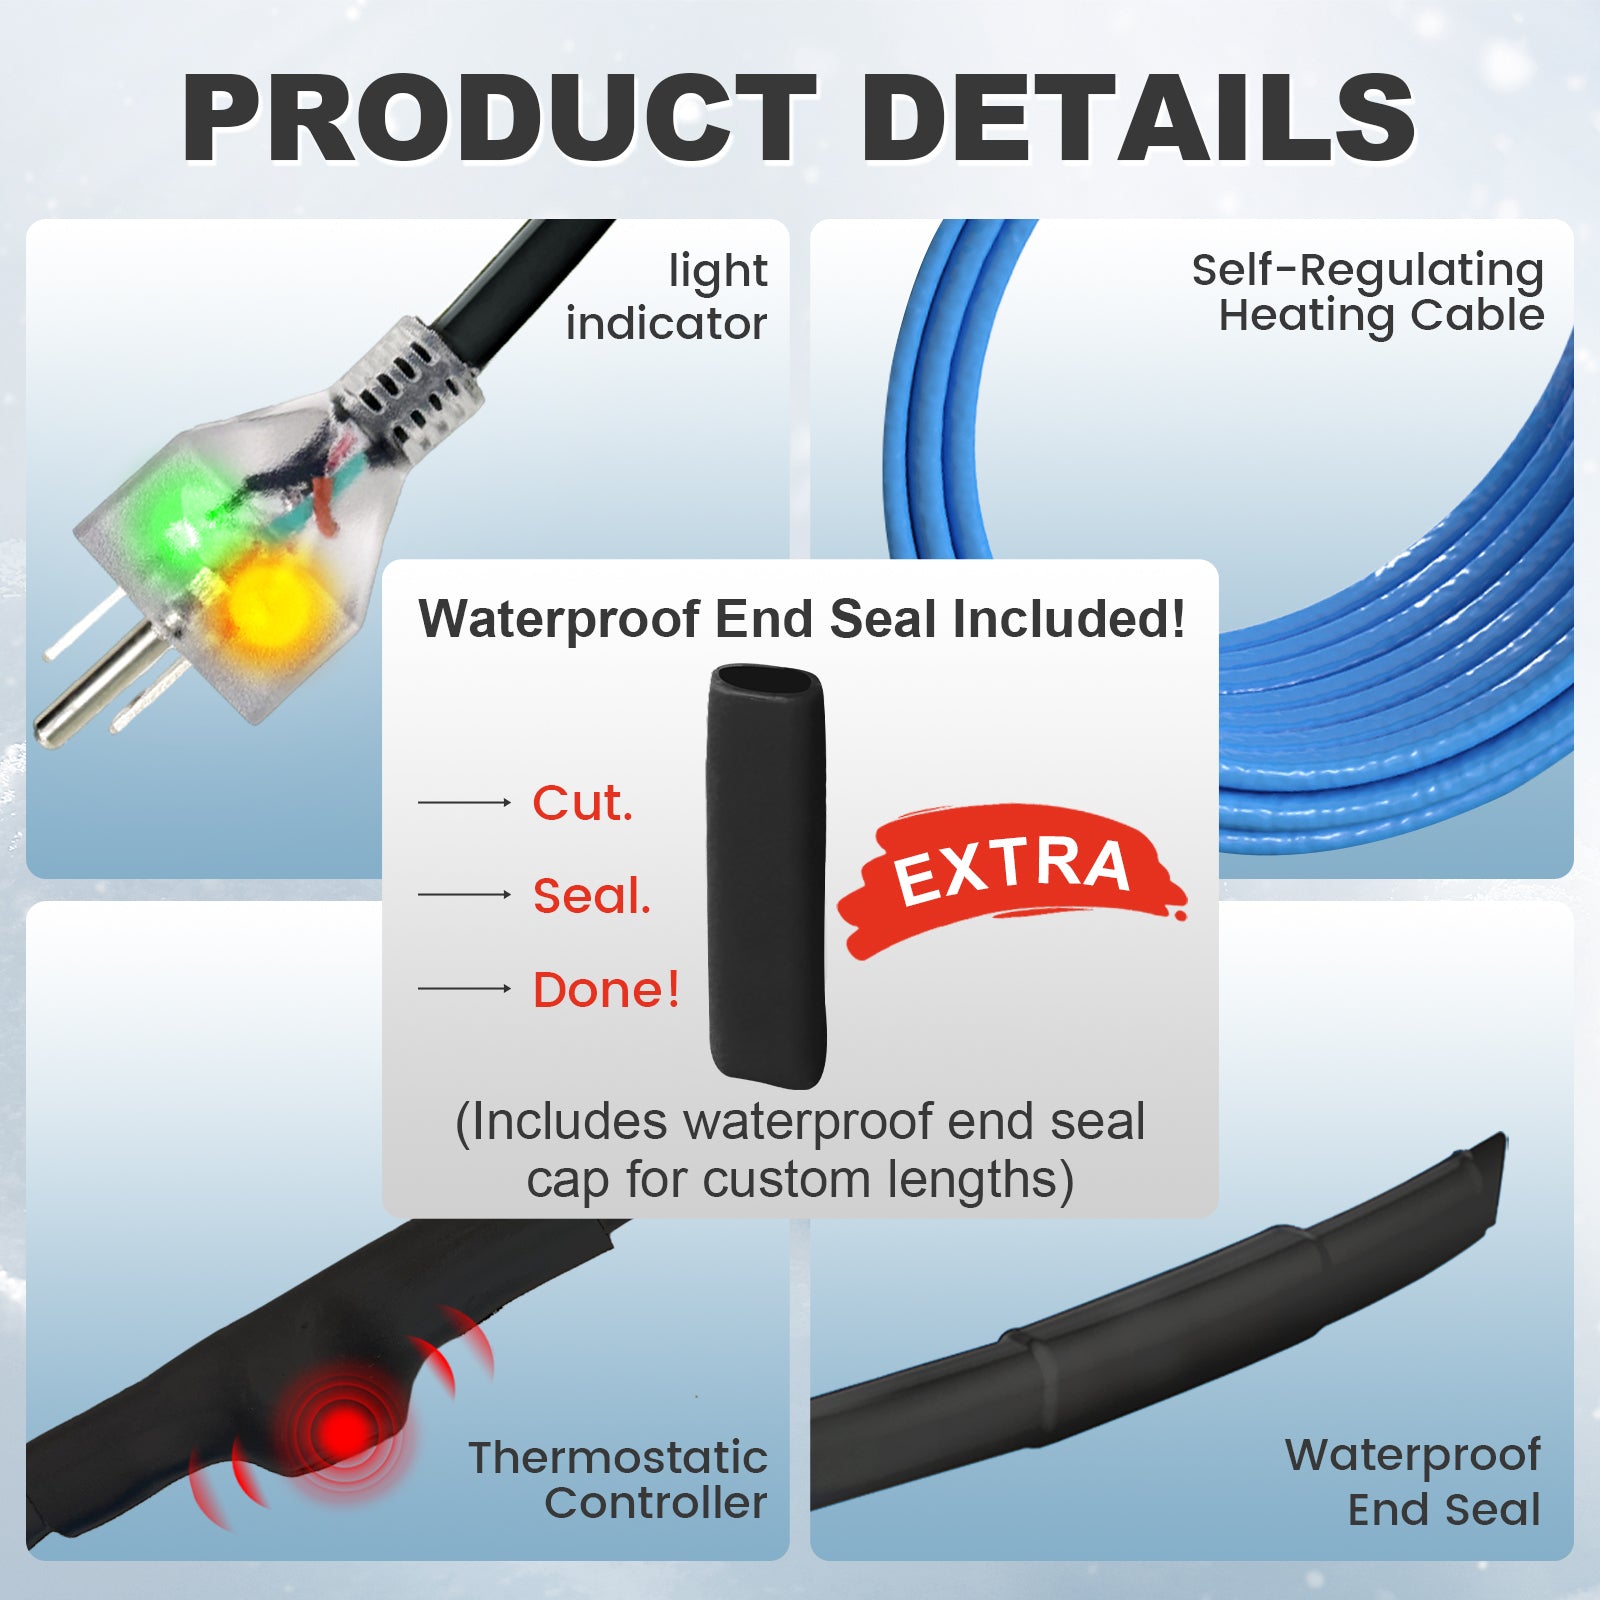
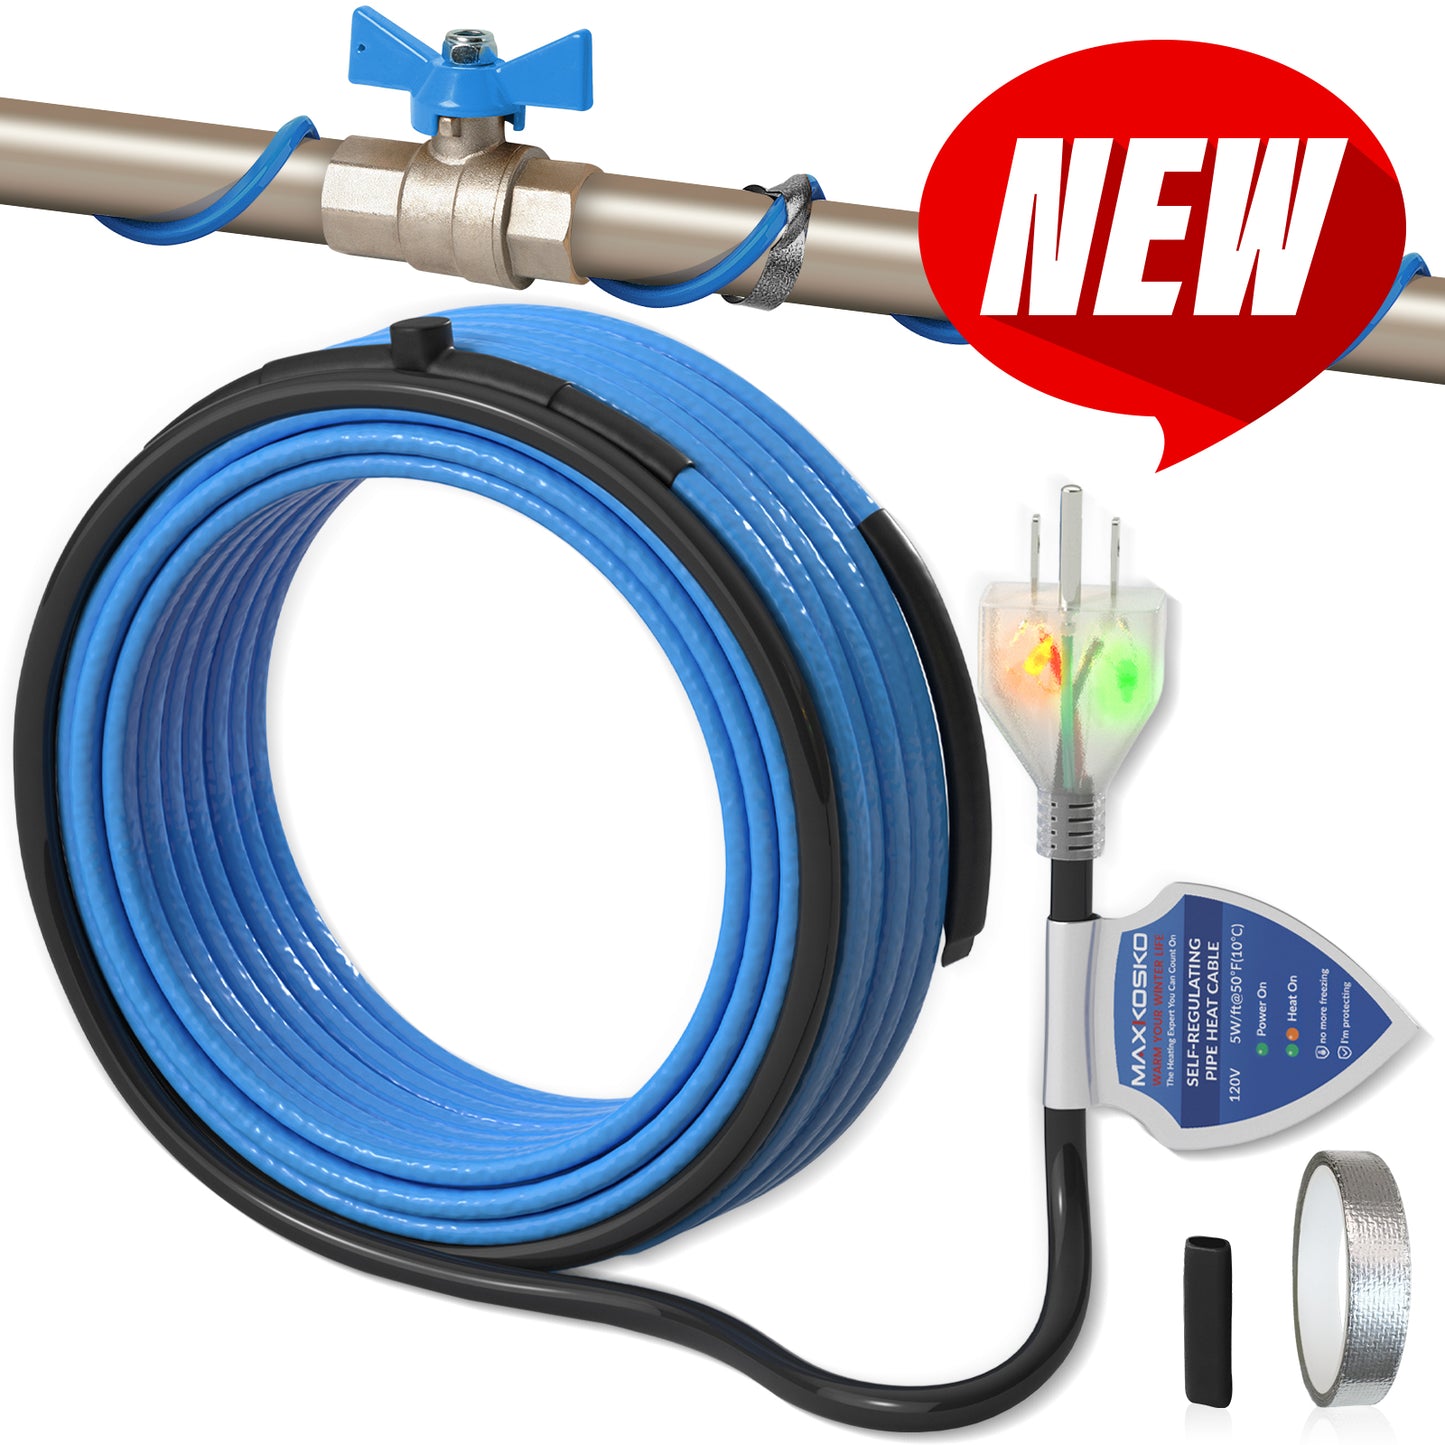
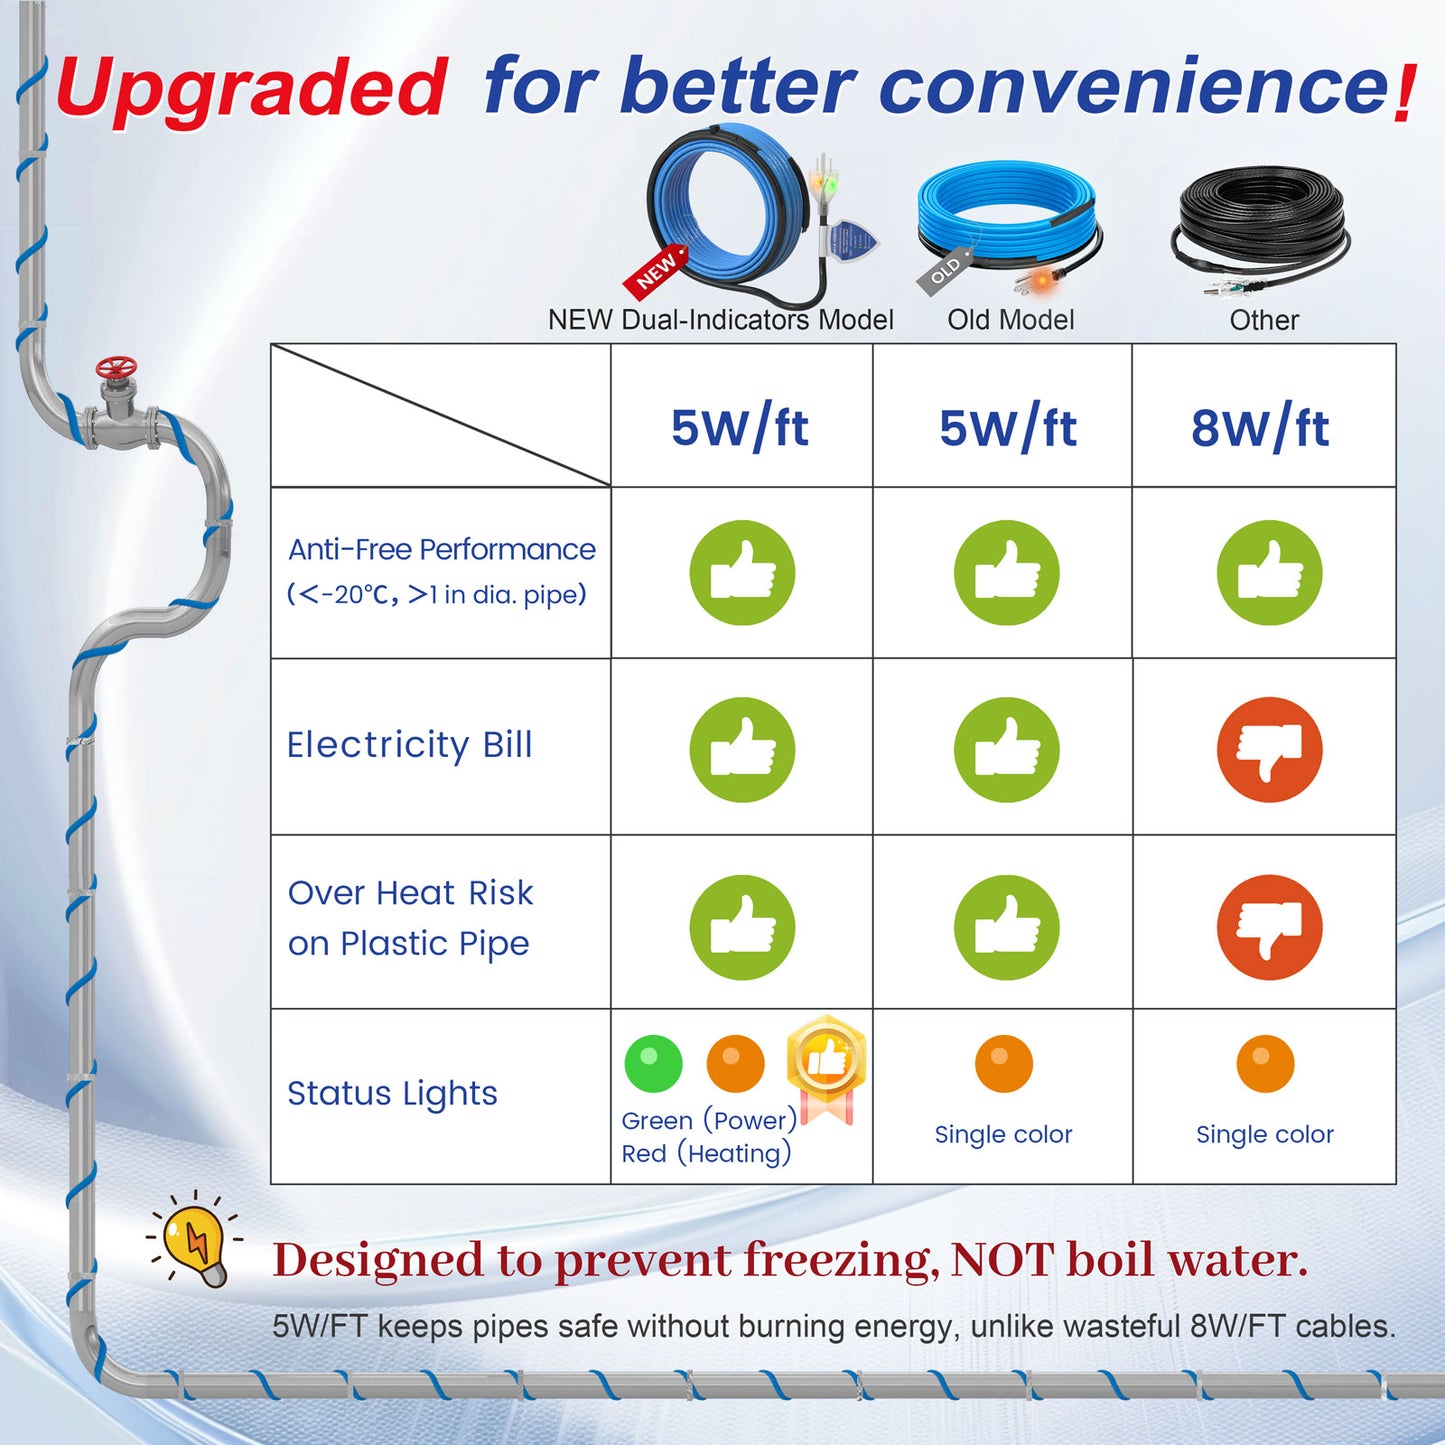
MAXKOSKO Dual-LED Pipe Heat Cable is the upgraded version of the standard thermostatic pipe heating cable, adding separate indicators for power and active heating.
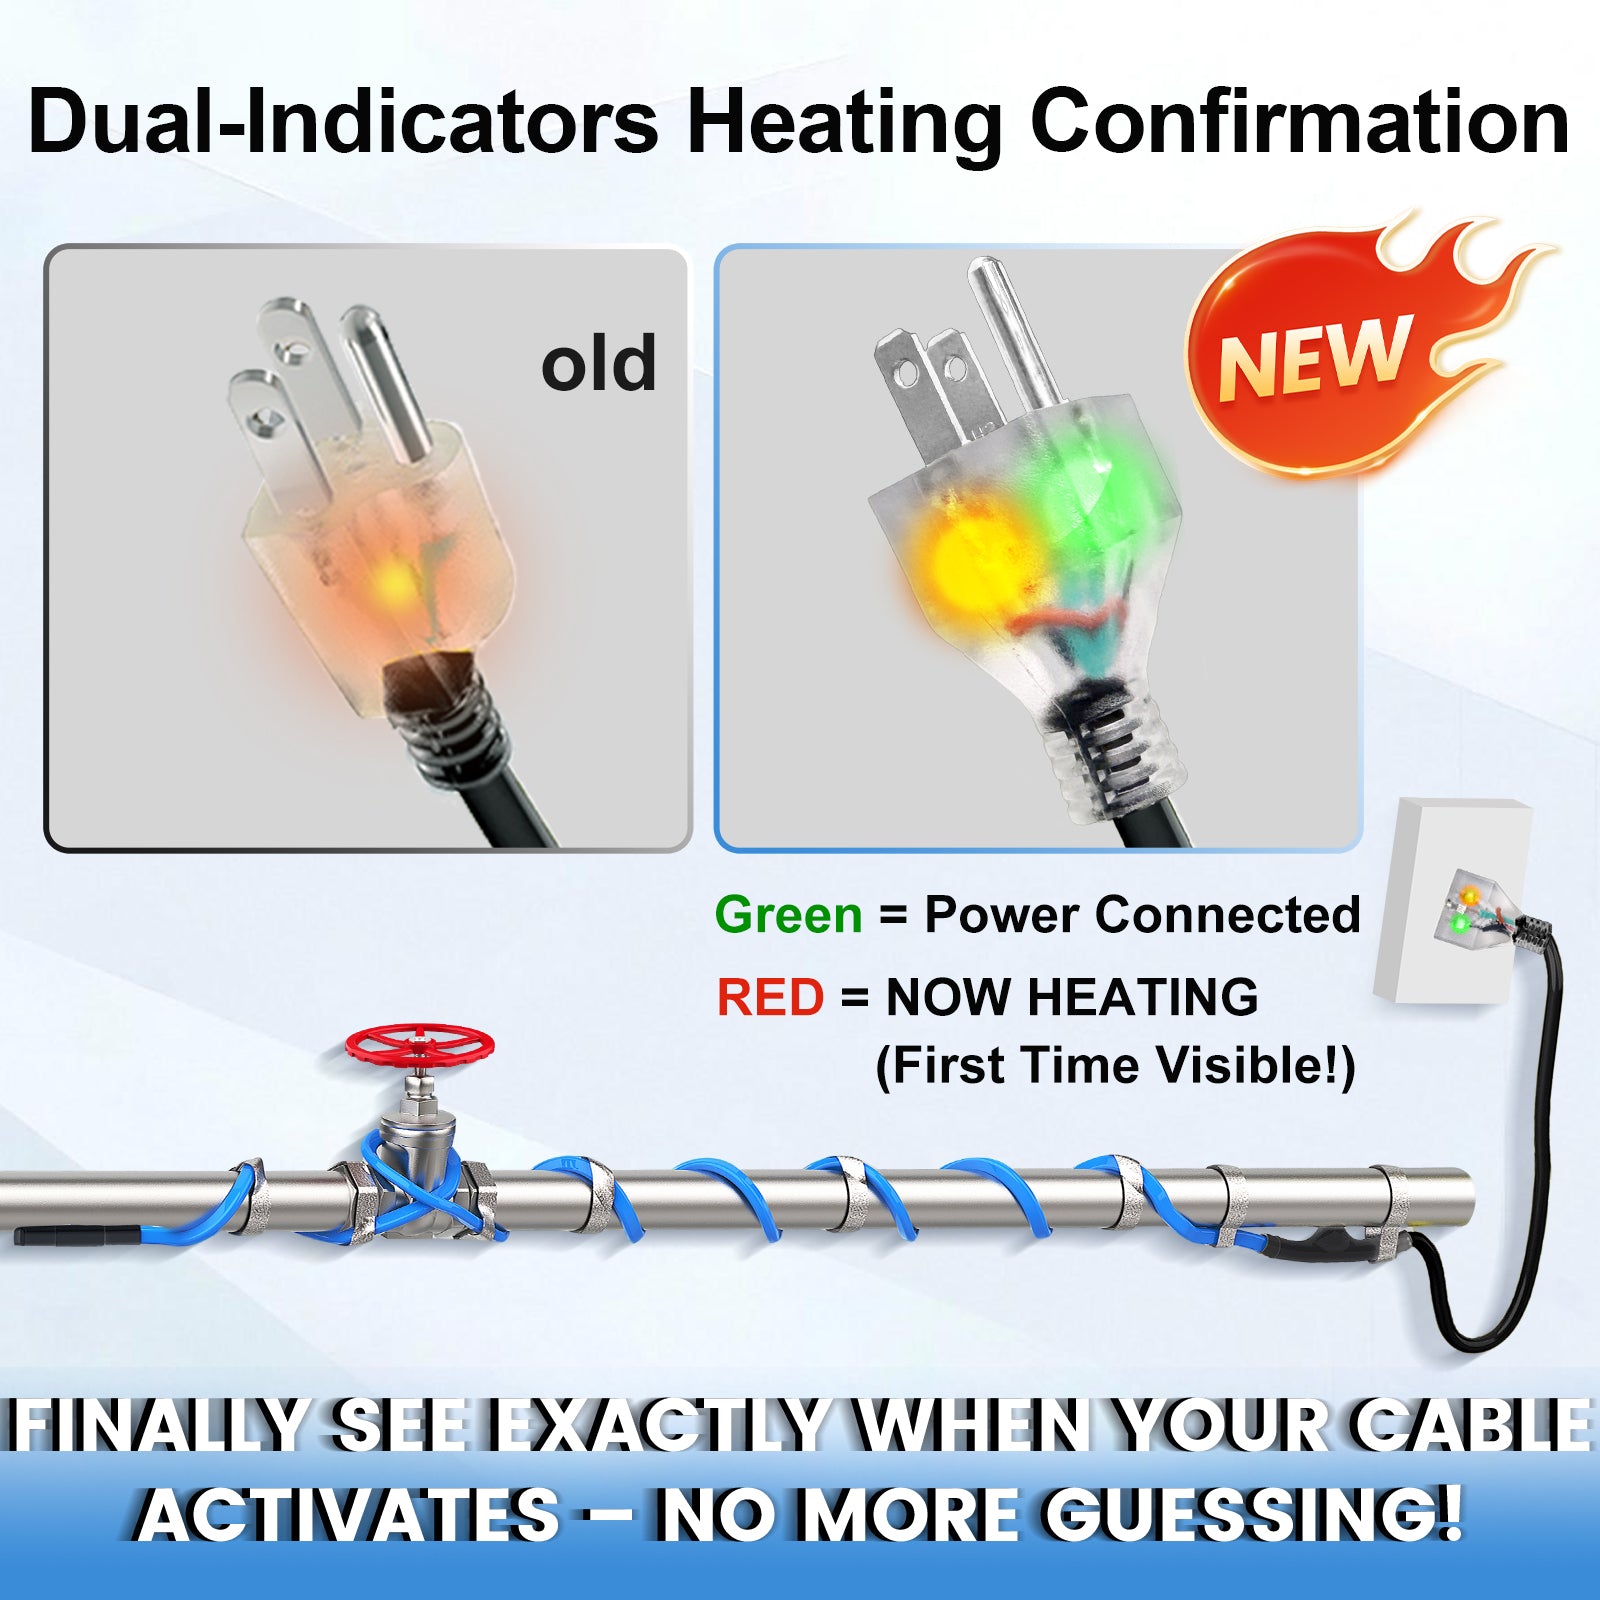
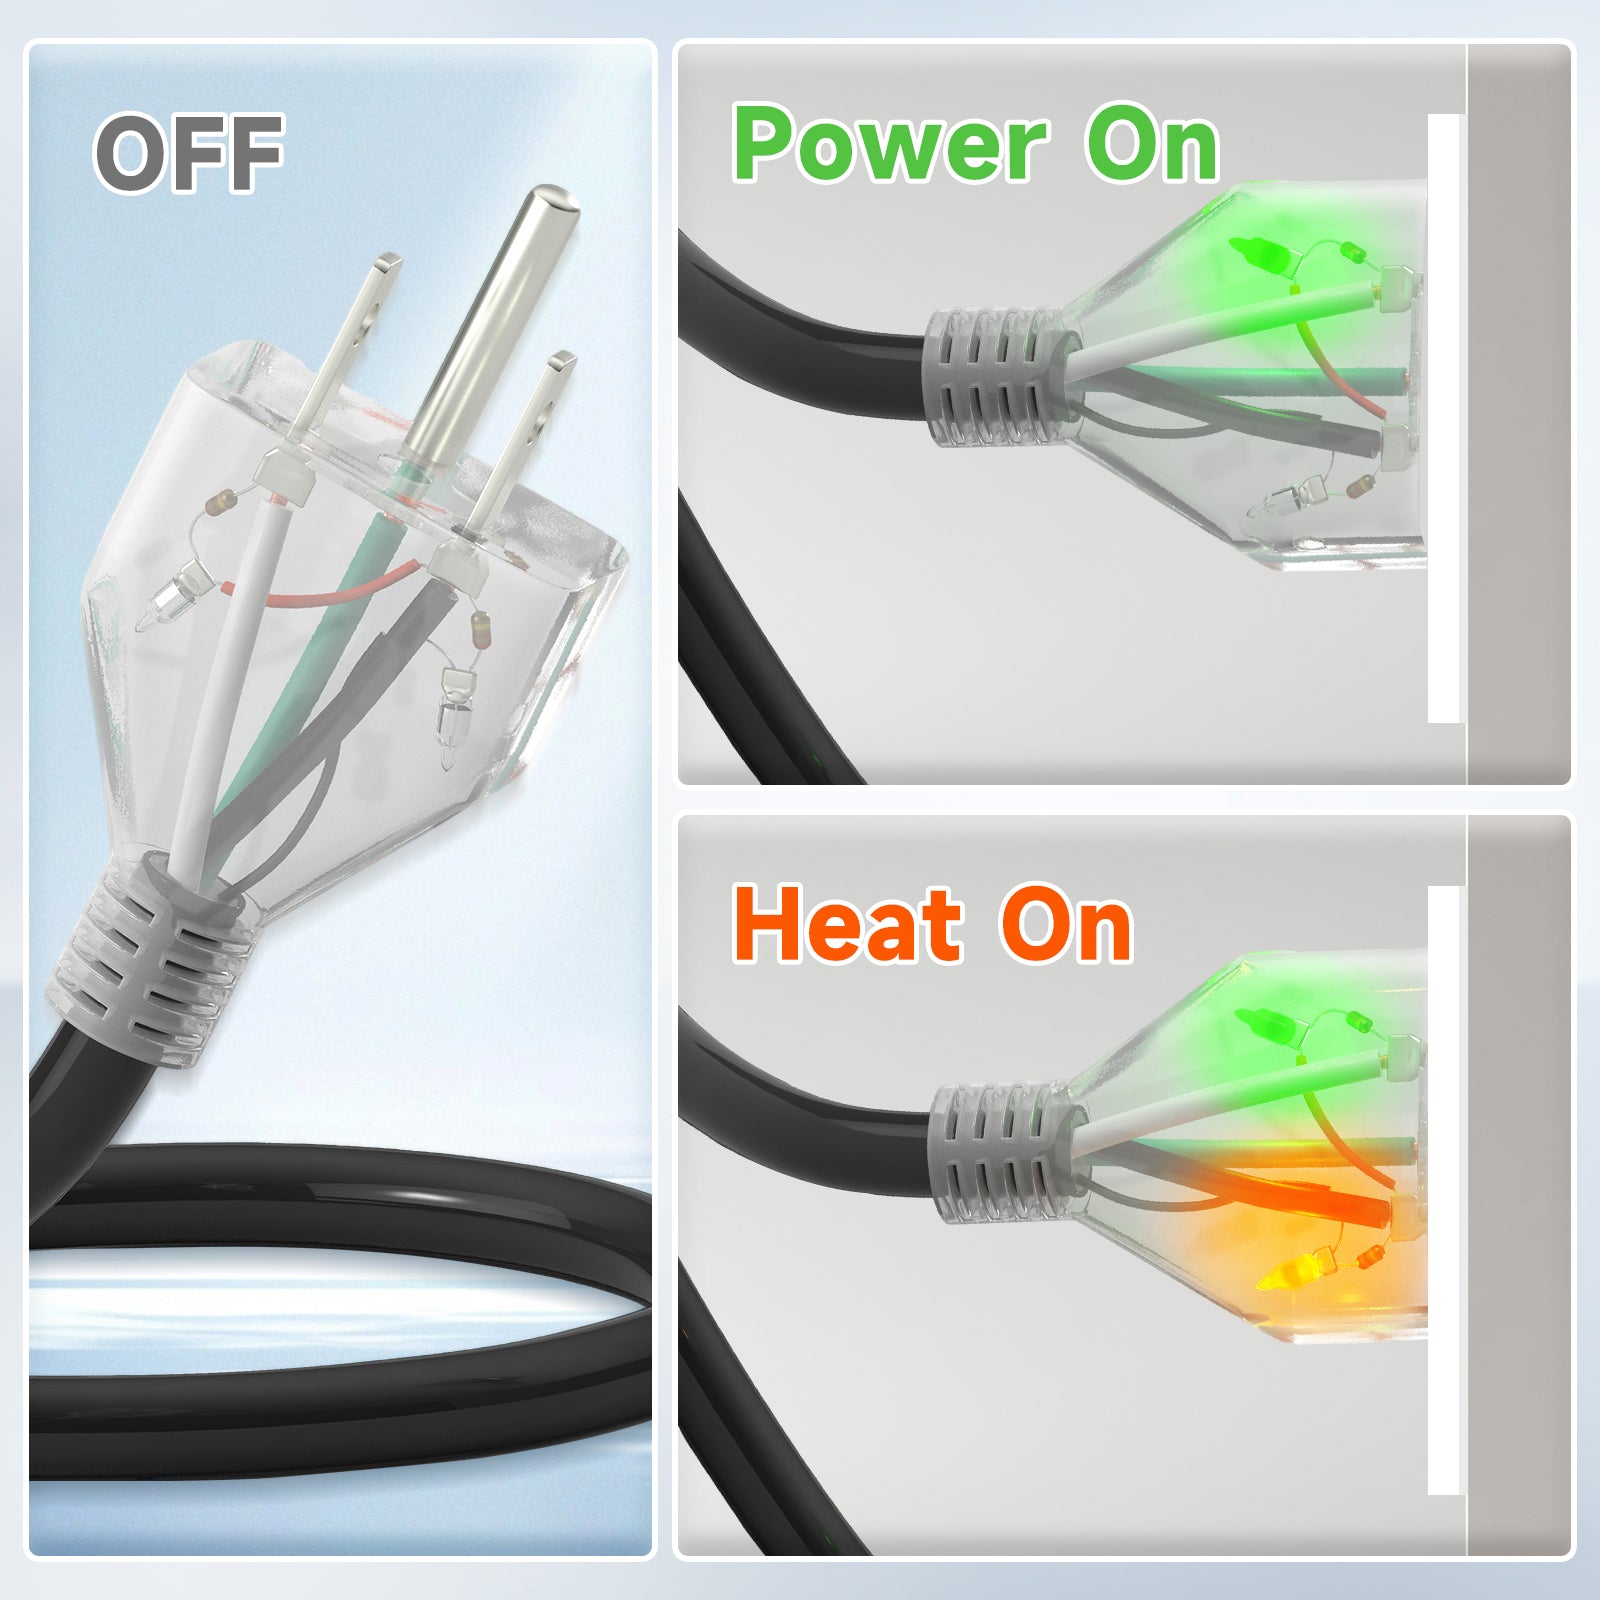
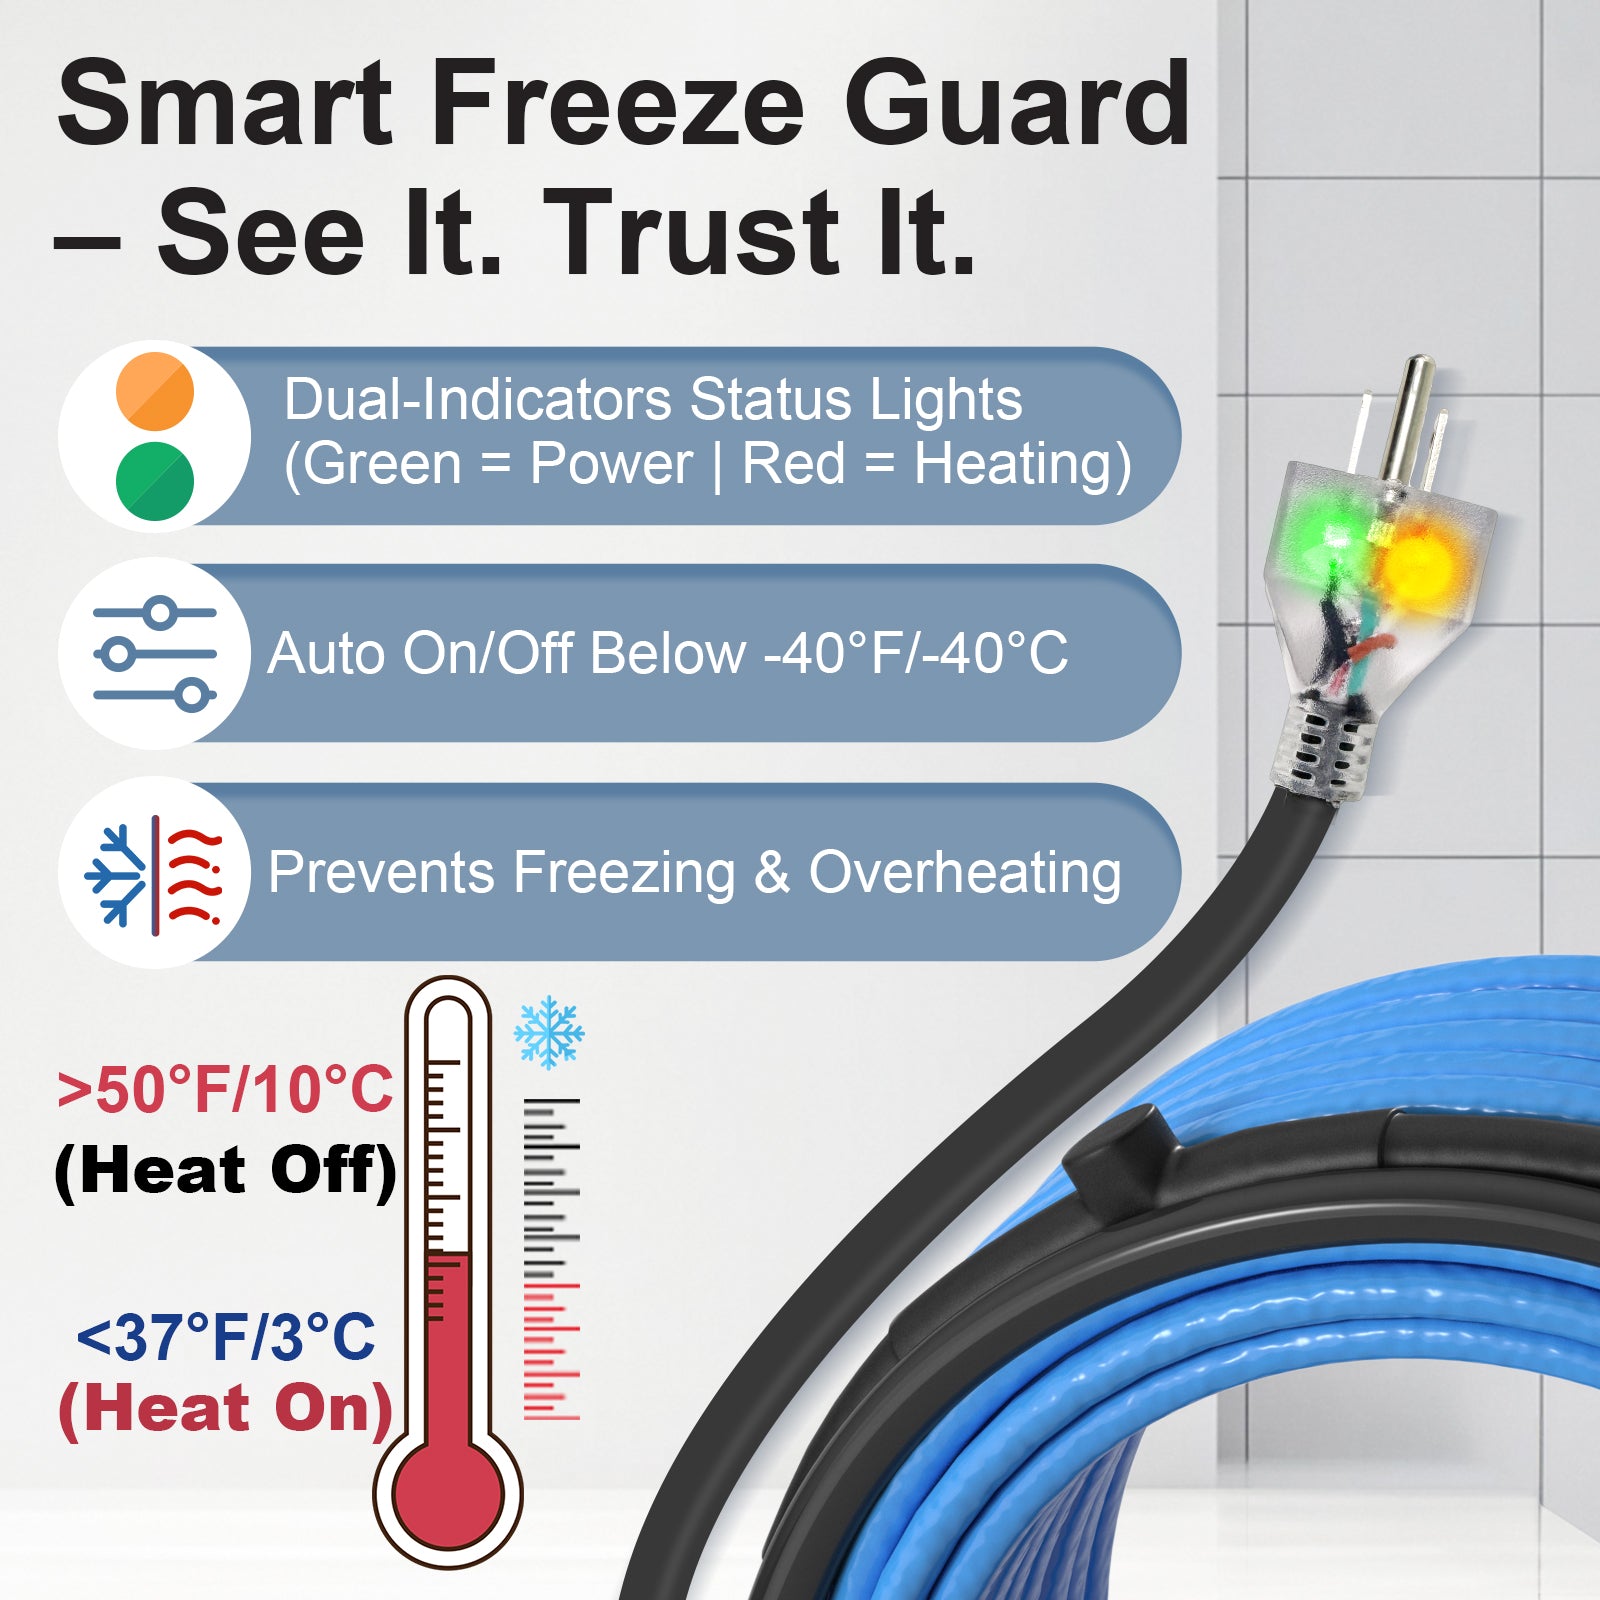
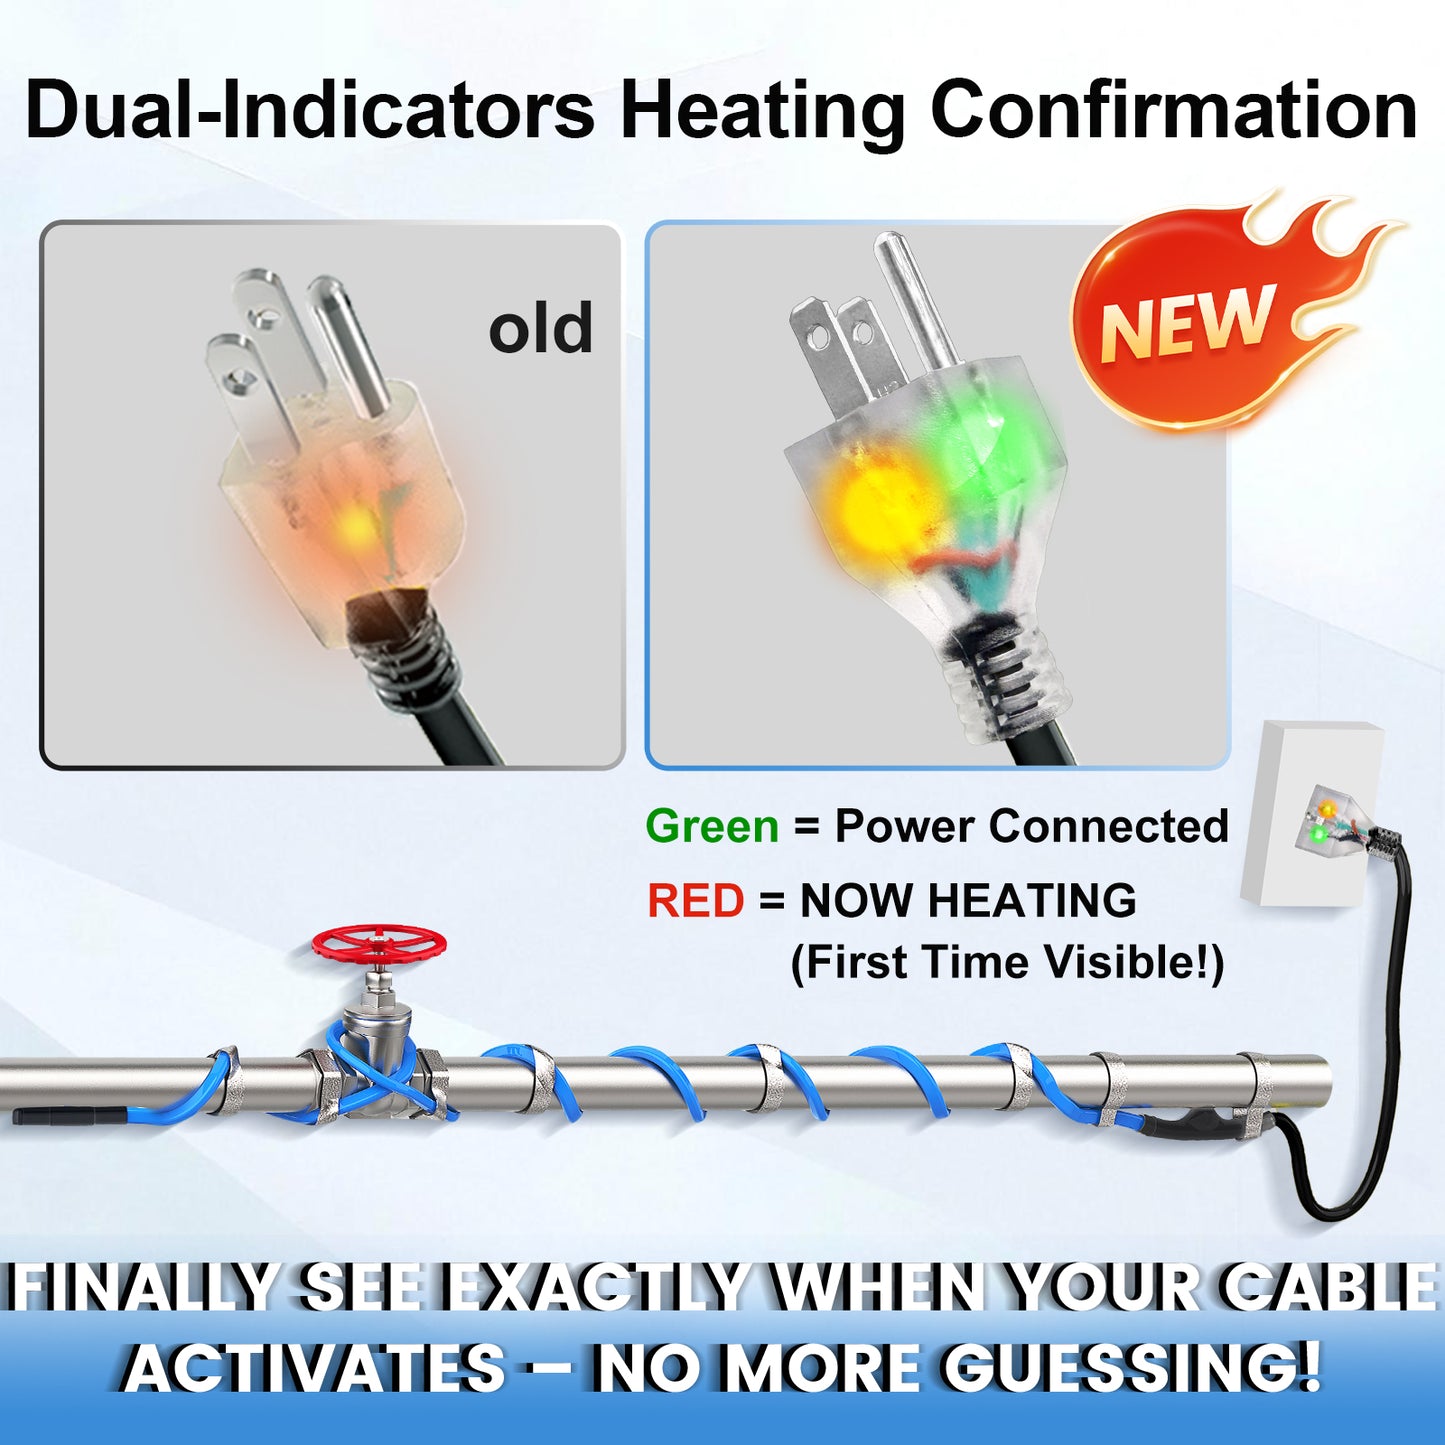
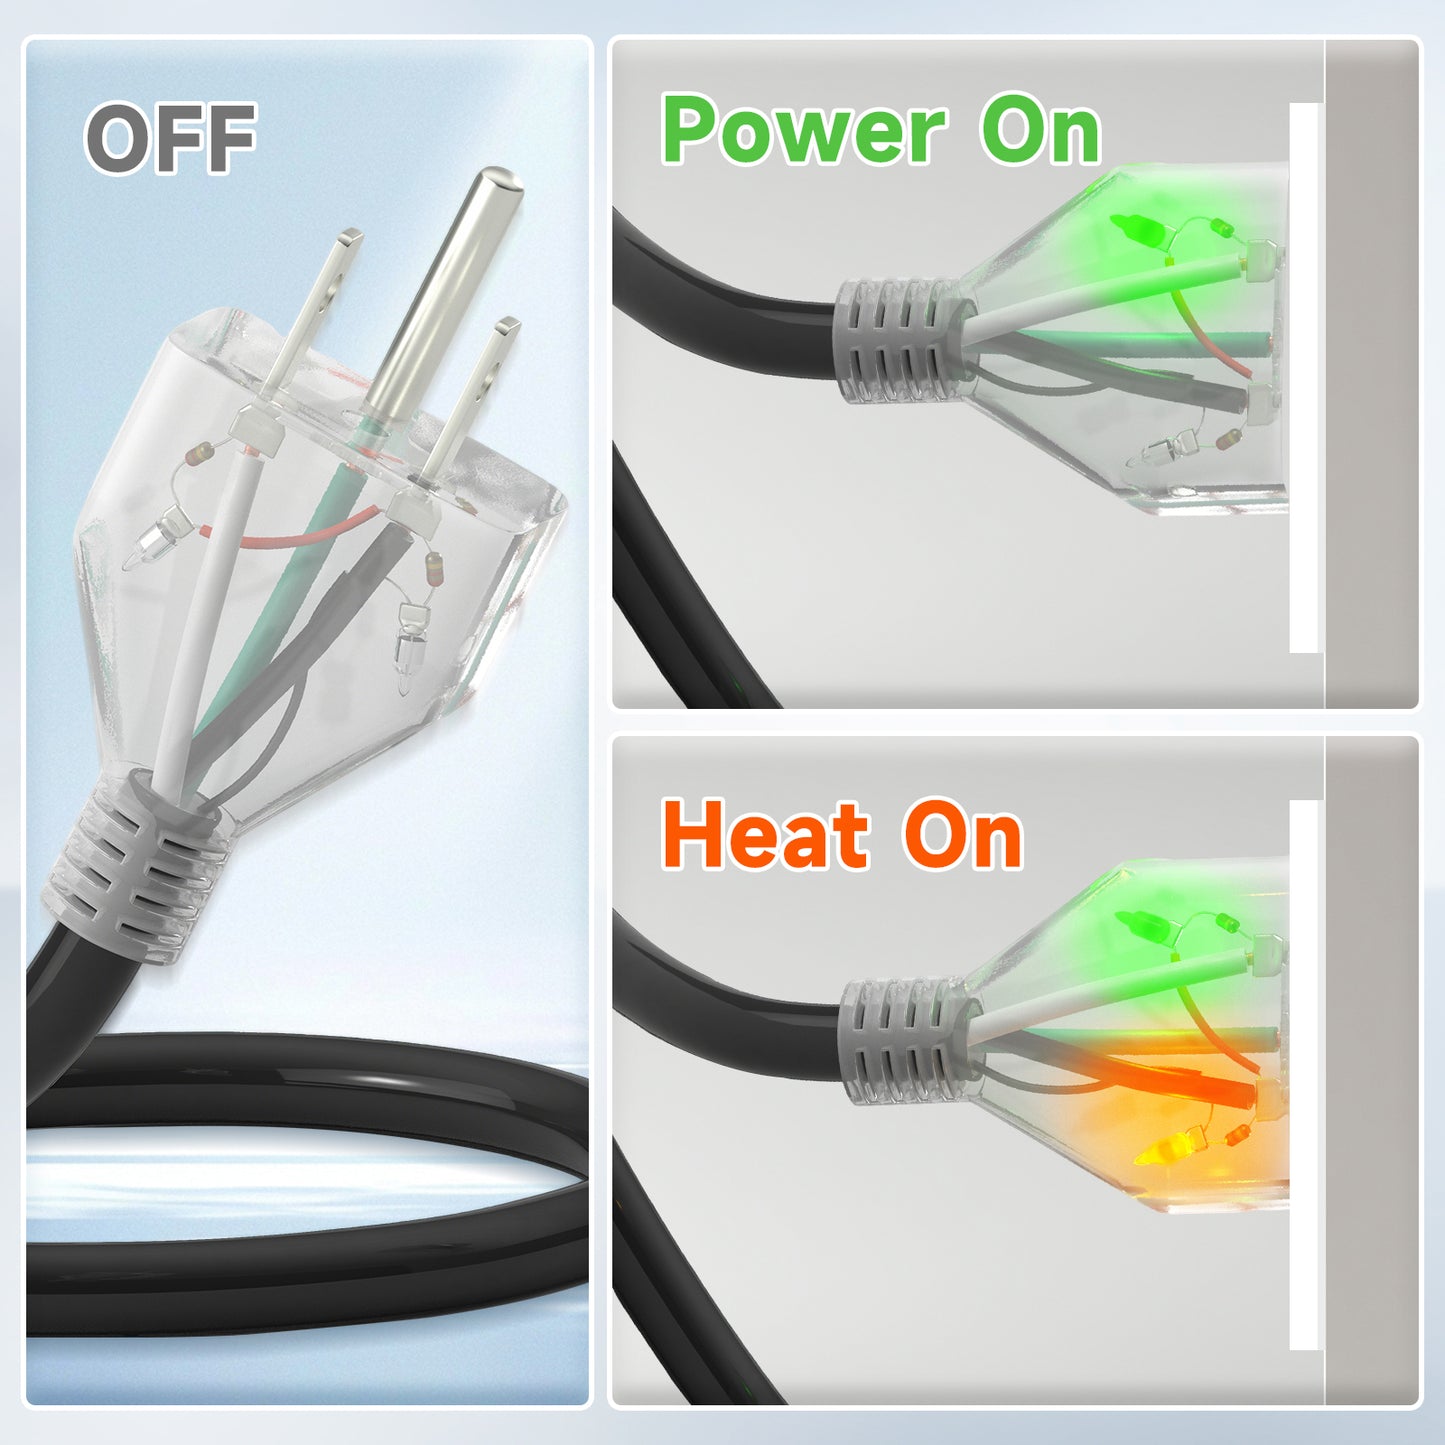
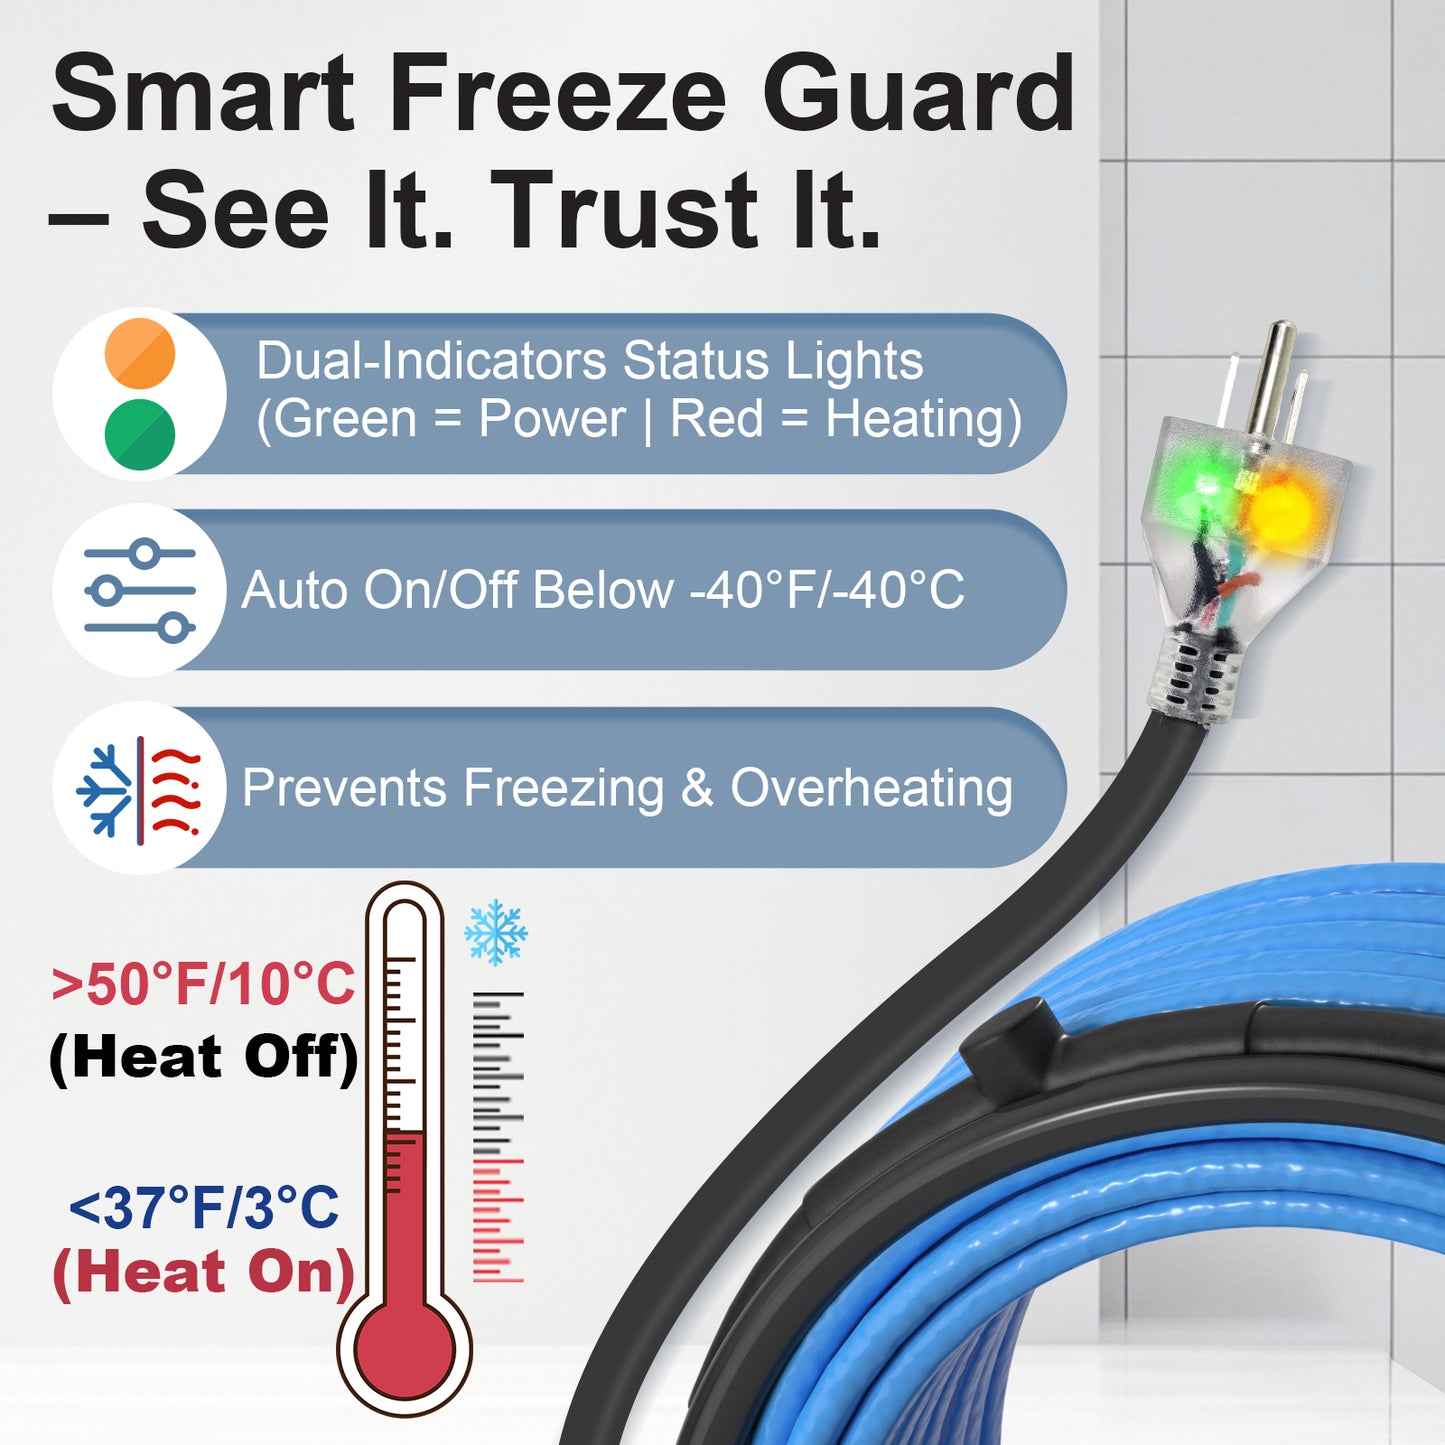
The green light confirms that electrical power is connected. When the built-in thermostat detects a pipe temperature below approximately 37°F (3°C), the red heating light turns on and the cable begins heating.
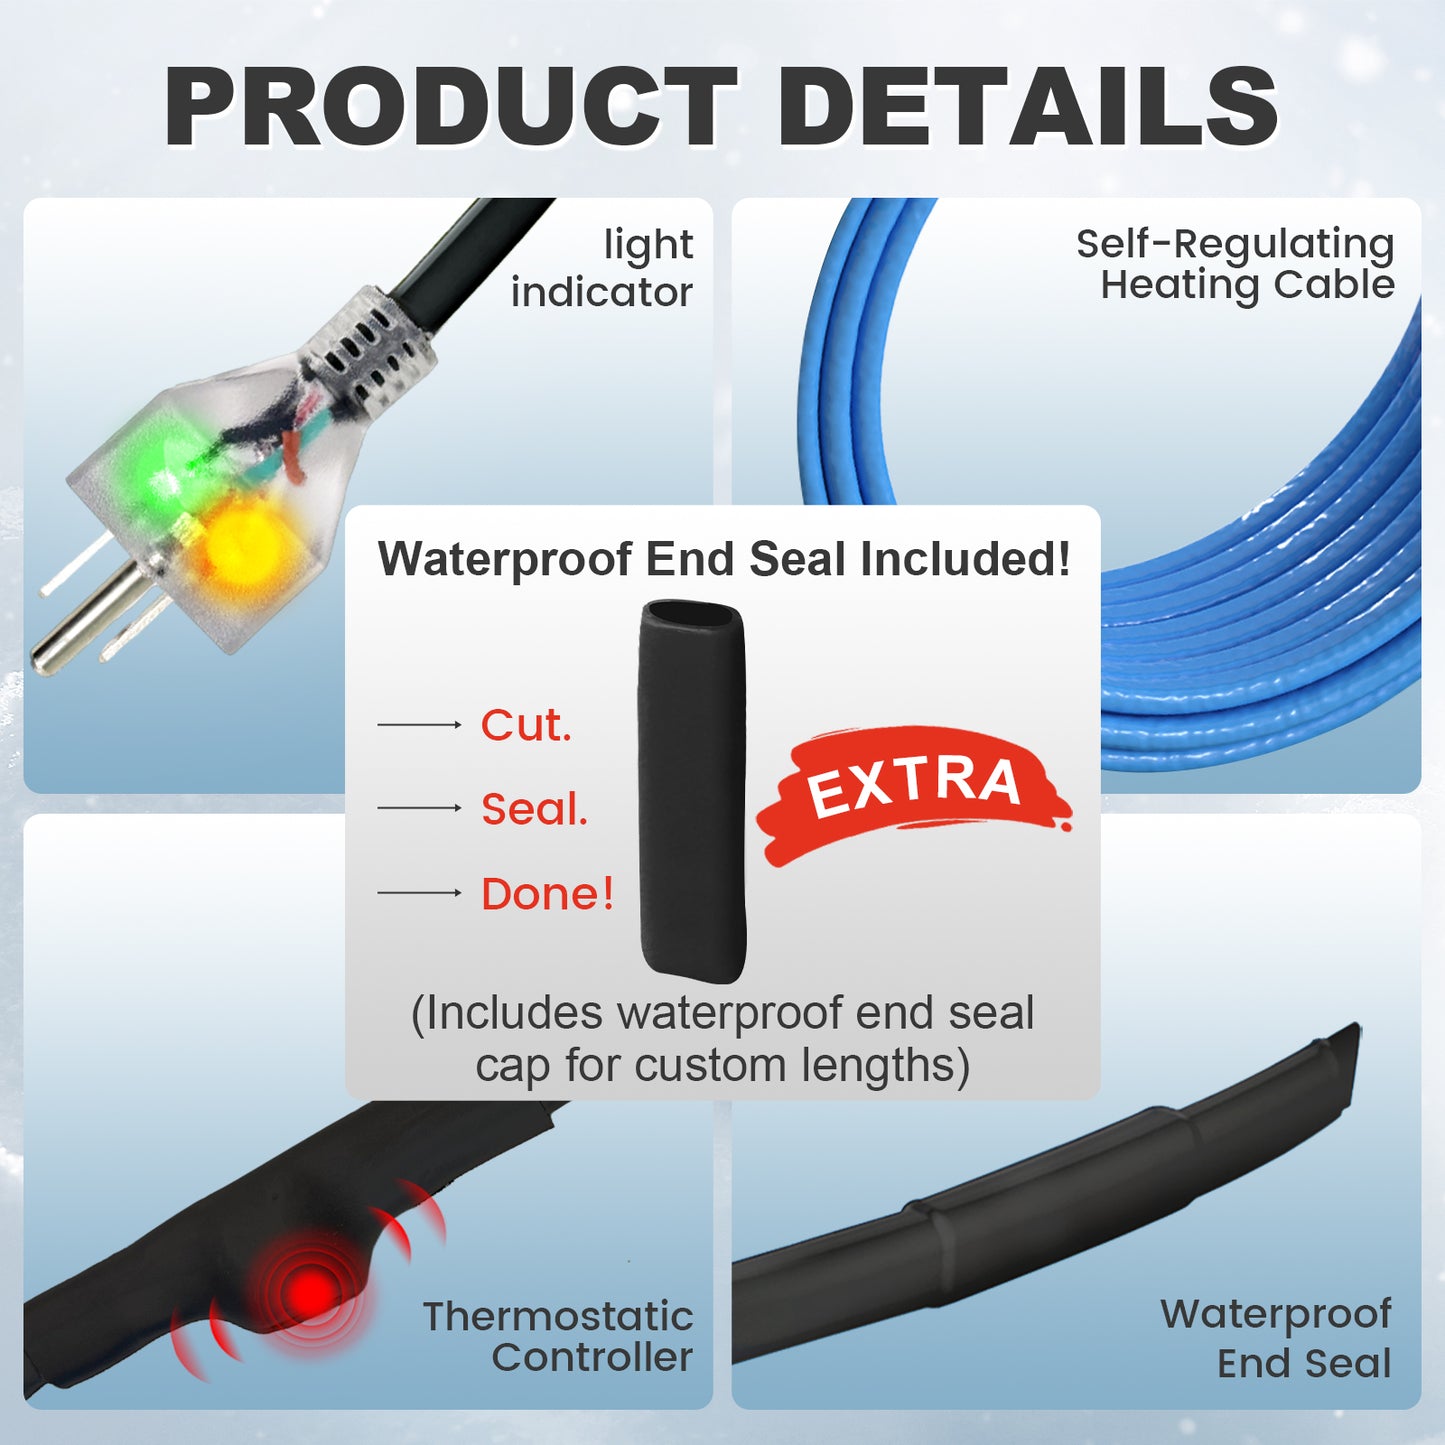
Dual Status Indicators
Green indicates power is connected, while red confirms that the thermostat has activated the heating cable.
Built-In Thermostat
Typically activates below 37°F (3°C) and stops heating after the pipe reaches approximately 50°F (10°C).
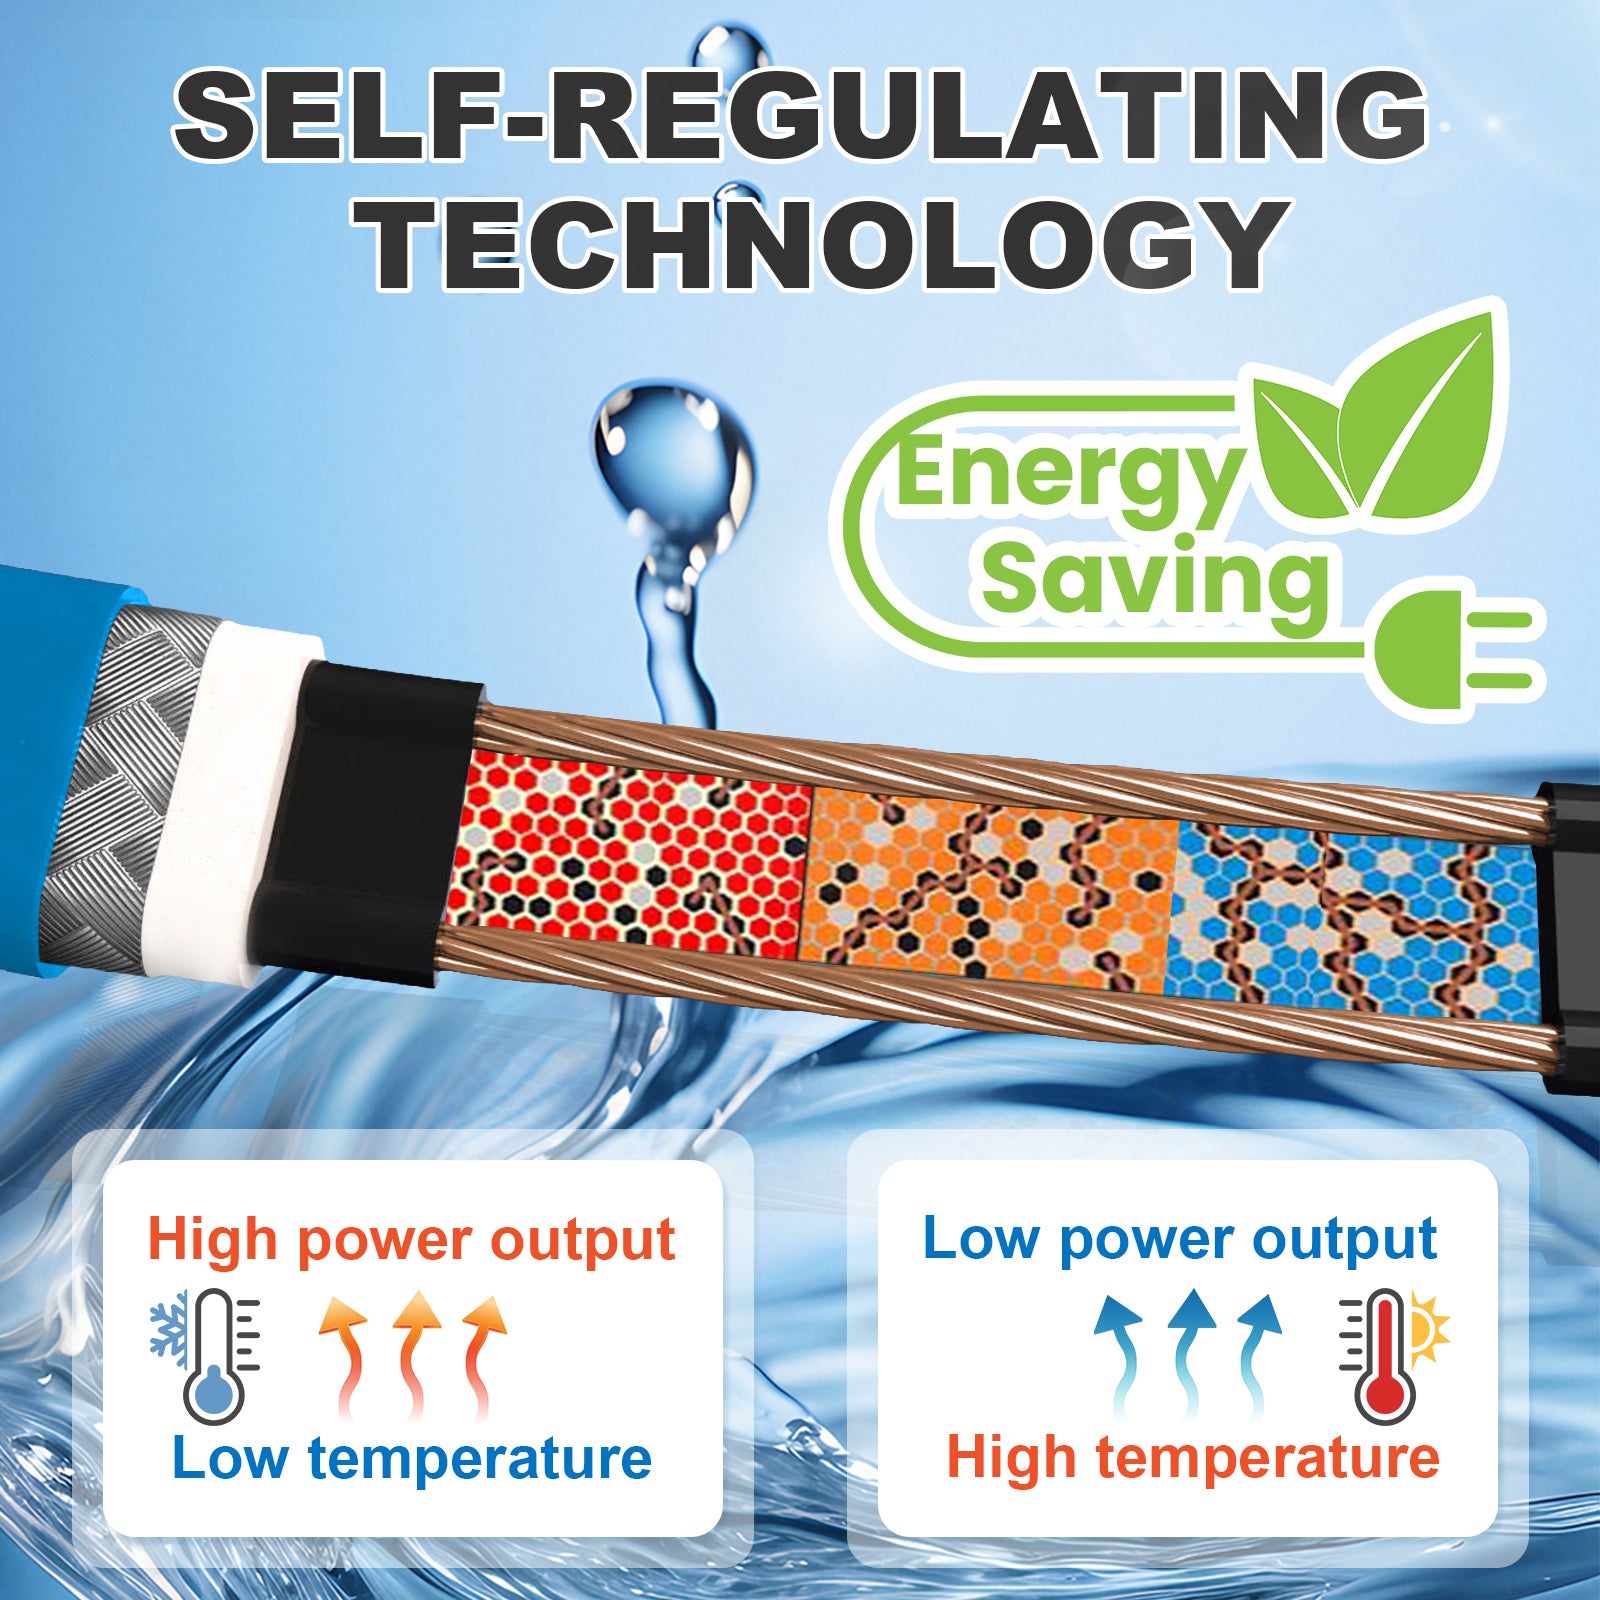
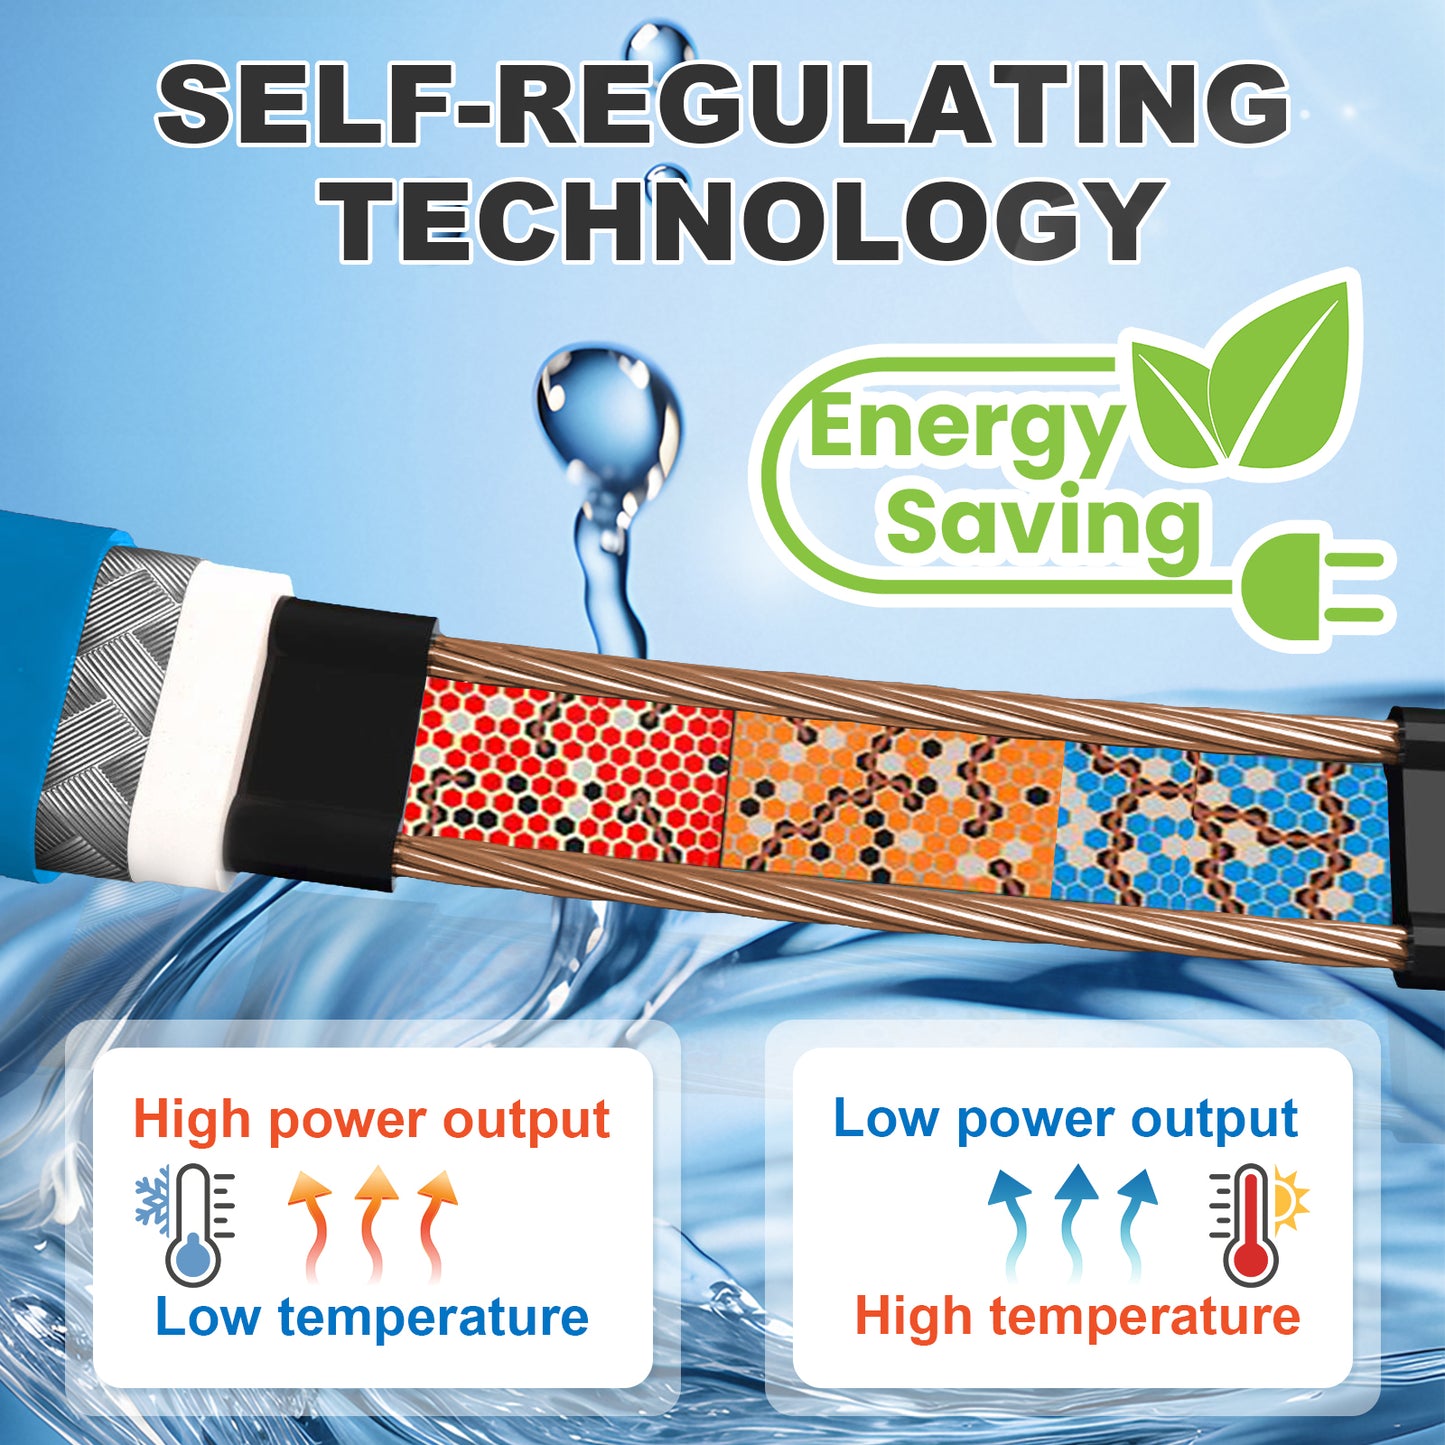
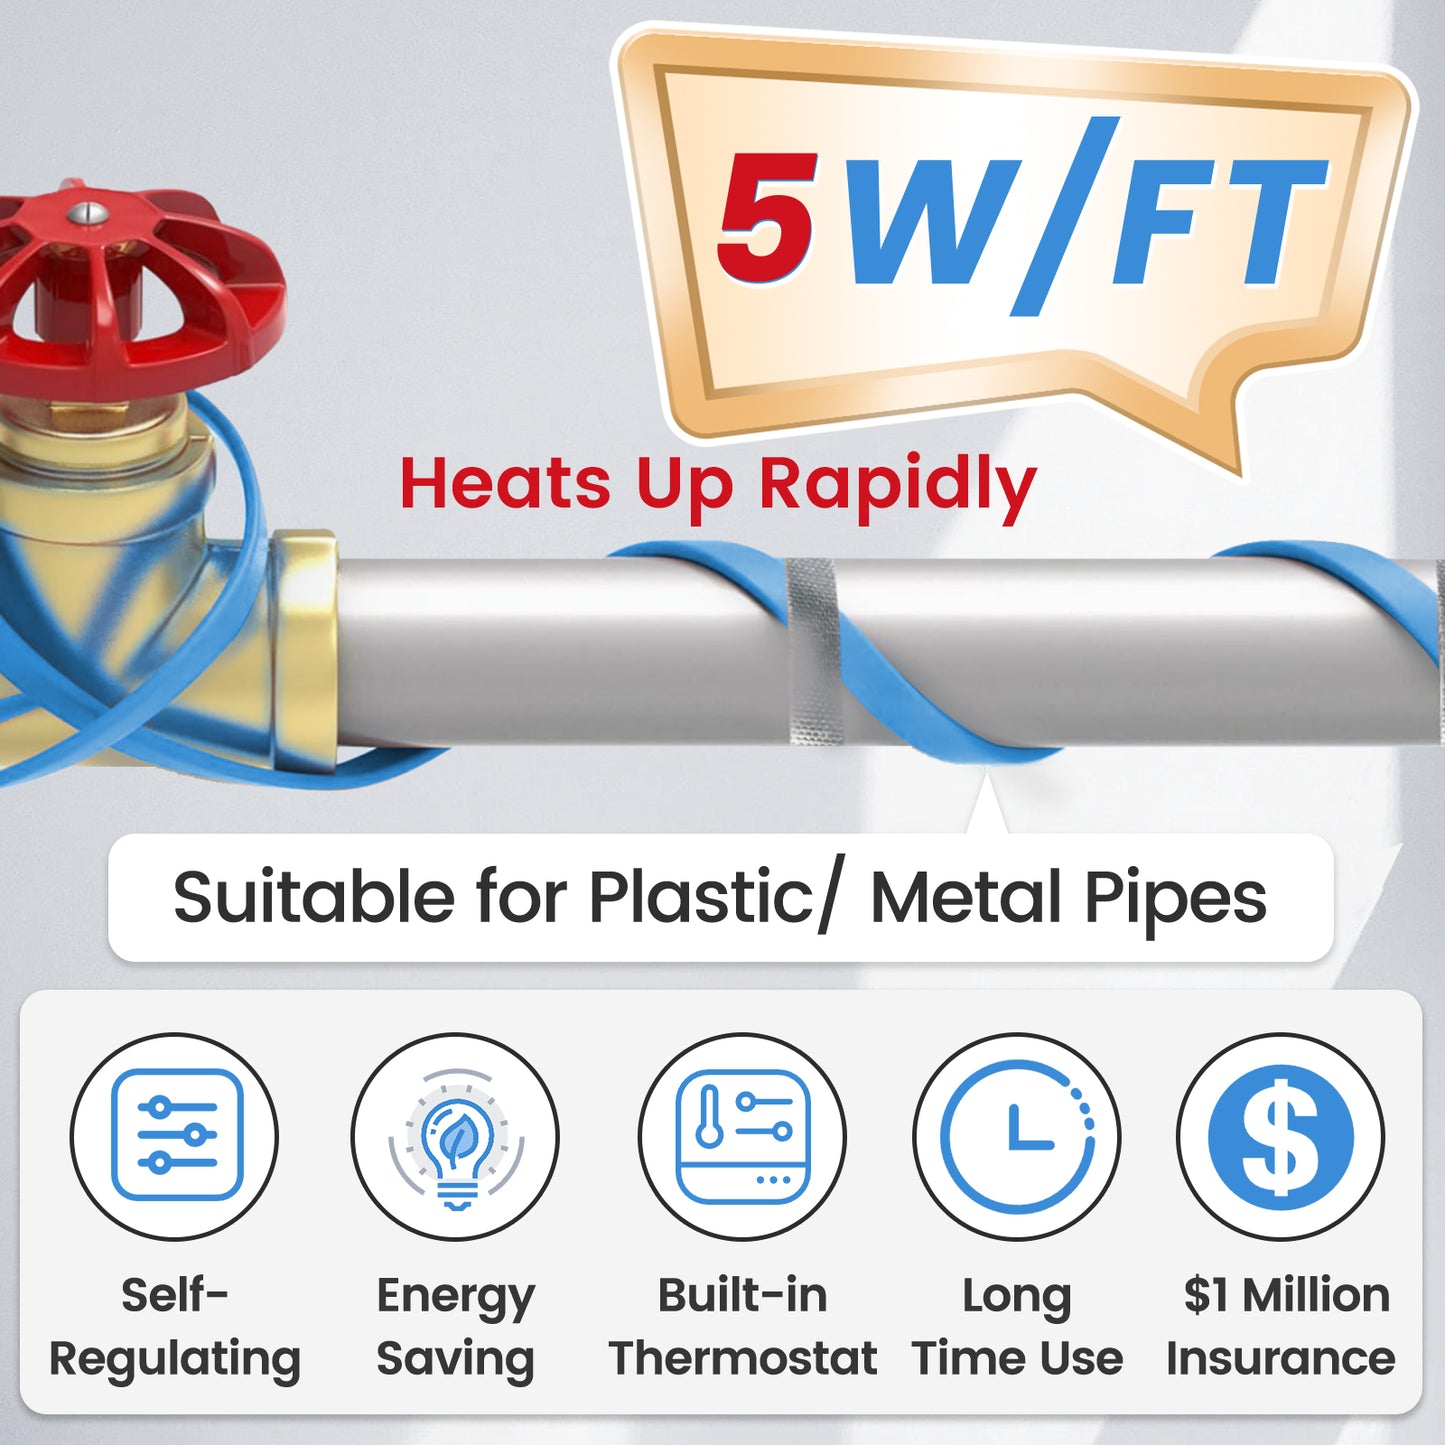
Self-Regulating Heat
Adjusts output along the cable to provide more heat in colder areas and less heat as temperatures rise.
Installation Tape Included
Includes installation tape for securing the cable and thermostat directly against the protected pipe.


Important Before Ordering
Understand the Two Indicator Lights
Green Light: The controller is connected to electrical power. The cable may be in standby and not actively heating.
Red Light: The built-in thermostat has detected a low pipe temperature and activated heating.
Thermostat Placement: Secure the thermostat directly against the coldest section of the pipe. Incorrect placement can affect activation timing.
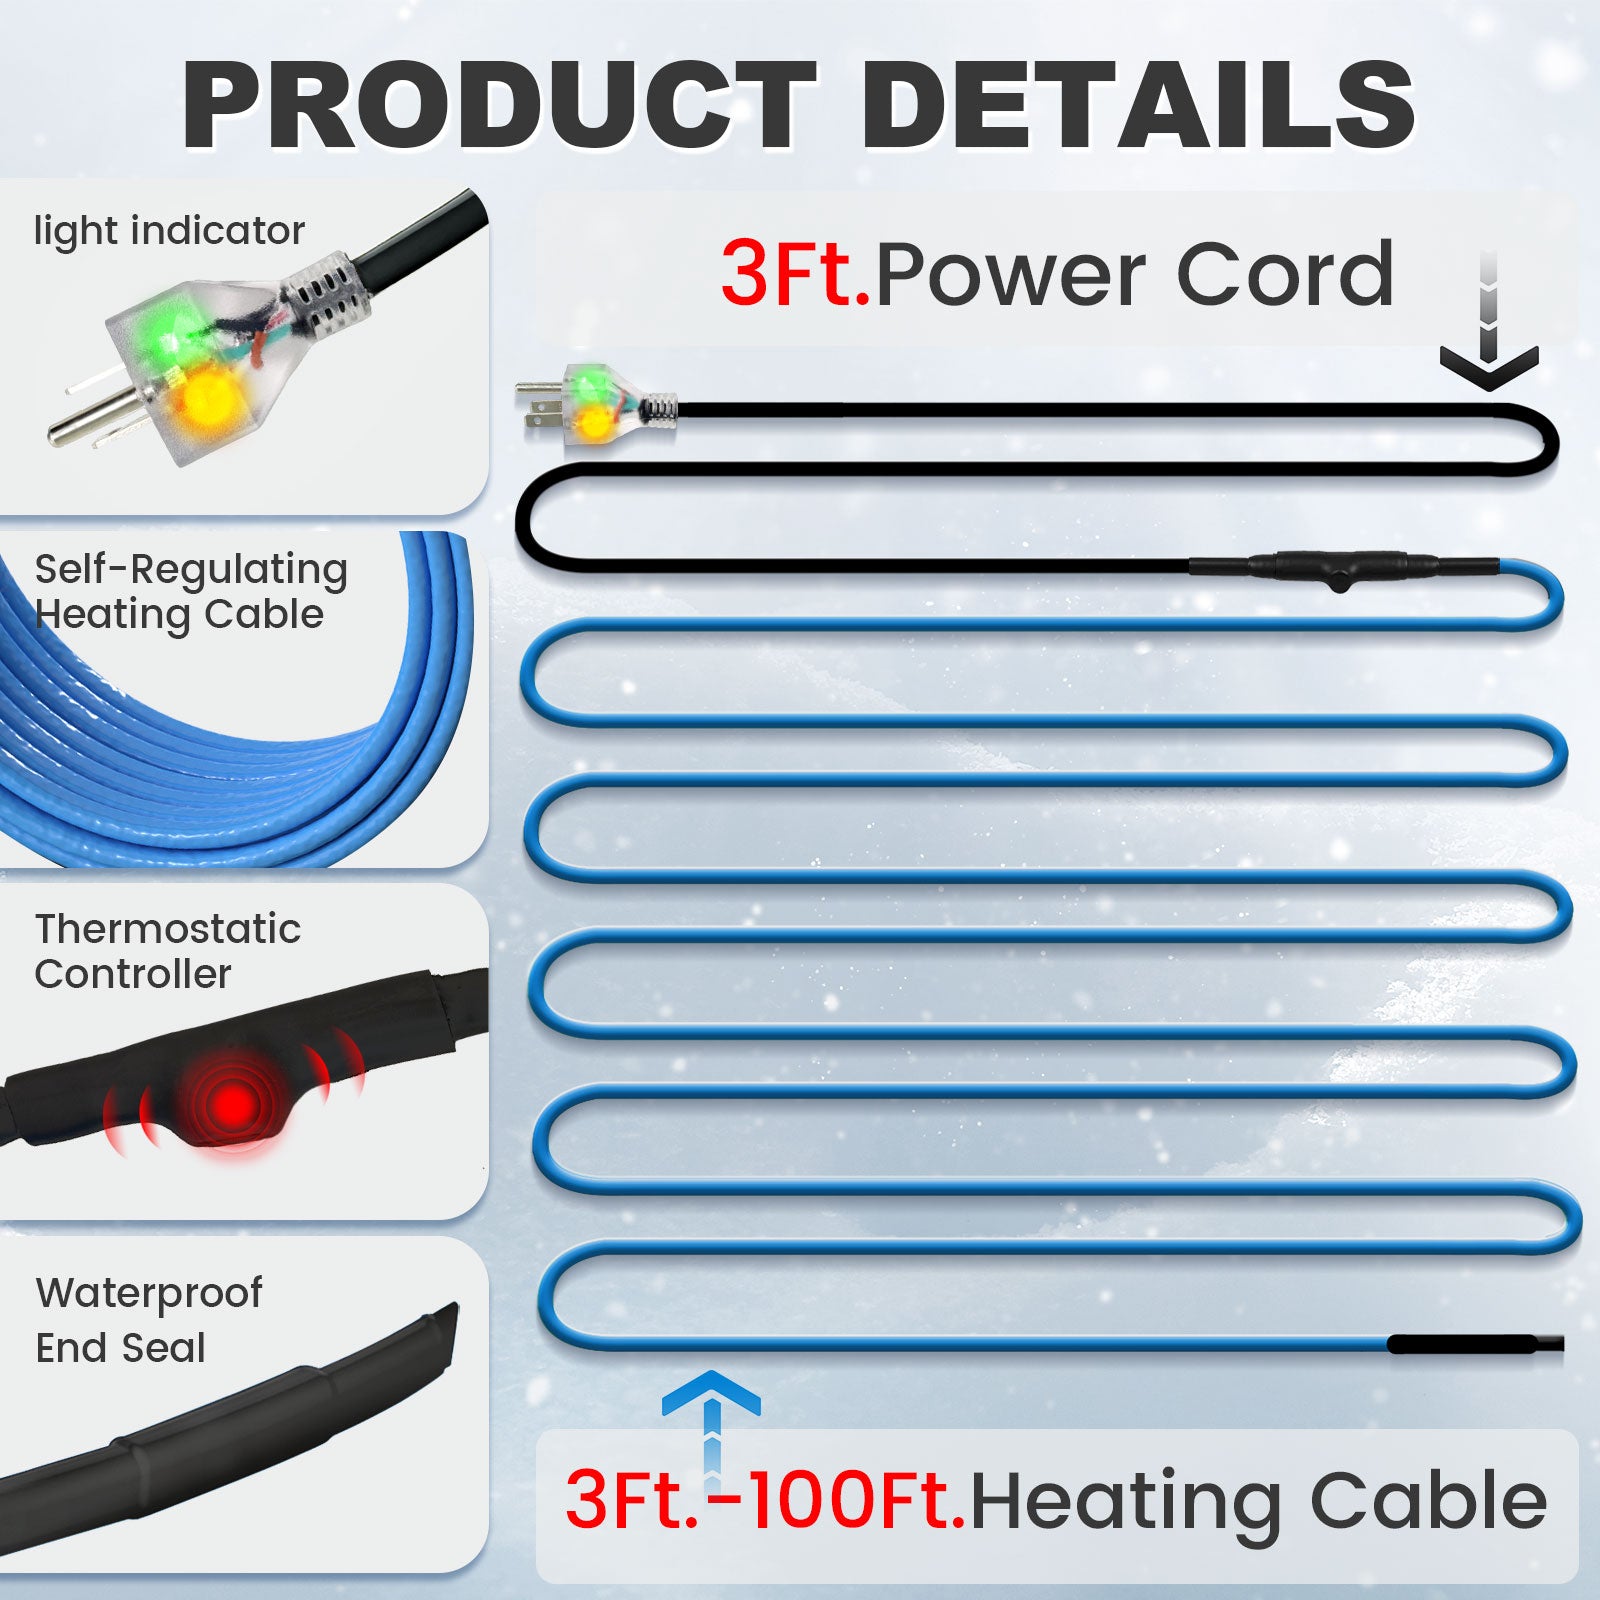
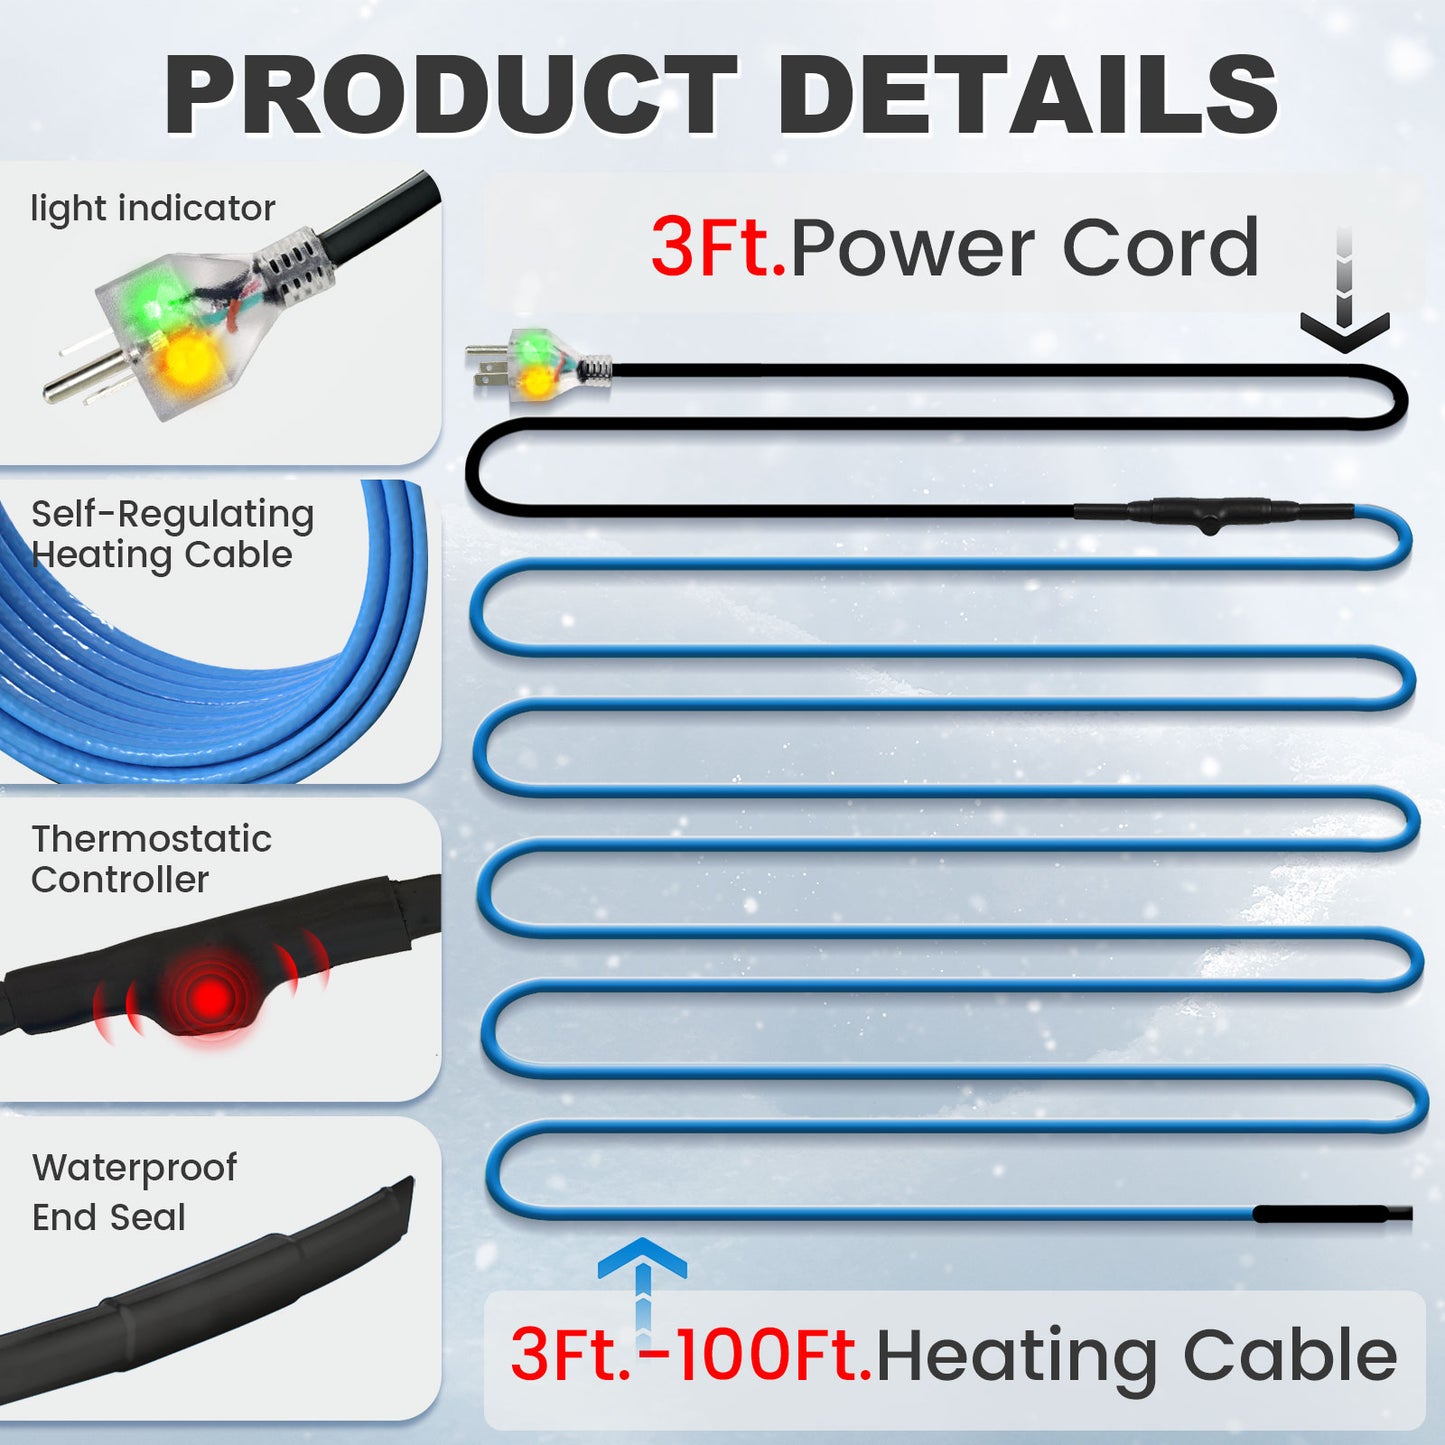
Heating Length Only: The selected size refers to the heating section. The attached 3 ft power cord is additional.
Pipe Insulation Required: The pipe, heating cable, thermostat, valves, and connections must be covered with suitable nonflammable insulation.
120V GFCI Protection: Connect only to a properly grounded 120V outlet with ground-fault protection.
Choose the Correct Length: Avoid modifying the factory-sealed cable. Any necessary trimming requires a compatible end-seal system and proper sealing before power is applied.


Compare MAXKOSKO Pipe Heat Cable Options
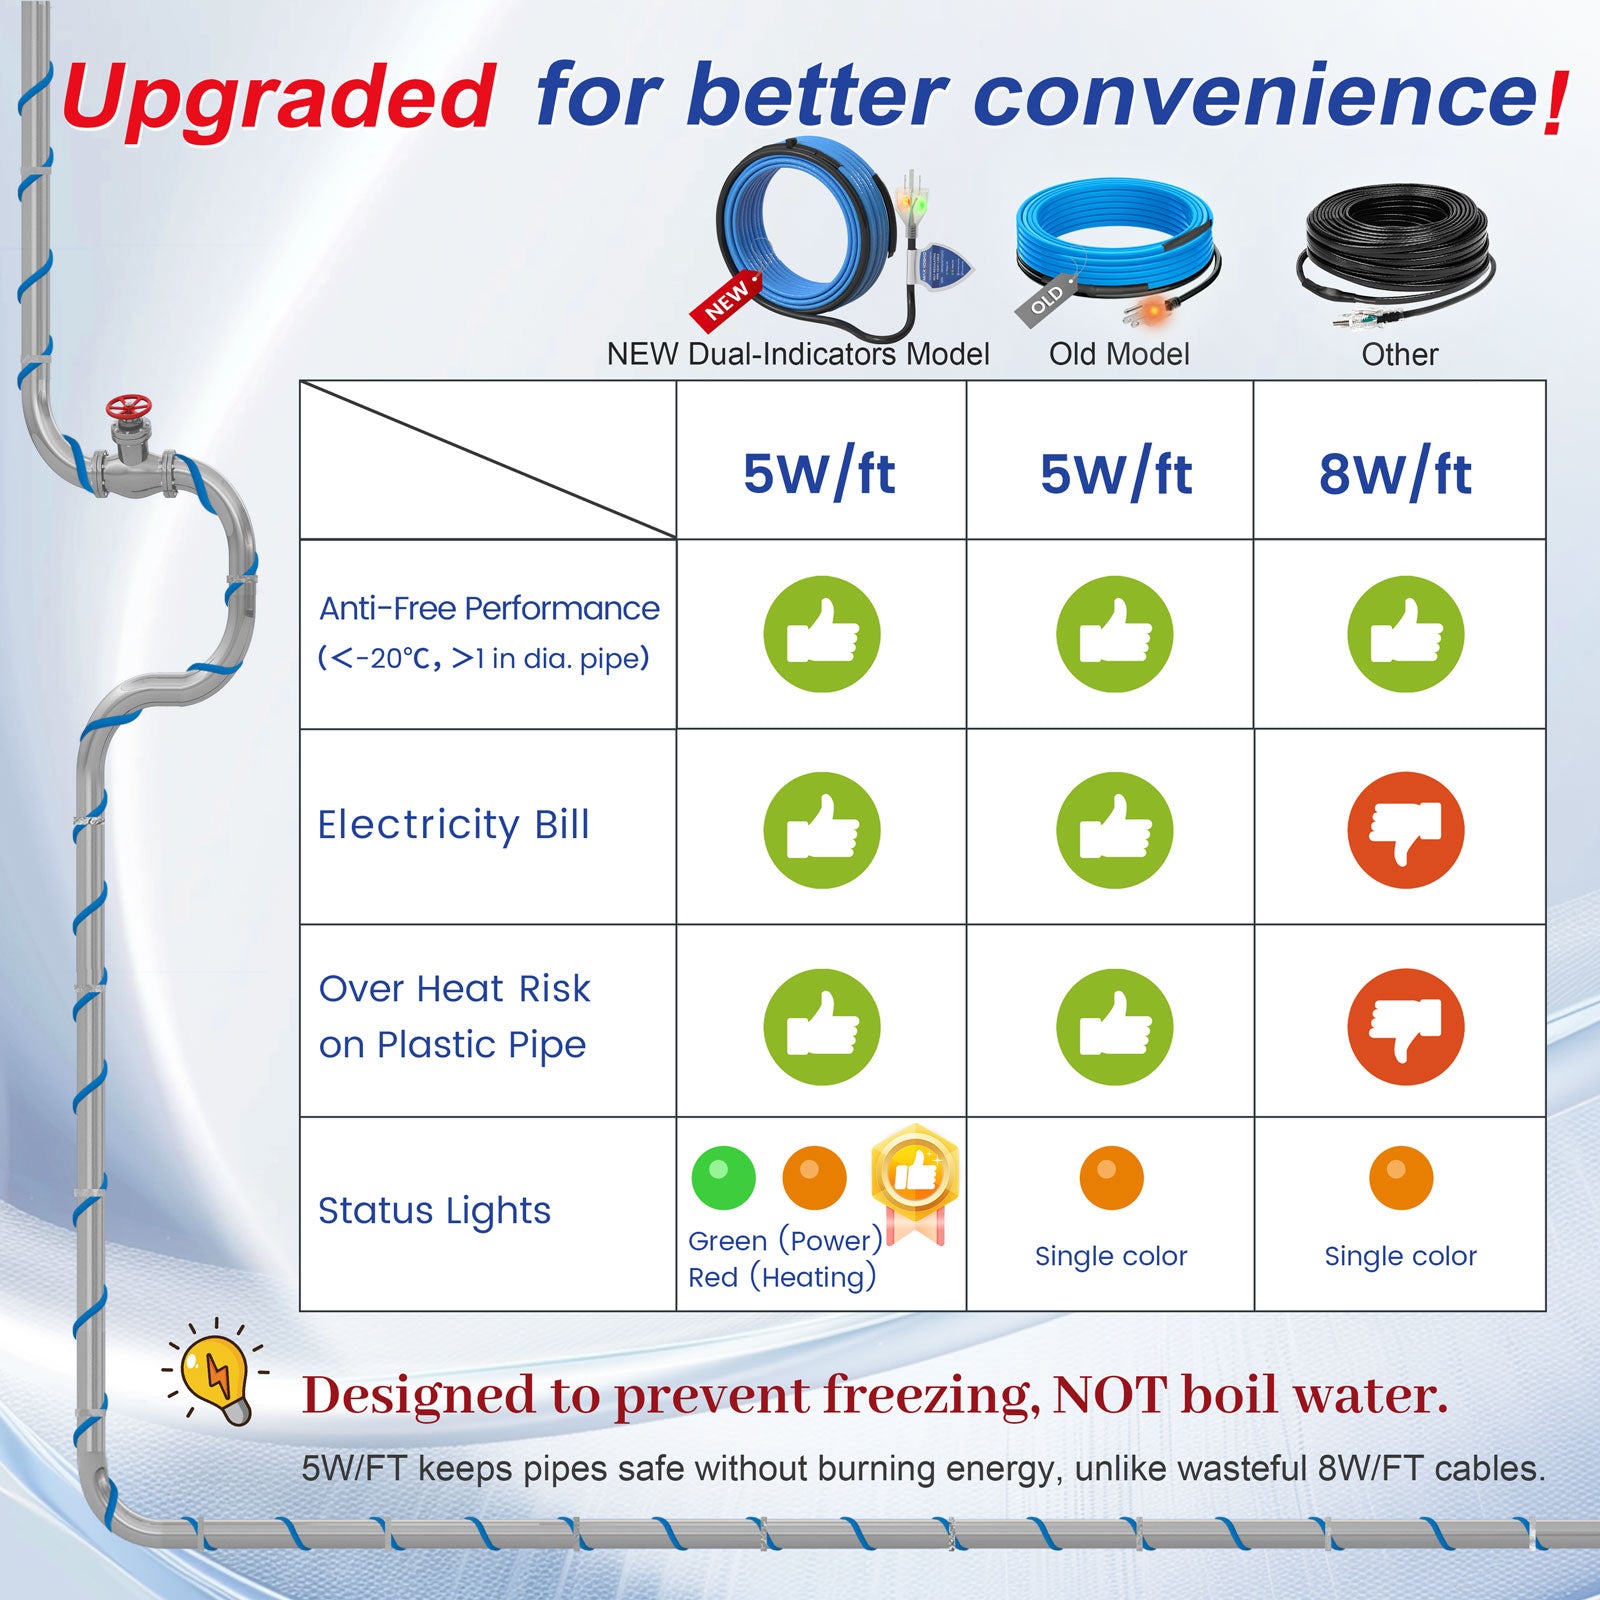
Standard Thermostatic Model
Choose the blue model when you need built-in automatic control but do not require a separate heating-status light.
Non-Thermostatic Model
Choose the green cable for continuous operation or use with a separate adjustable controller.
12V DC Model
Choose the low-voltage cable for RV, boat, battery, and off-grid water systems.
Optional External Controller
An external 120V controller may add another control layer, but the built-in thermostat will remain active.


Specifications
| Product Type | Dual-LED Self-Regulating External Pipe Heating Cable |
| Rated Voltage | 110–120V AC |
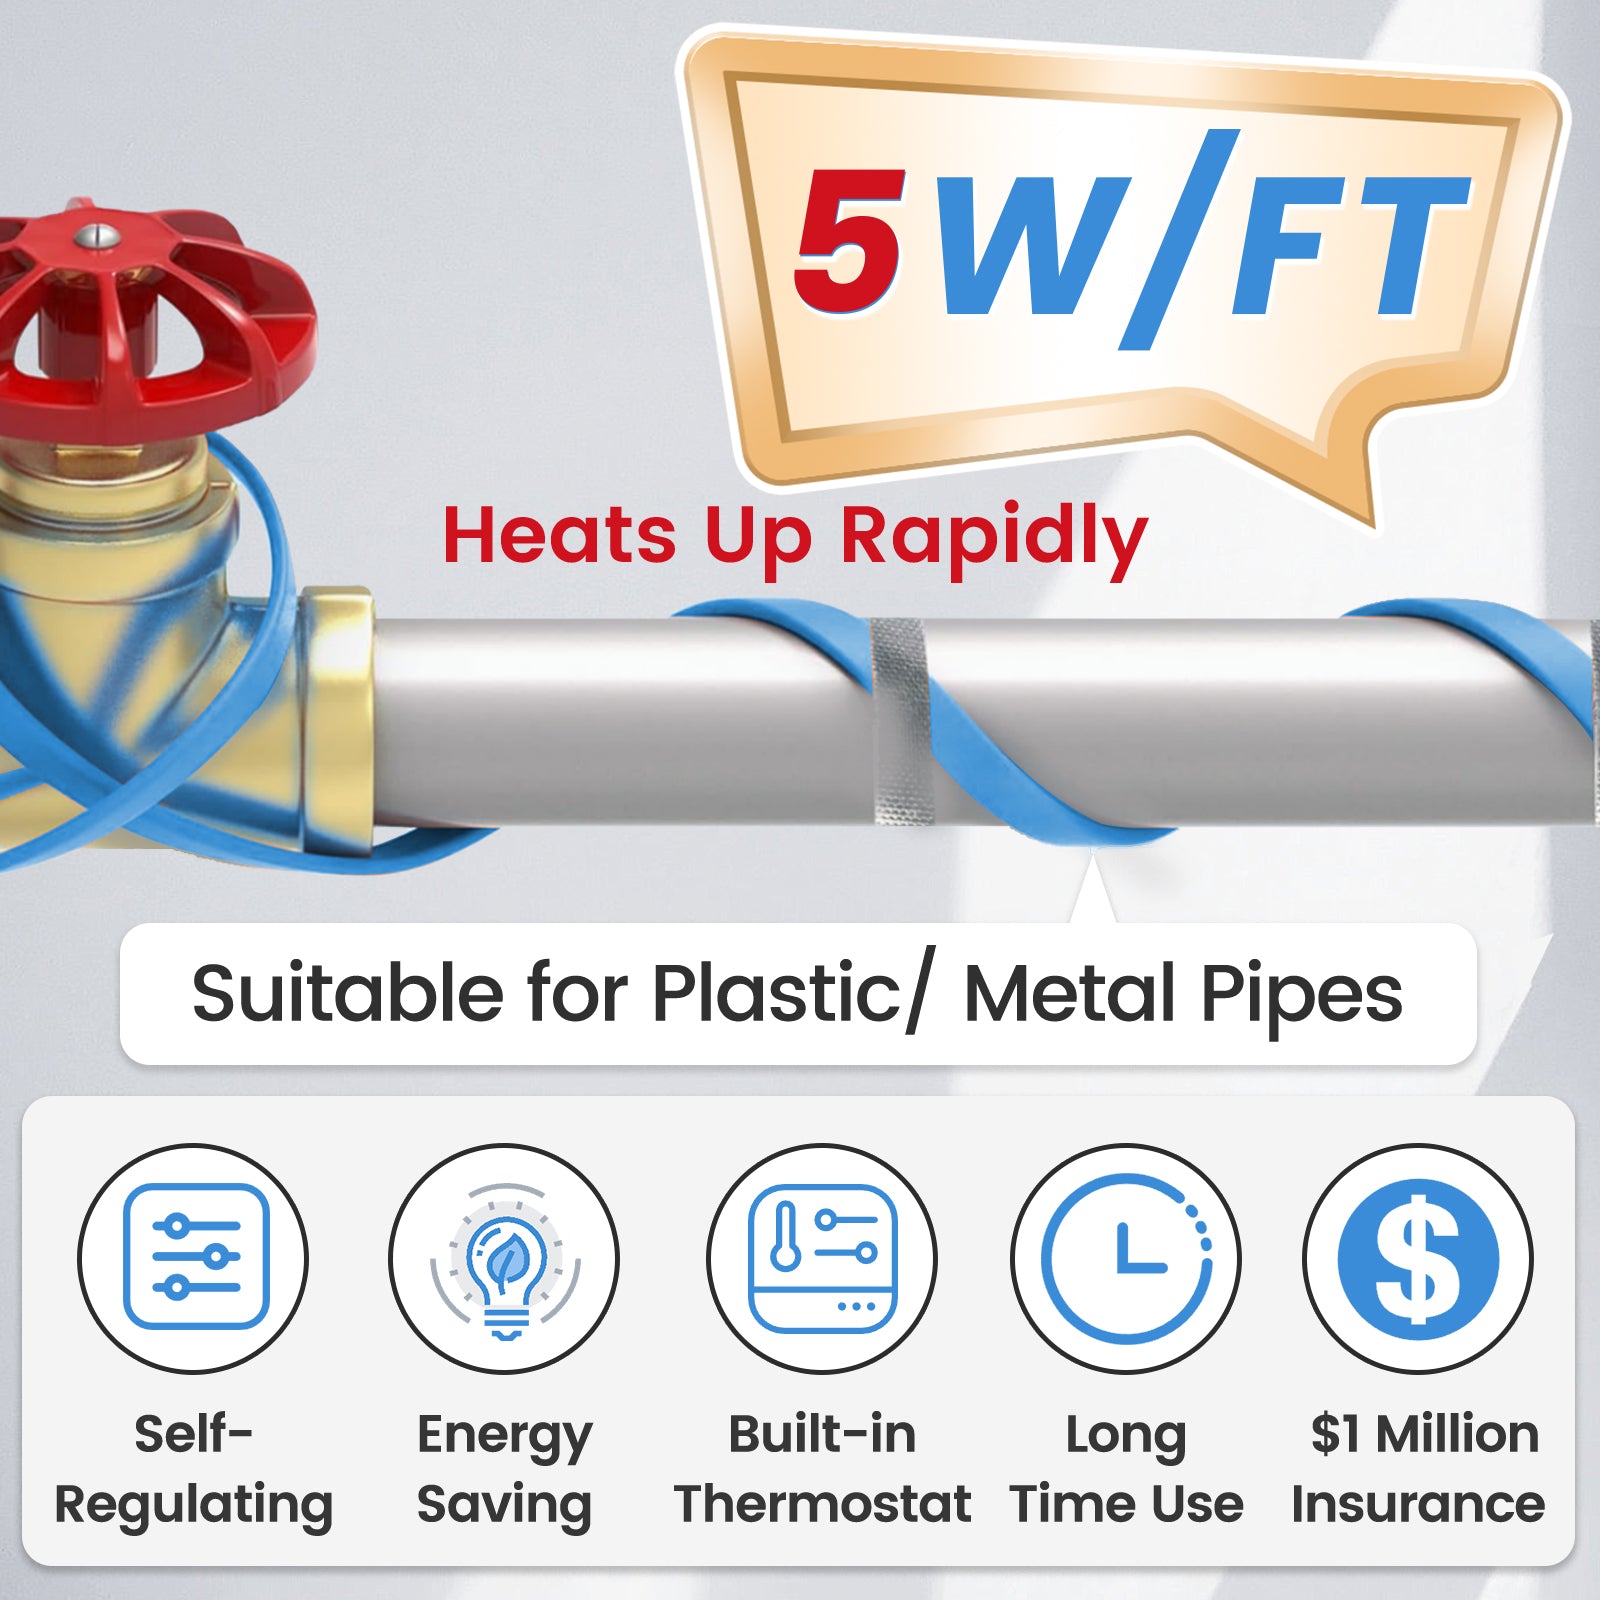
| Rated Output | Approximately 5W/ft at 50°F and 6W/ft at 40°F |
| Temperature Control | Built-In Pipe Thermostat |
| Typical Heating Start | Below Approximately 37°F (3°C) |
| Typical Heating Stop | At Approximately 50°F (10°C) |
| Green Indicator | Electrical Power Connected |
| Red Indicator | Heating Actively Energized |
| Power Cord Length | 3 ft, Additional to the Selected Heating Length |
| Installation Methods | Straight Trace, Spiral Wrap or Approved Overlap |
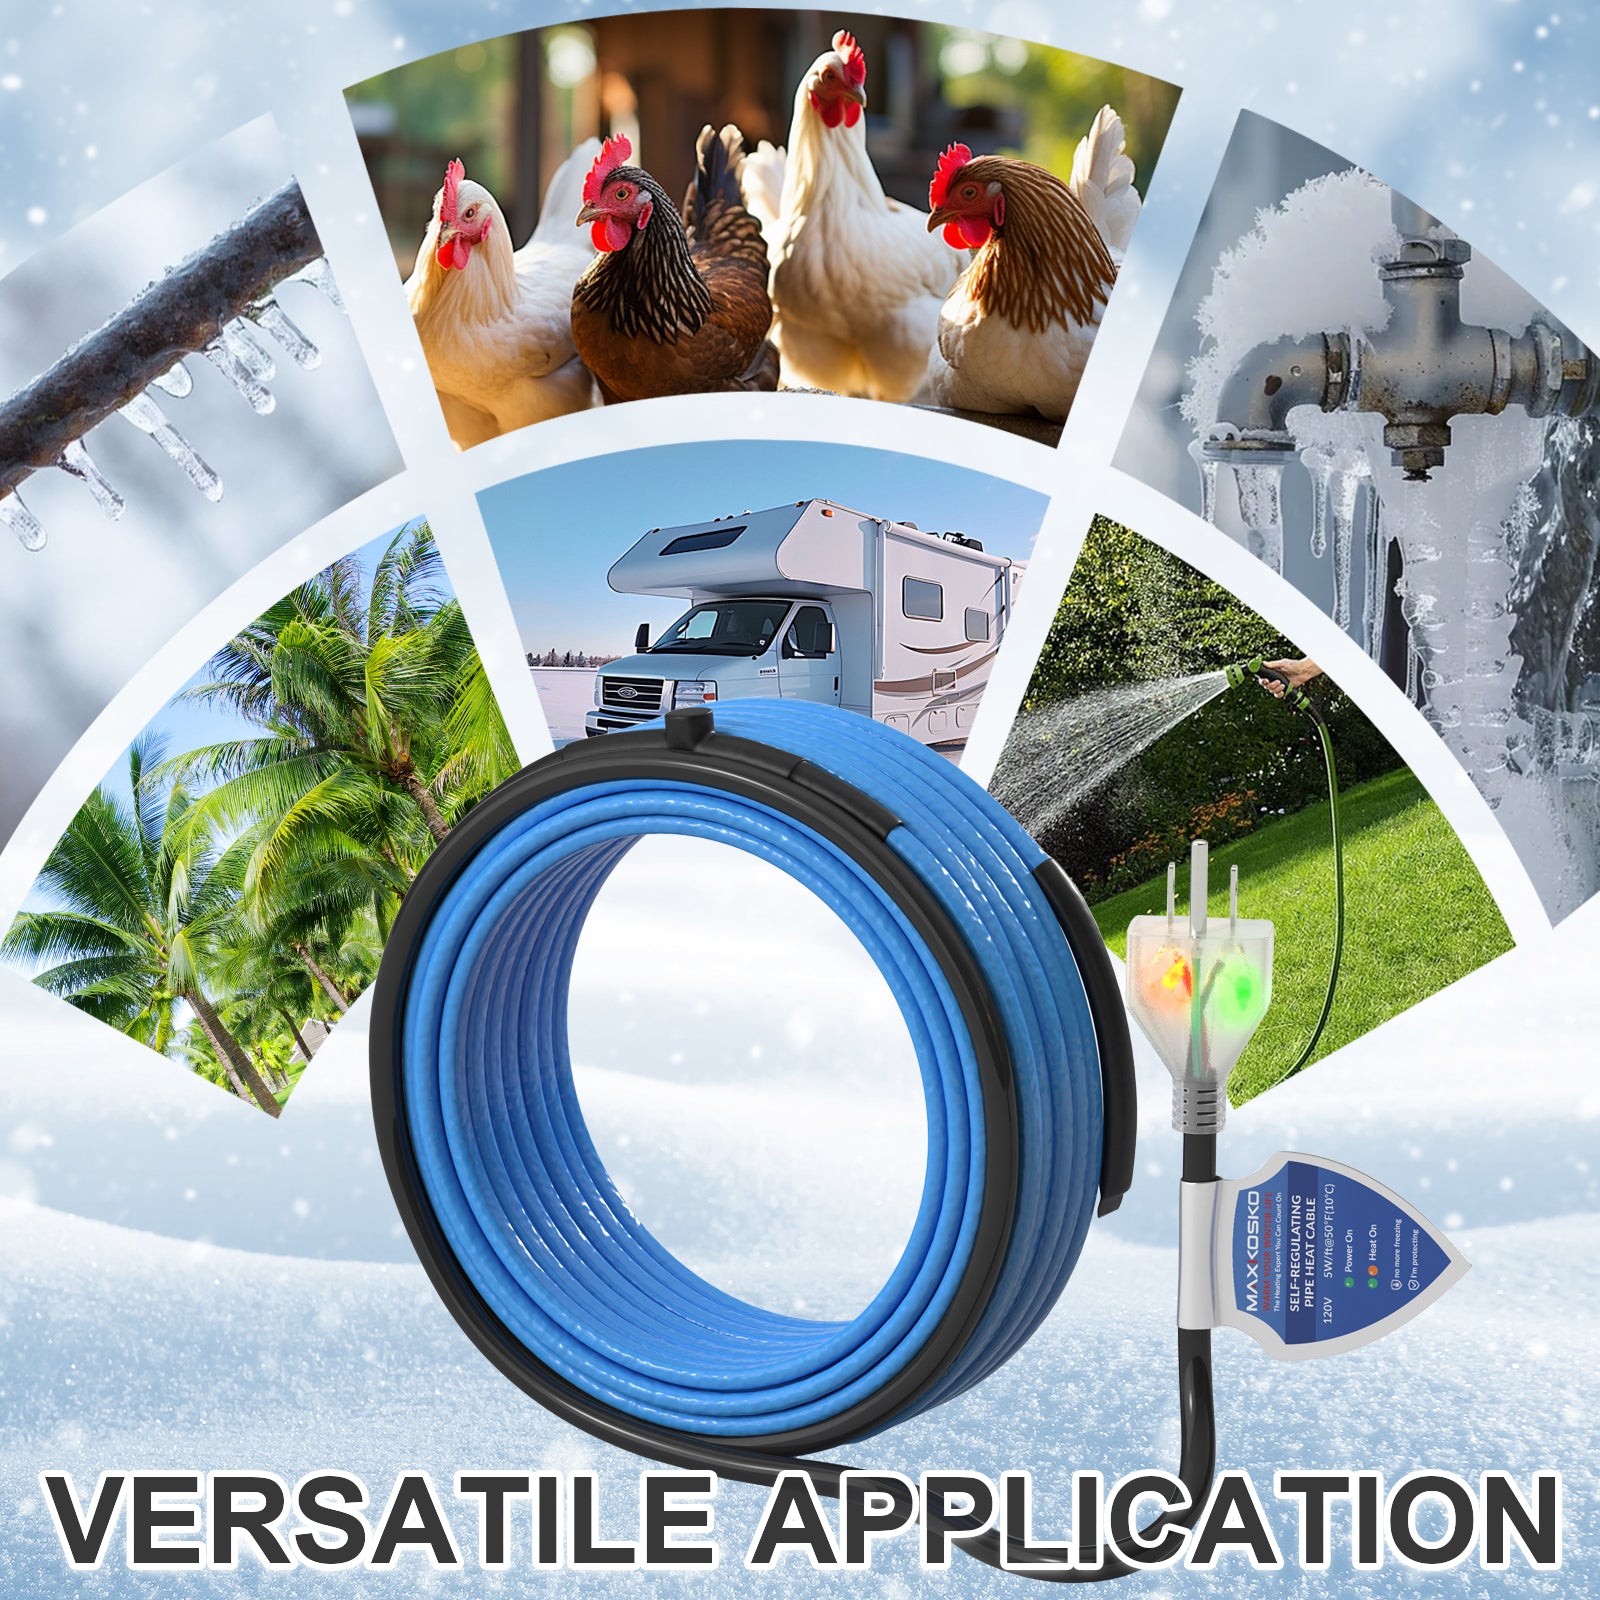
| Compatible Pipes | Compatible Empty or Water-Filled Rigid Metal and Plastic Pipes |

Basic Installation Requirements View Requirements Hide Requirements
- Test the cable before installation by cooling the thermostat with ice water or ice packs.
- Both green and red lights should illuminate when the thermostat calls for heat.
- Install the thermostat directly against the coldest part of the pipe.
- Route the heating cable straight, spiraled, or in an approved overlapping pattern.
- Secure the cable and thermostat using suitable installation tape.
- Cover the complete pipe and cable with appropriate nonflammable insulation.
- Inspect the cable and electrical connection before each winter season.


Frequently Asked Questions
What is the difference between the green and red lights?
The green light confirms that power is connected. The red light confirms that the thermostat has activated the heating cable.
Why is only the green light on?
The cable has power but the pipe is warm enough that the thermostat is not currently calling for heat.
When should both lights be on?
Both lights should illuminate when power is connected and the thermostat detects a pipe temperature below approximately 37°F (3°C).
Is this different from the blue pipe heat cable?
The heating and thermostat functions are similar. This upgraded model adds a separate red indicator so you can see when heating is actively operating.
Can it be installed on empty pipes?
Yes. It is suitable for compatible empty or water-filled rigid metal and plastic pipes when installed and insulated according to the manual.
Can I use an external 120V thermostat controller?
Yes, but both the external controller and built-in thermostat must call for heat before the cable operates.
Before Installation
Confirm the pipe material, diameter, total route length, expected winter temperature, insulation thickness, and available 120V GFCI-protected outlet before ordering.
Review the complete manual for cable-length factors, thermostat placement, testing, and insulation requirements.