

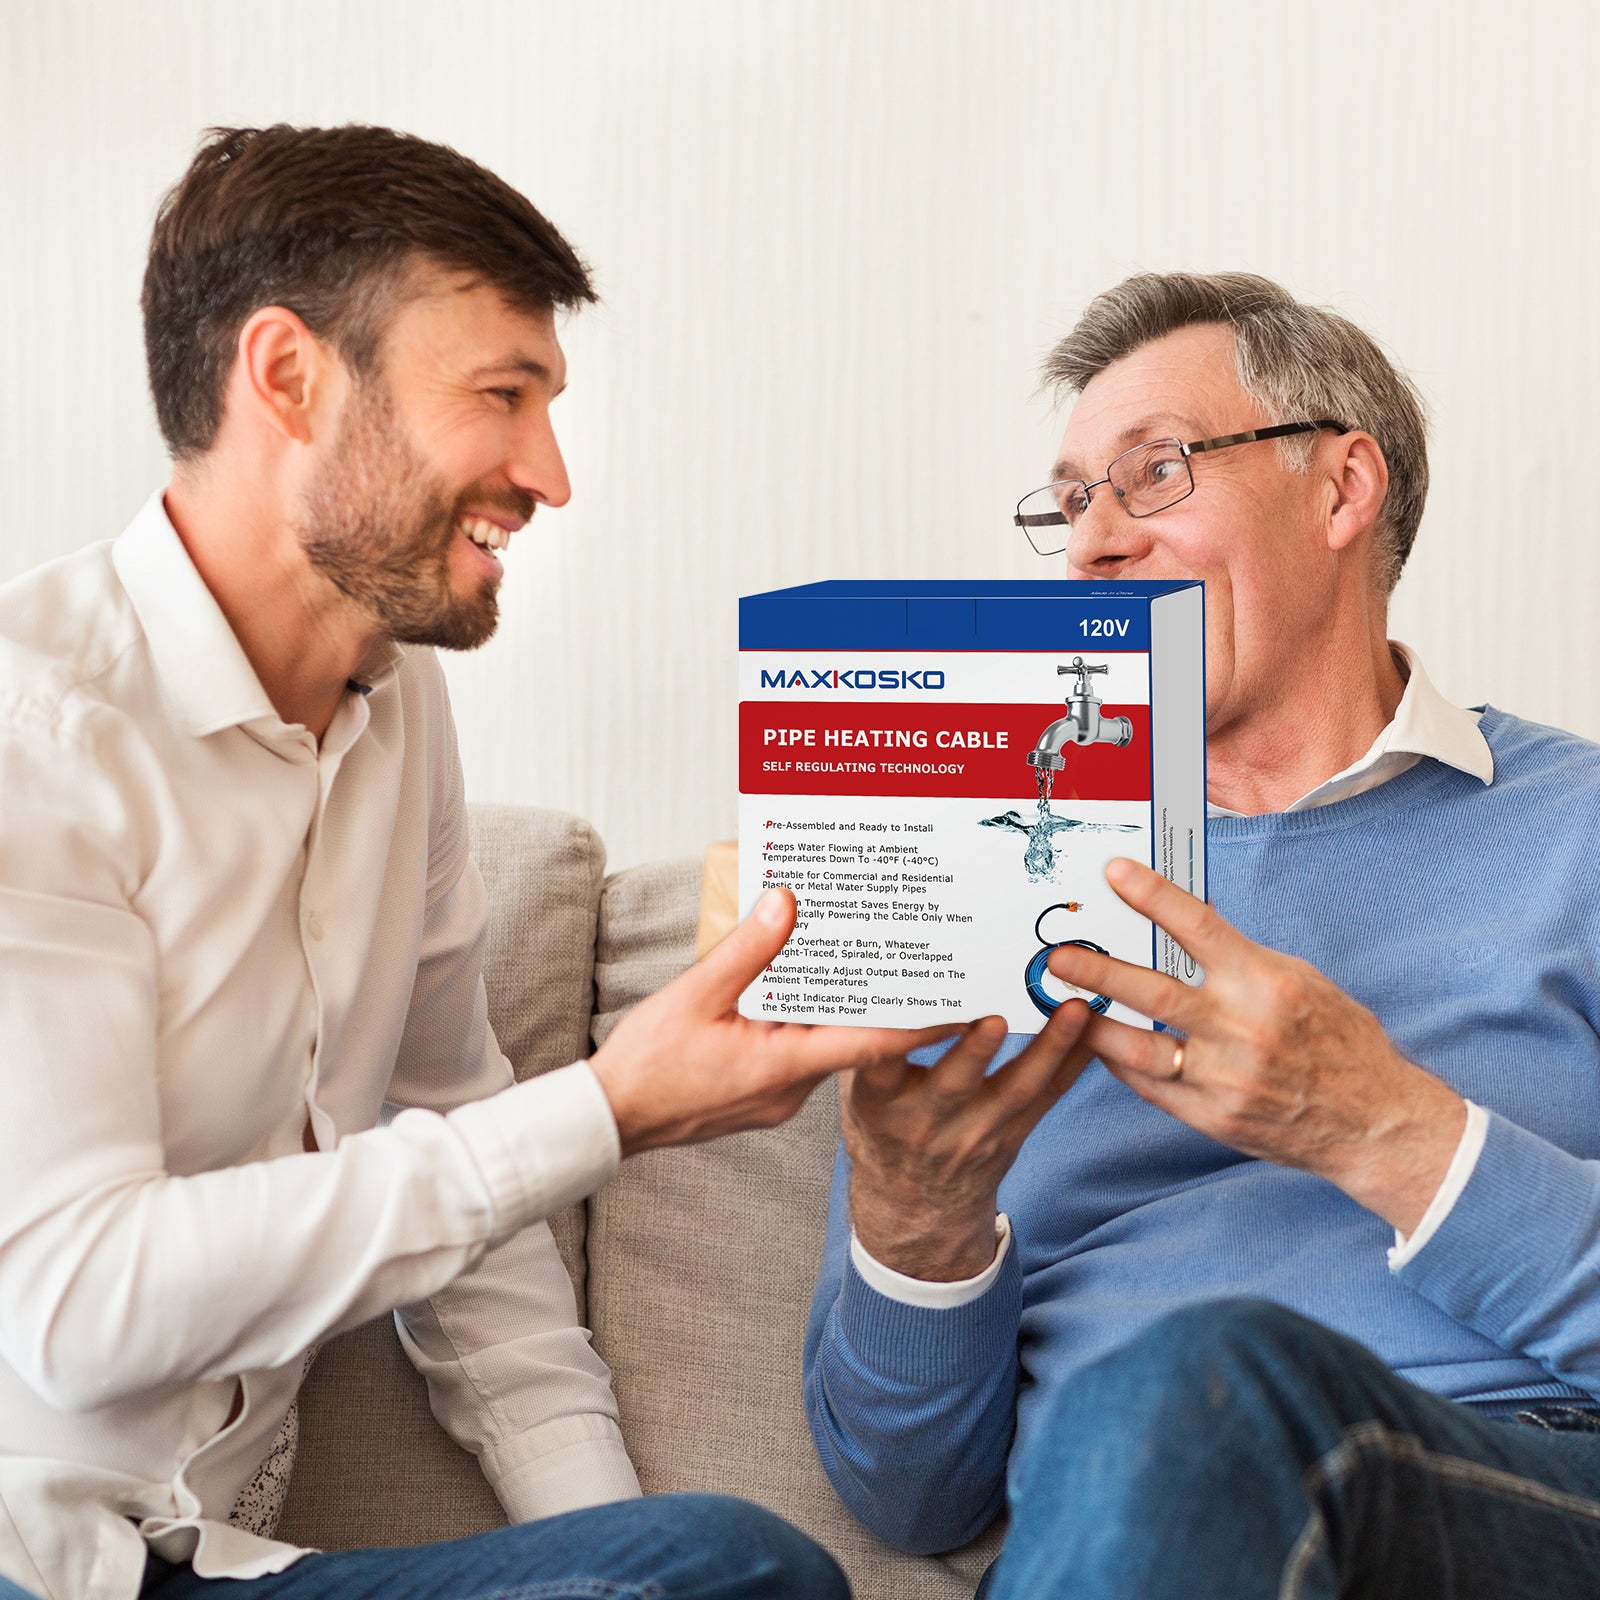
MAXKOSKO Self-Regulating Pipe Heating Cable, 6ft to 150ft with Built-in Thermostat
19 in stock
Couldn't load pickup availability
Payment Reminder
- Our website accepts Visa, MasterCard, and American Express. If you are using a card issued by another bank, please ensure it is enabled for international transactions.
- During payment, you may be required to complete 3D Secure (3DS) verification. Please ensure that the cardholder completes the verification to avoid payment failure.
- If your usual spending amounts are relatively low and you are making a larger purchase, your bank may flag the transaction as a potential risk. If your payment fails, please contact your bank to approve the transaction.

Description
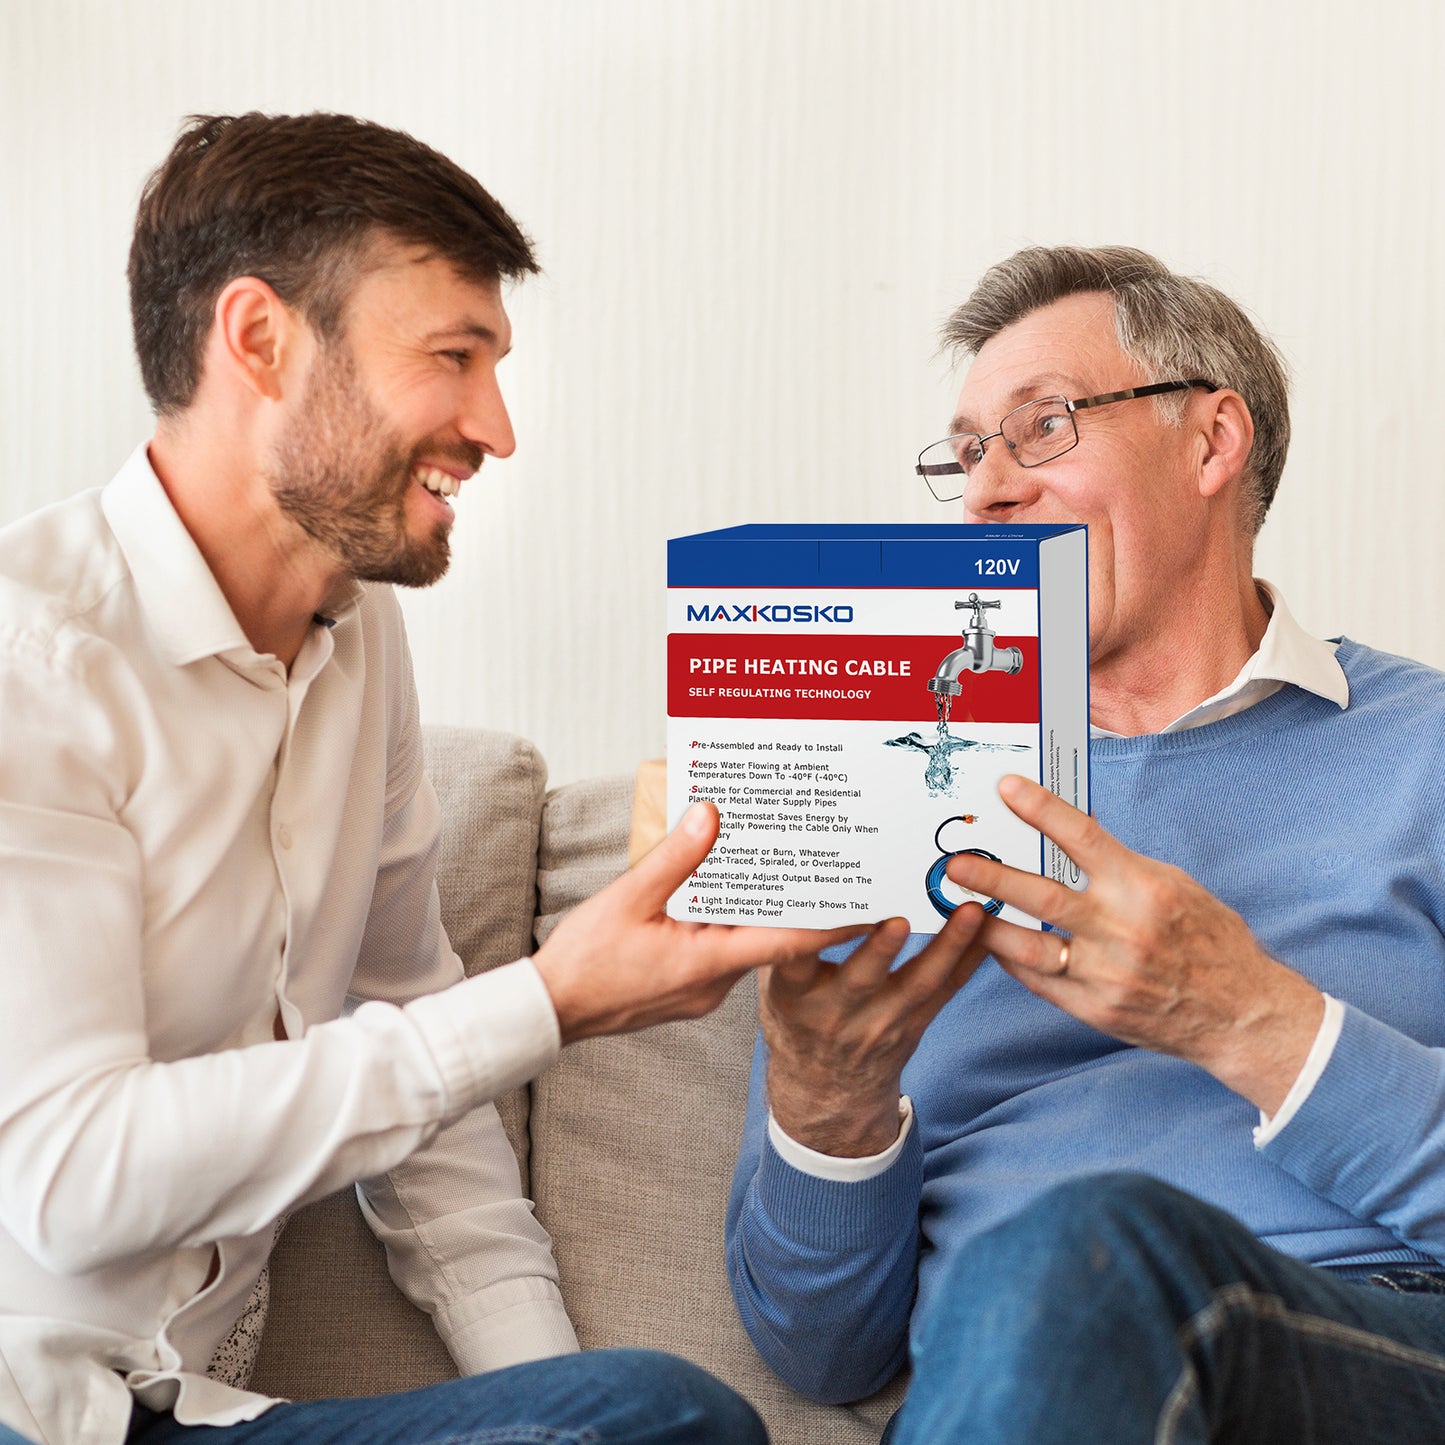
120V Self-Regulating Pipe Heat Cable with Built-In Thermostat
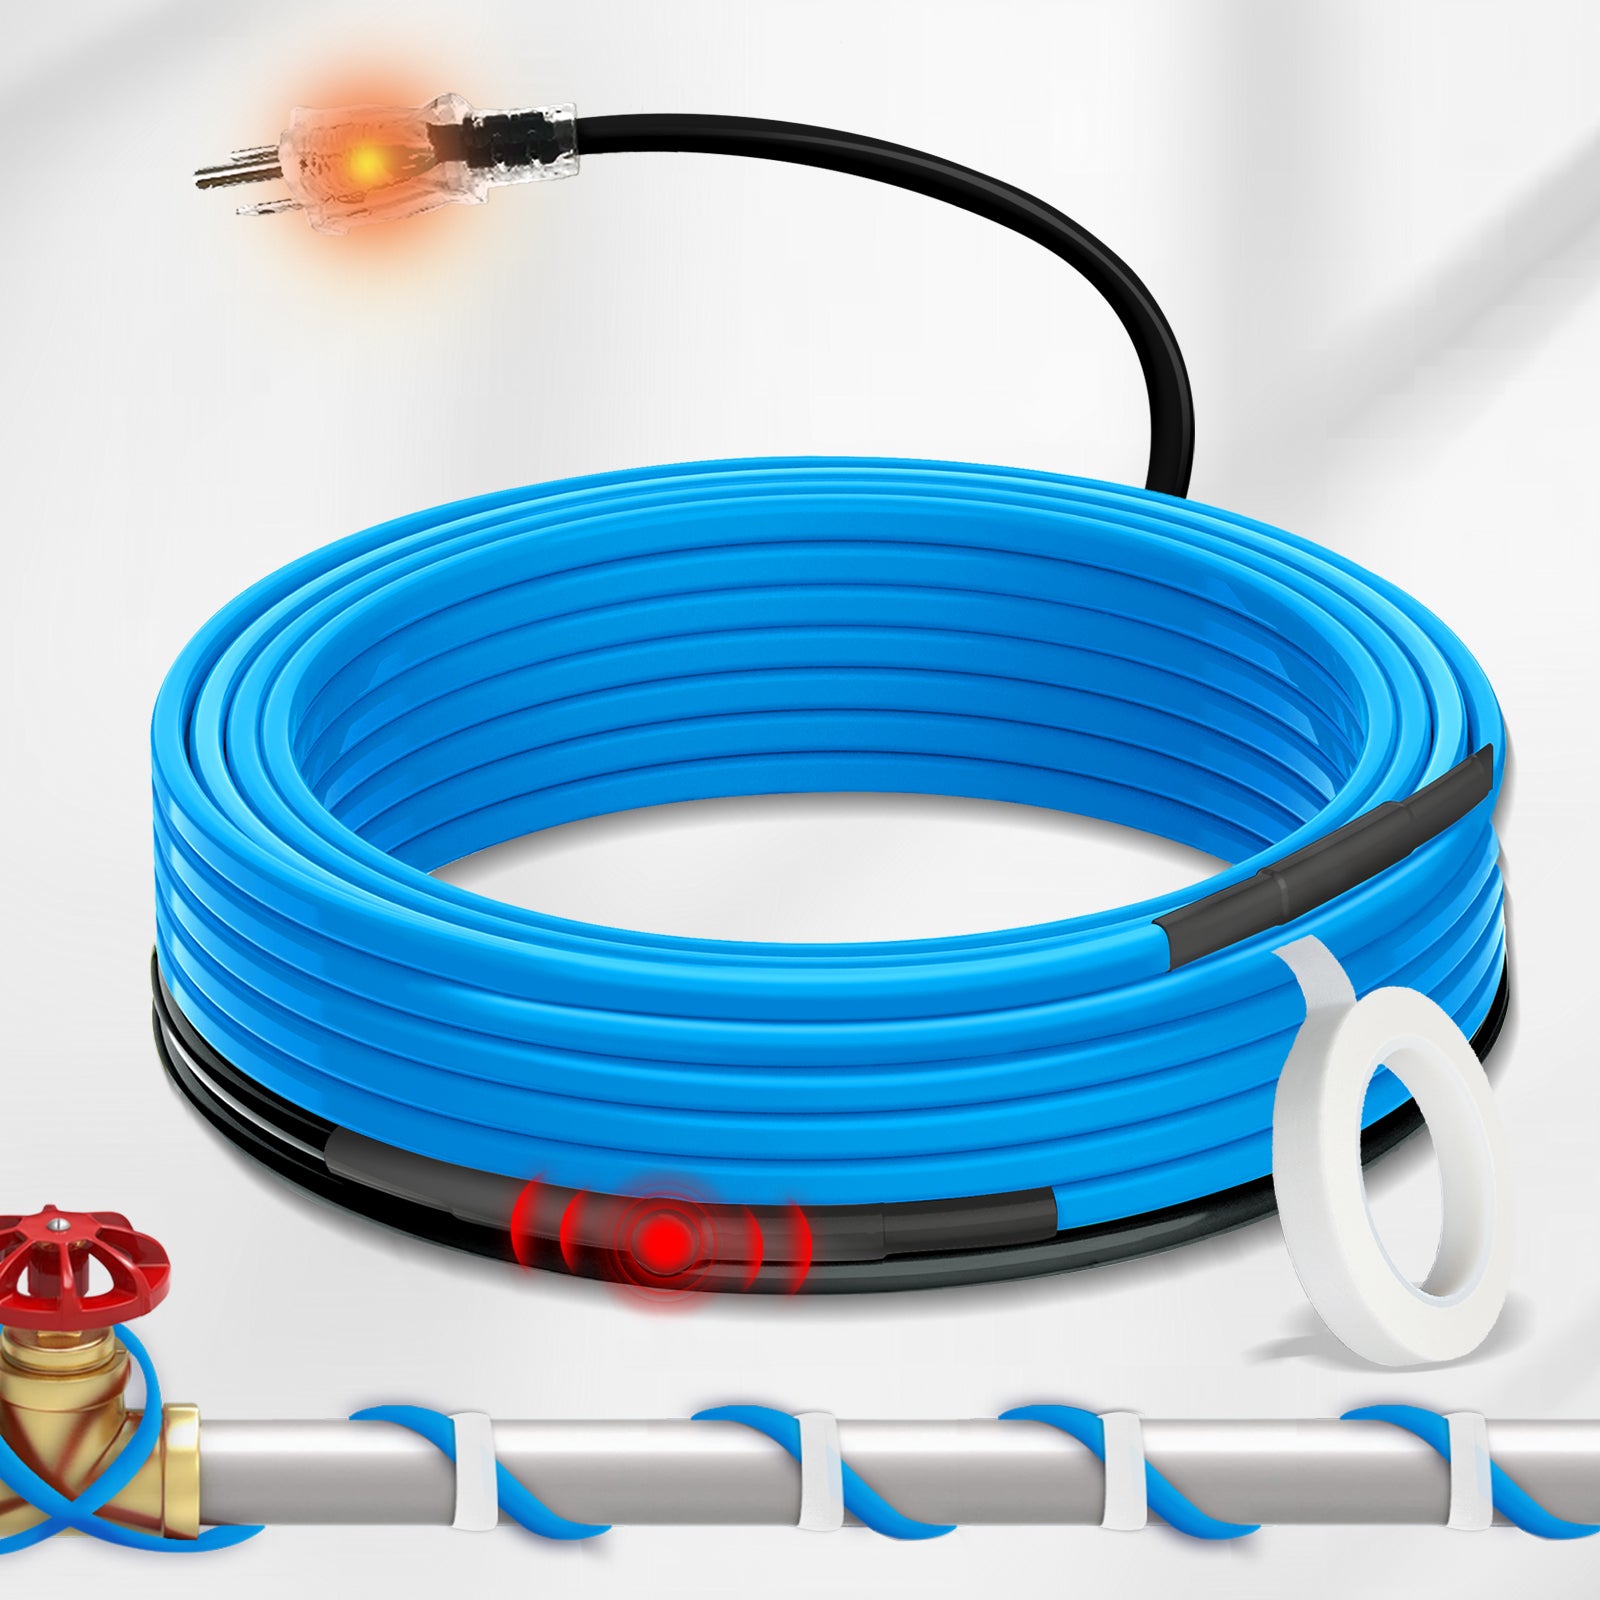
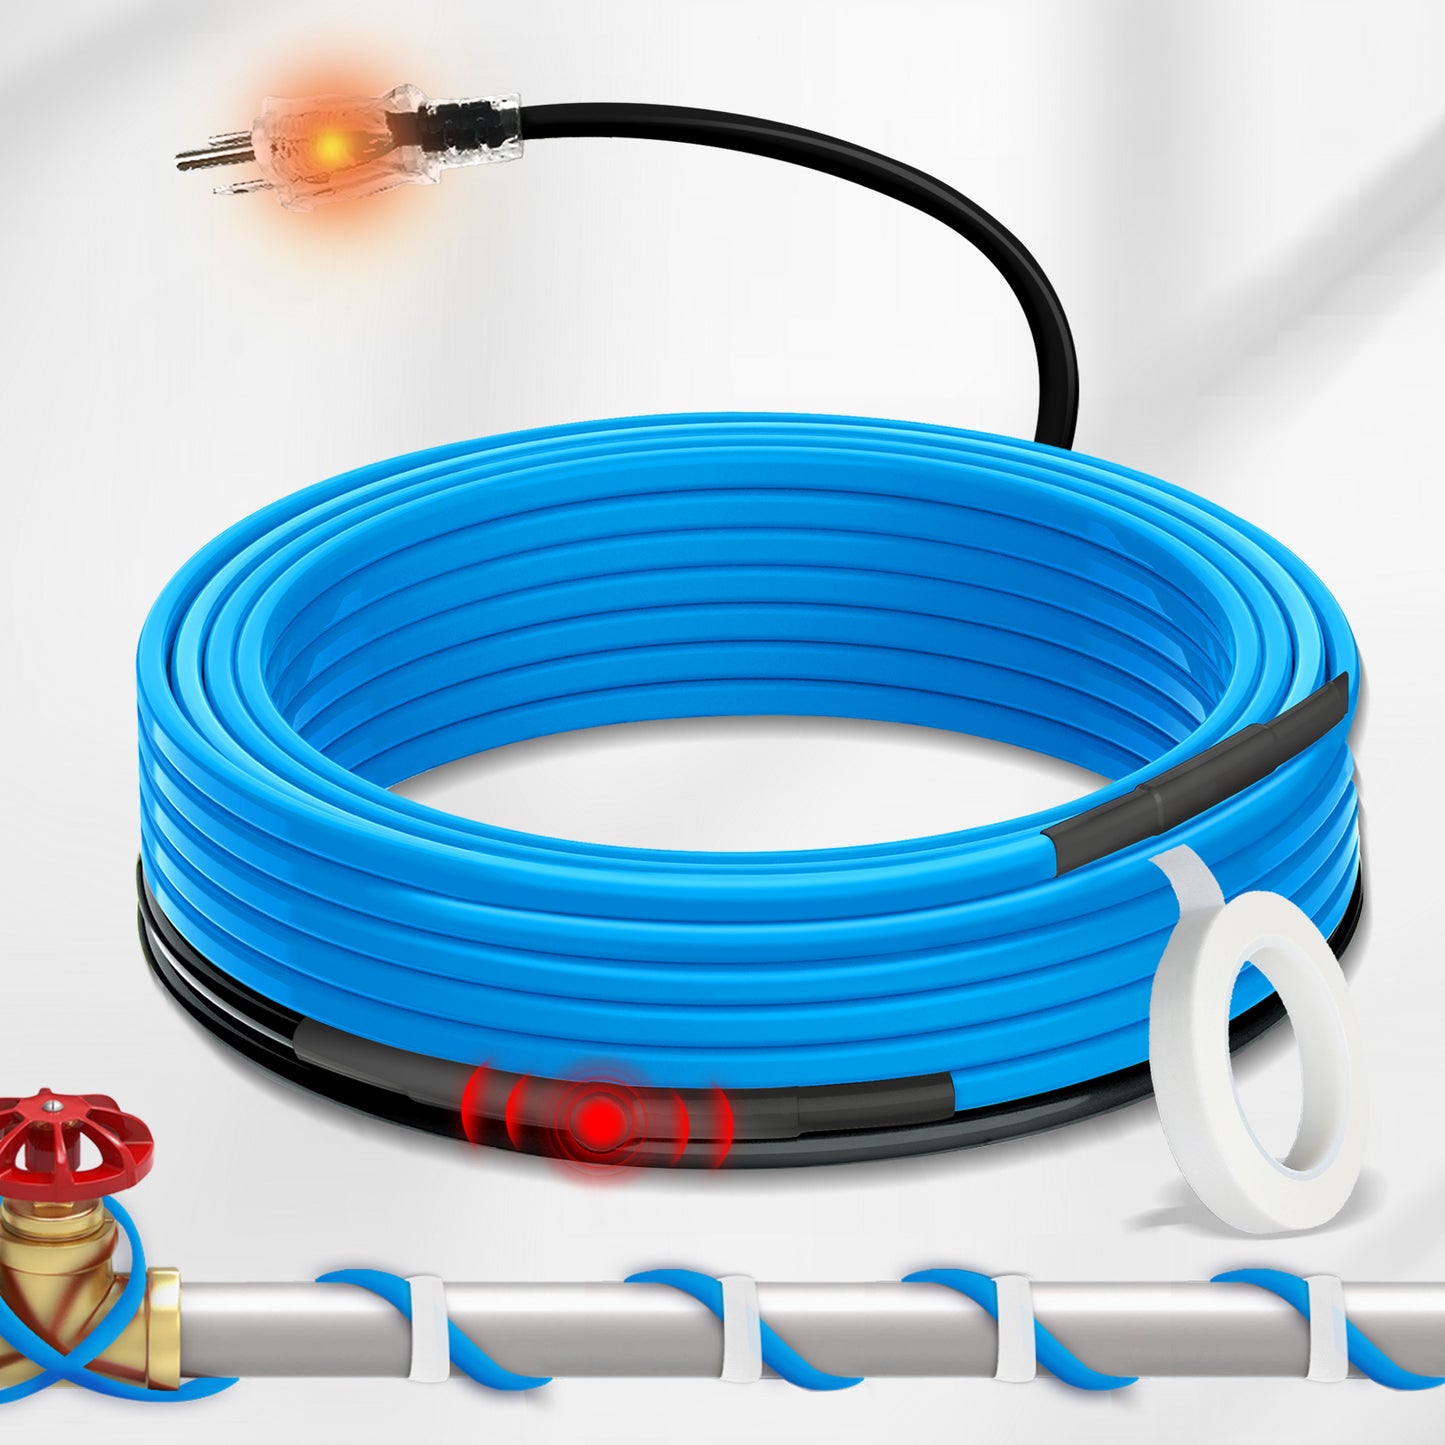
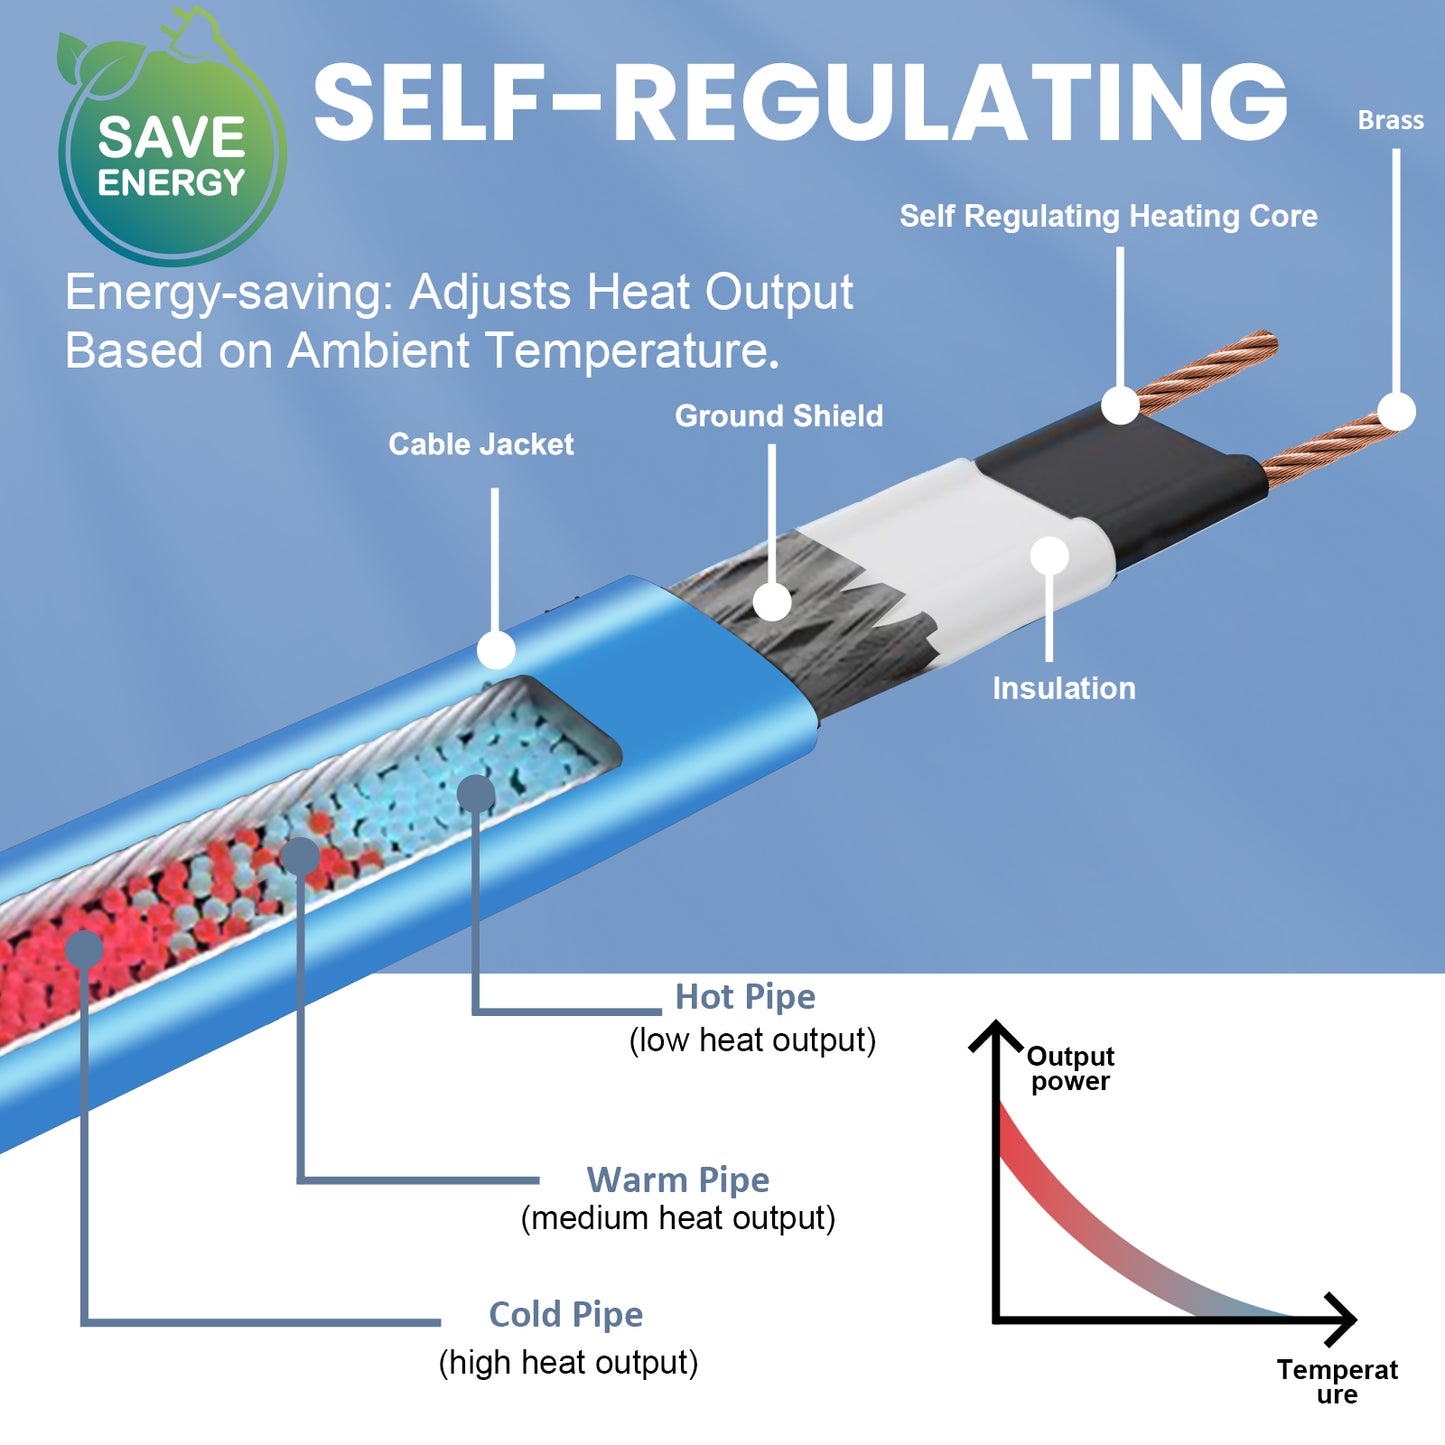
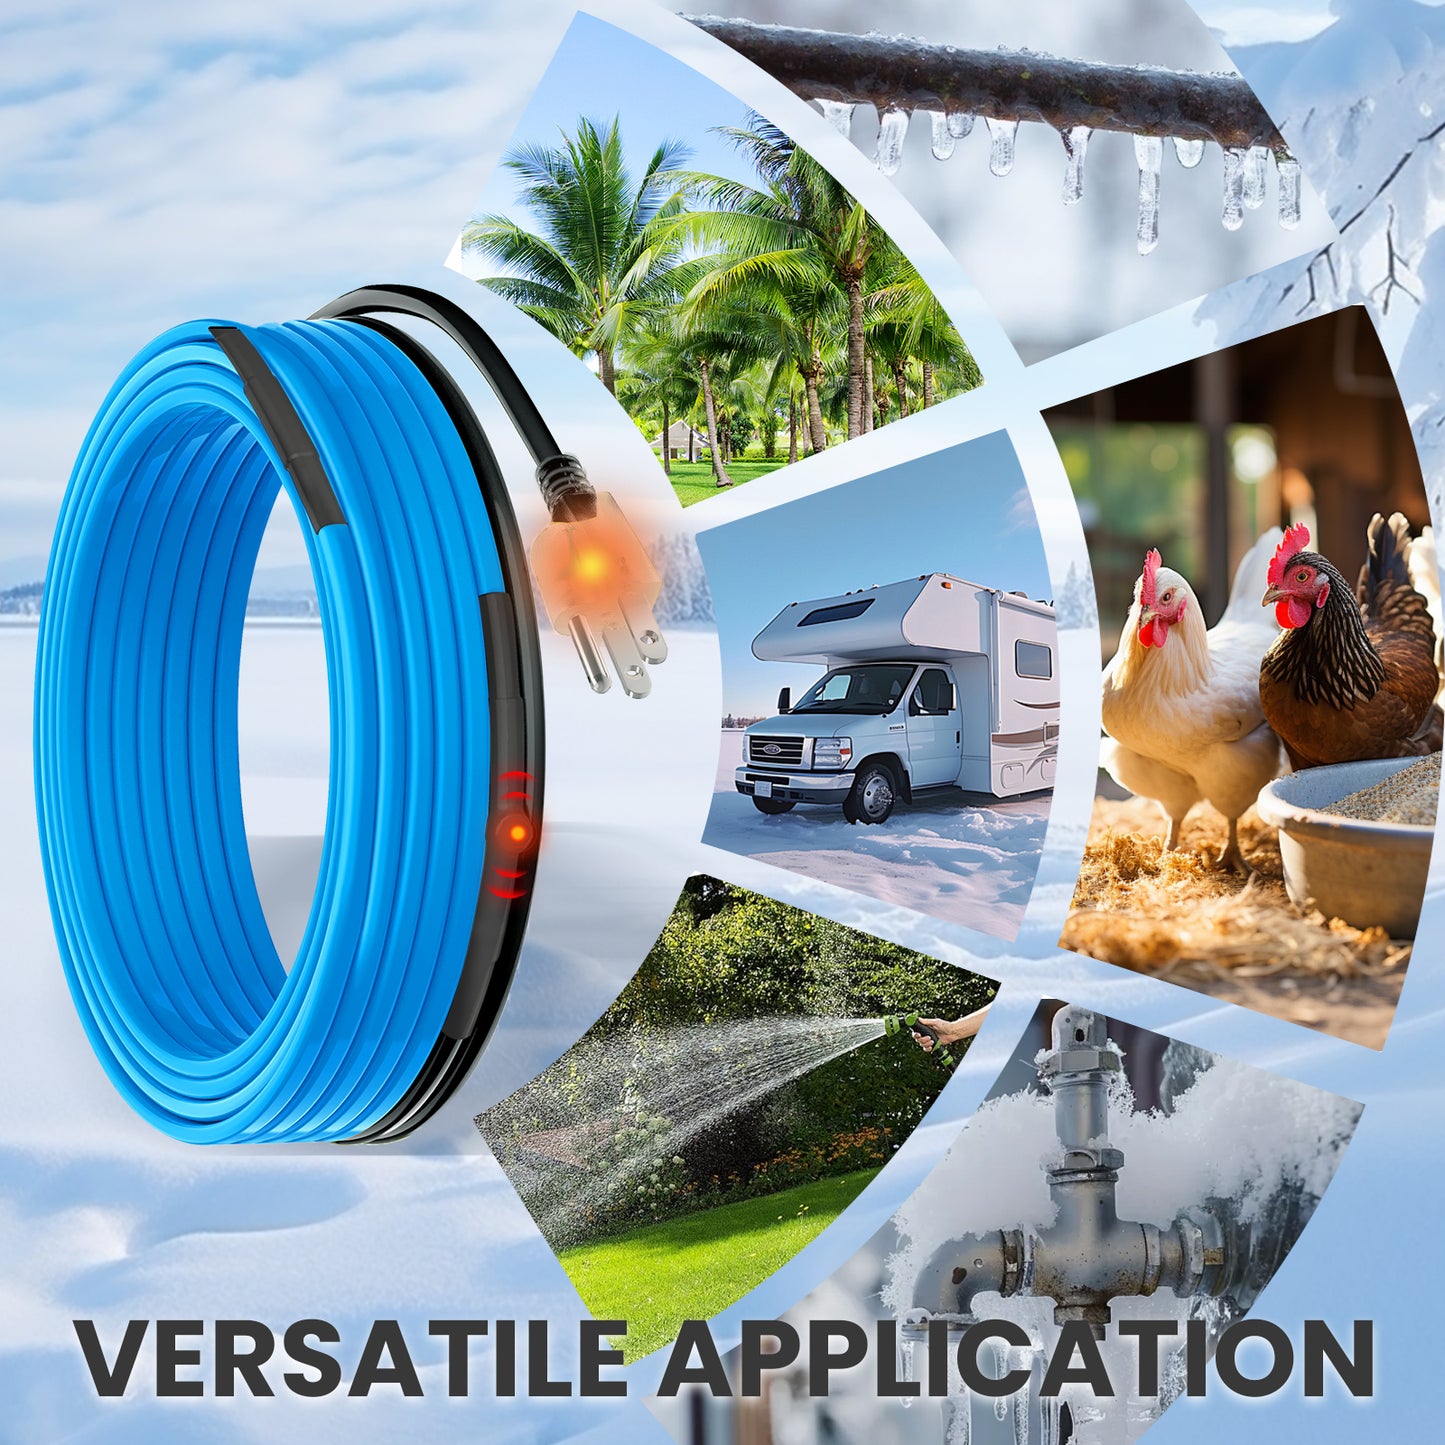
MAXKOSKO Blue Pipe Heat Cable provides automatic freeze protection for compatible metal and rigid plastic water pipes. The built-in mechanical thermostat controls power according to the temperature detected directly on the pipe.
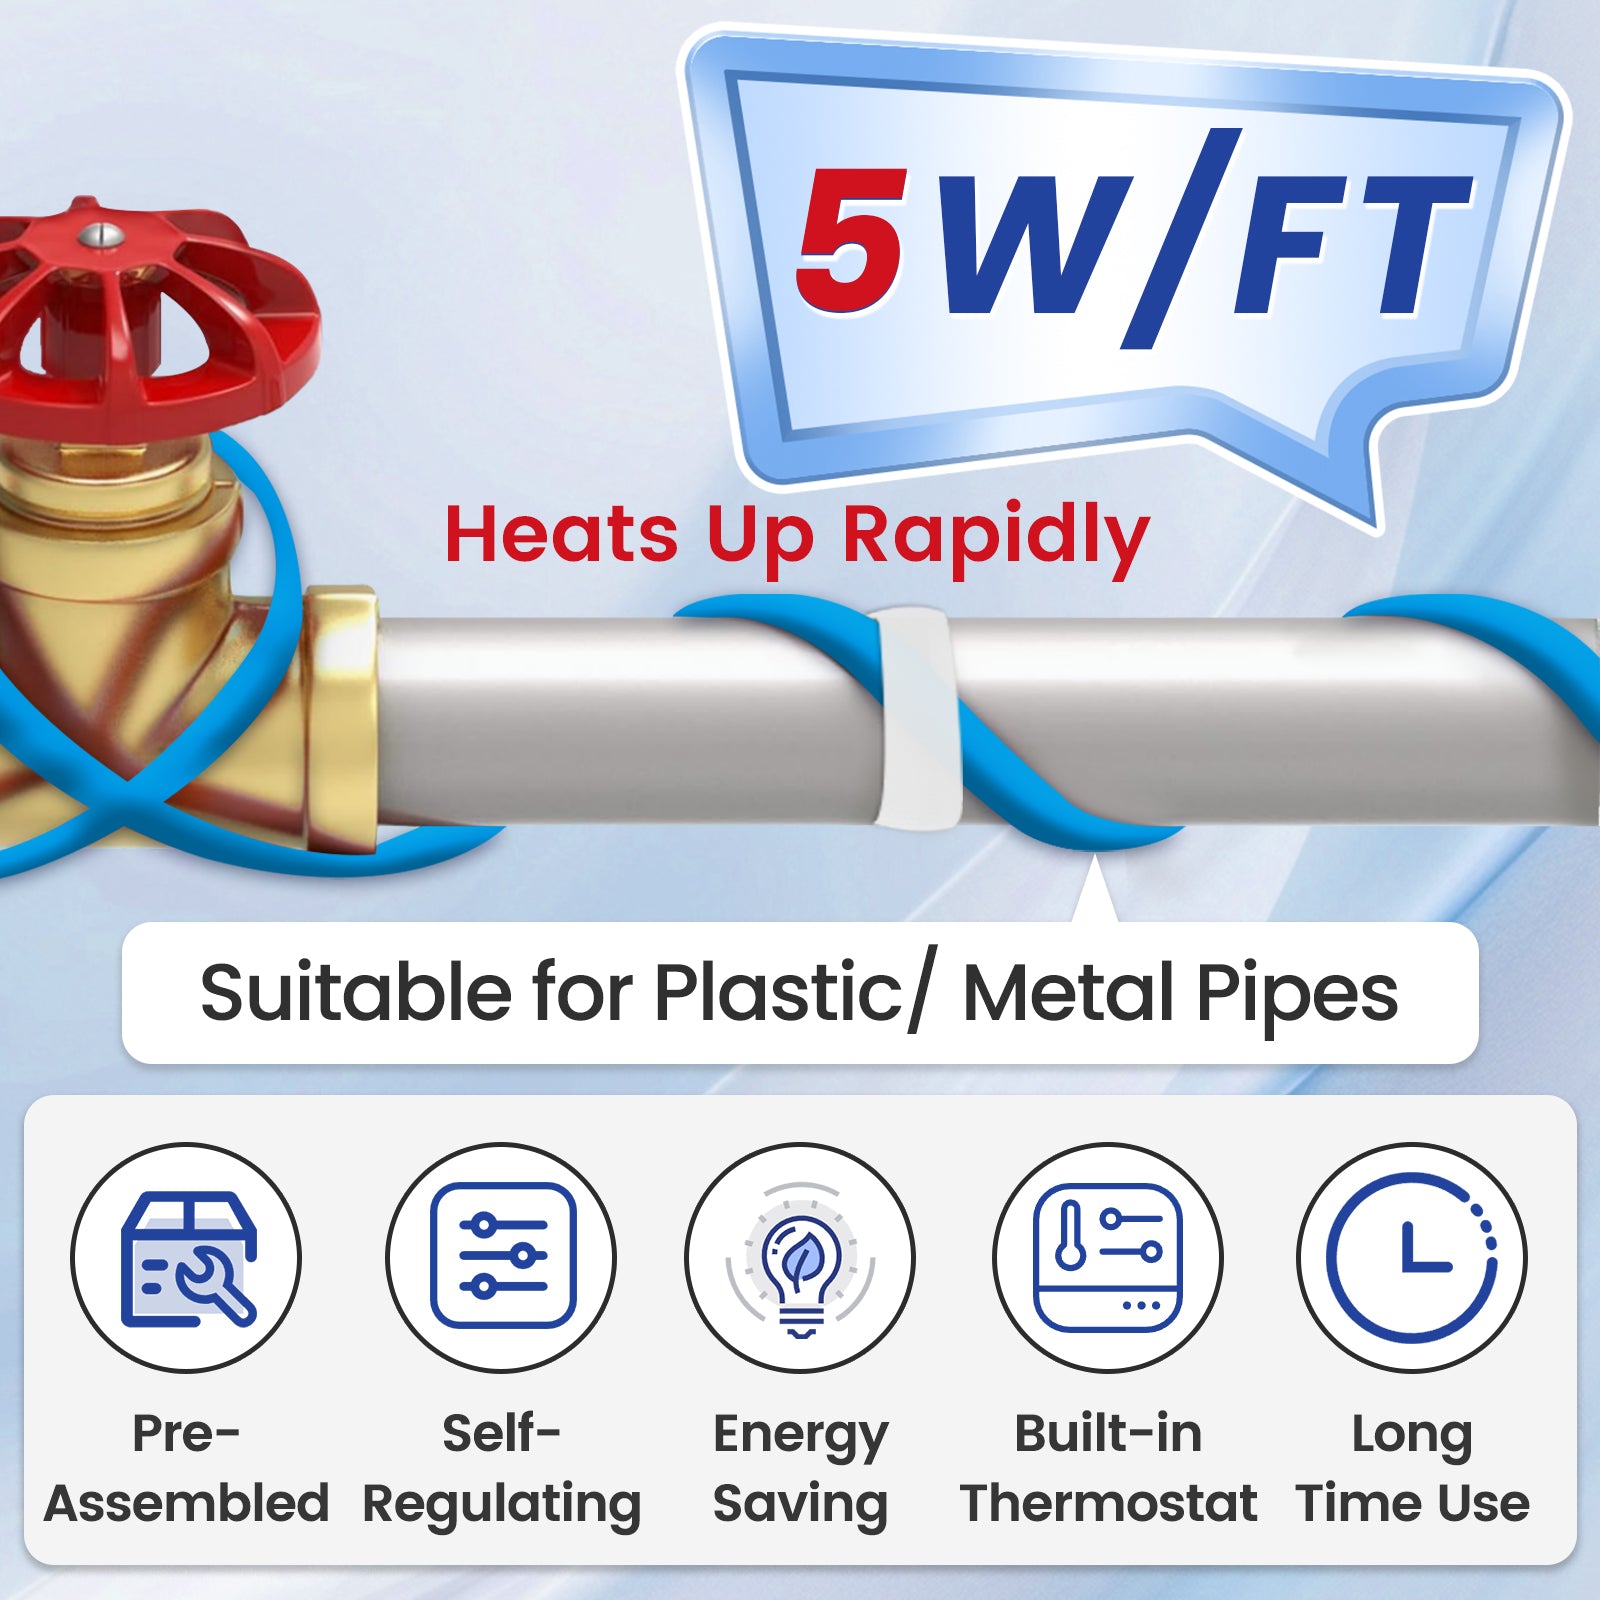
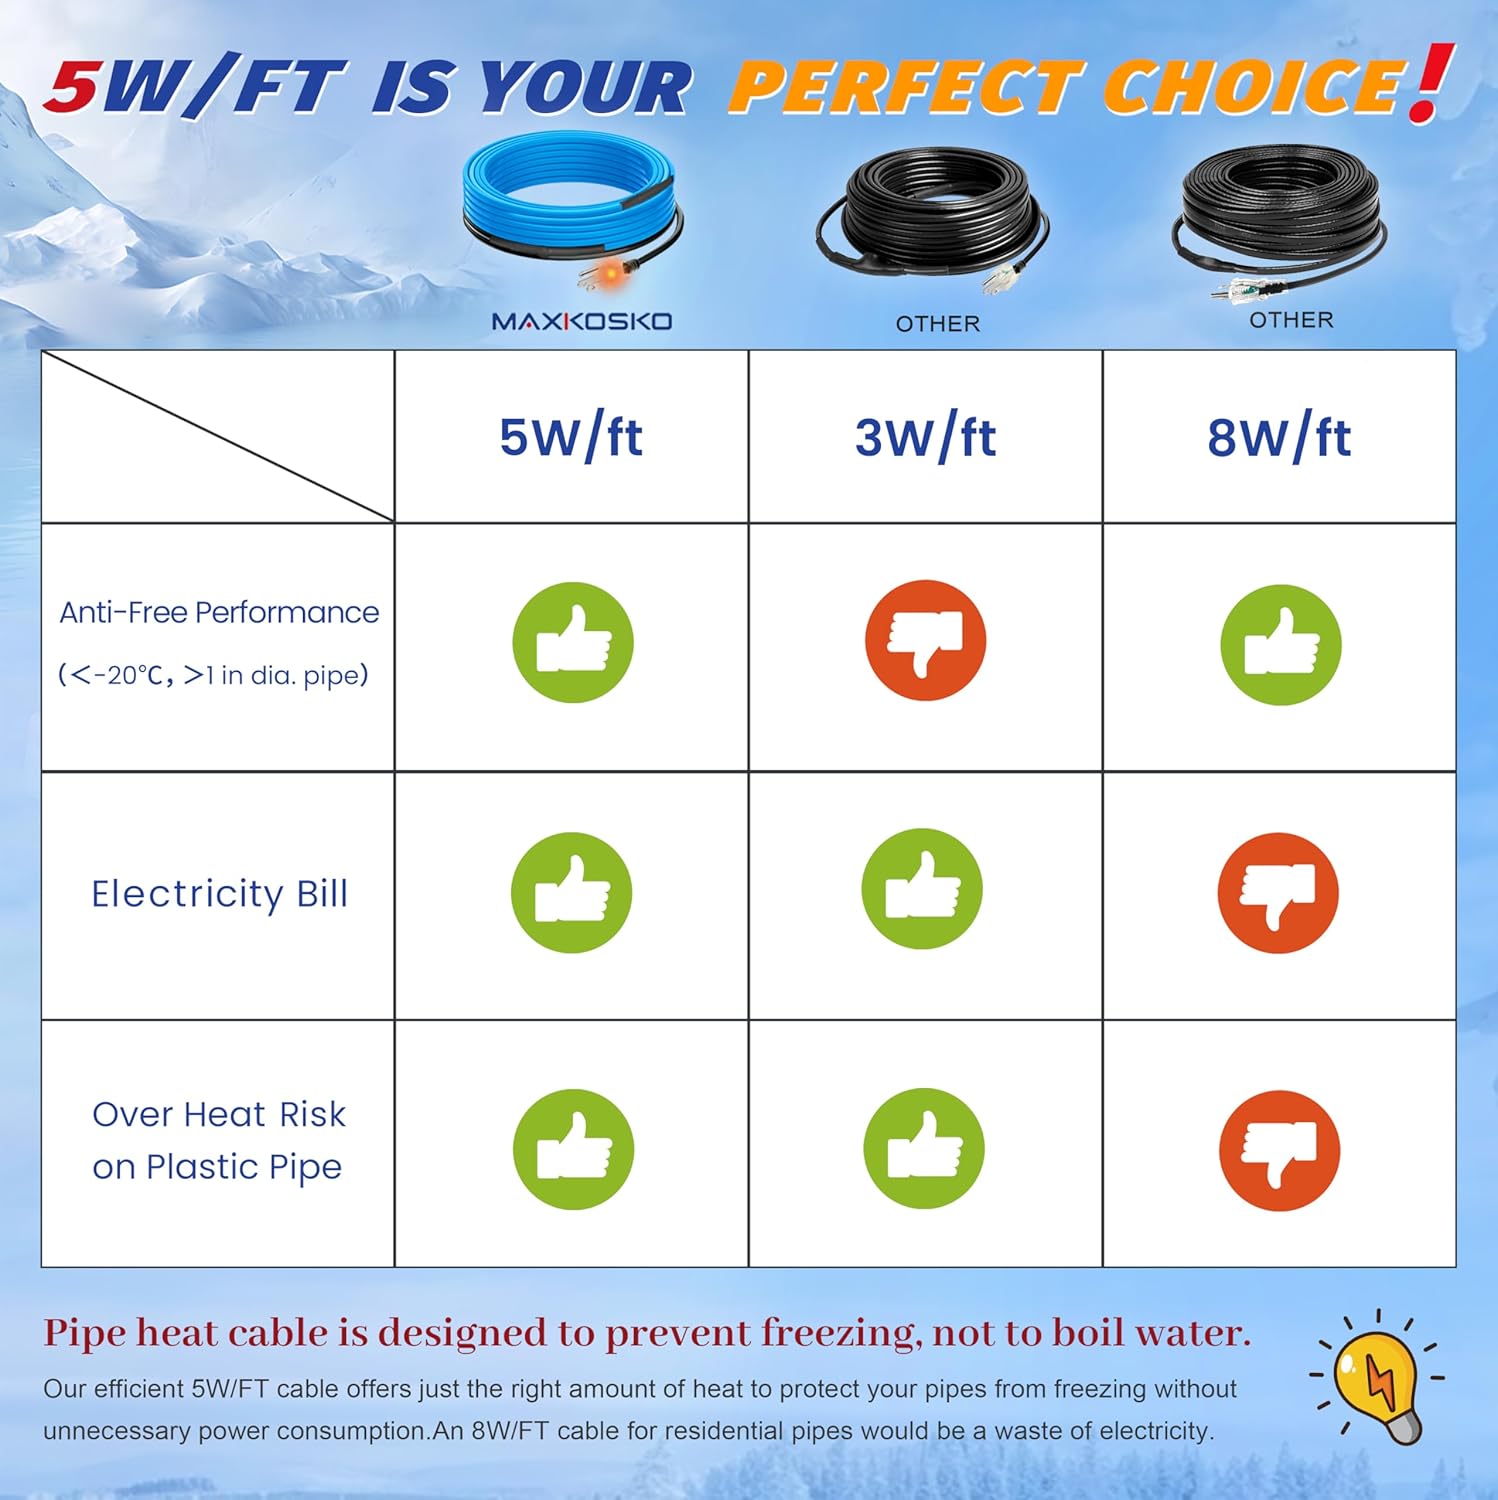
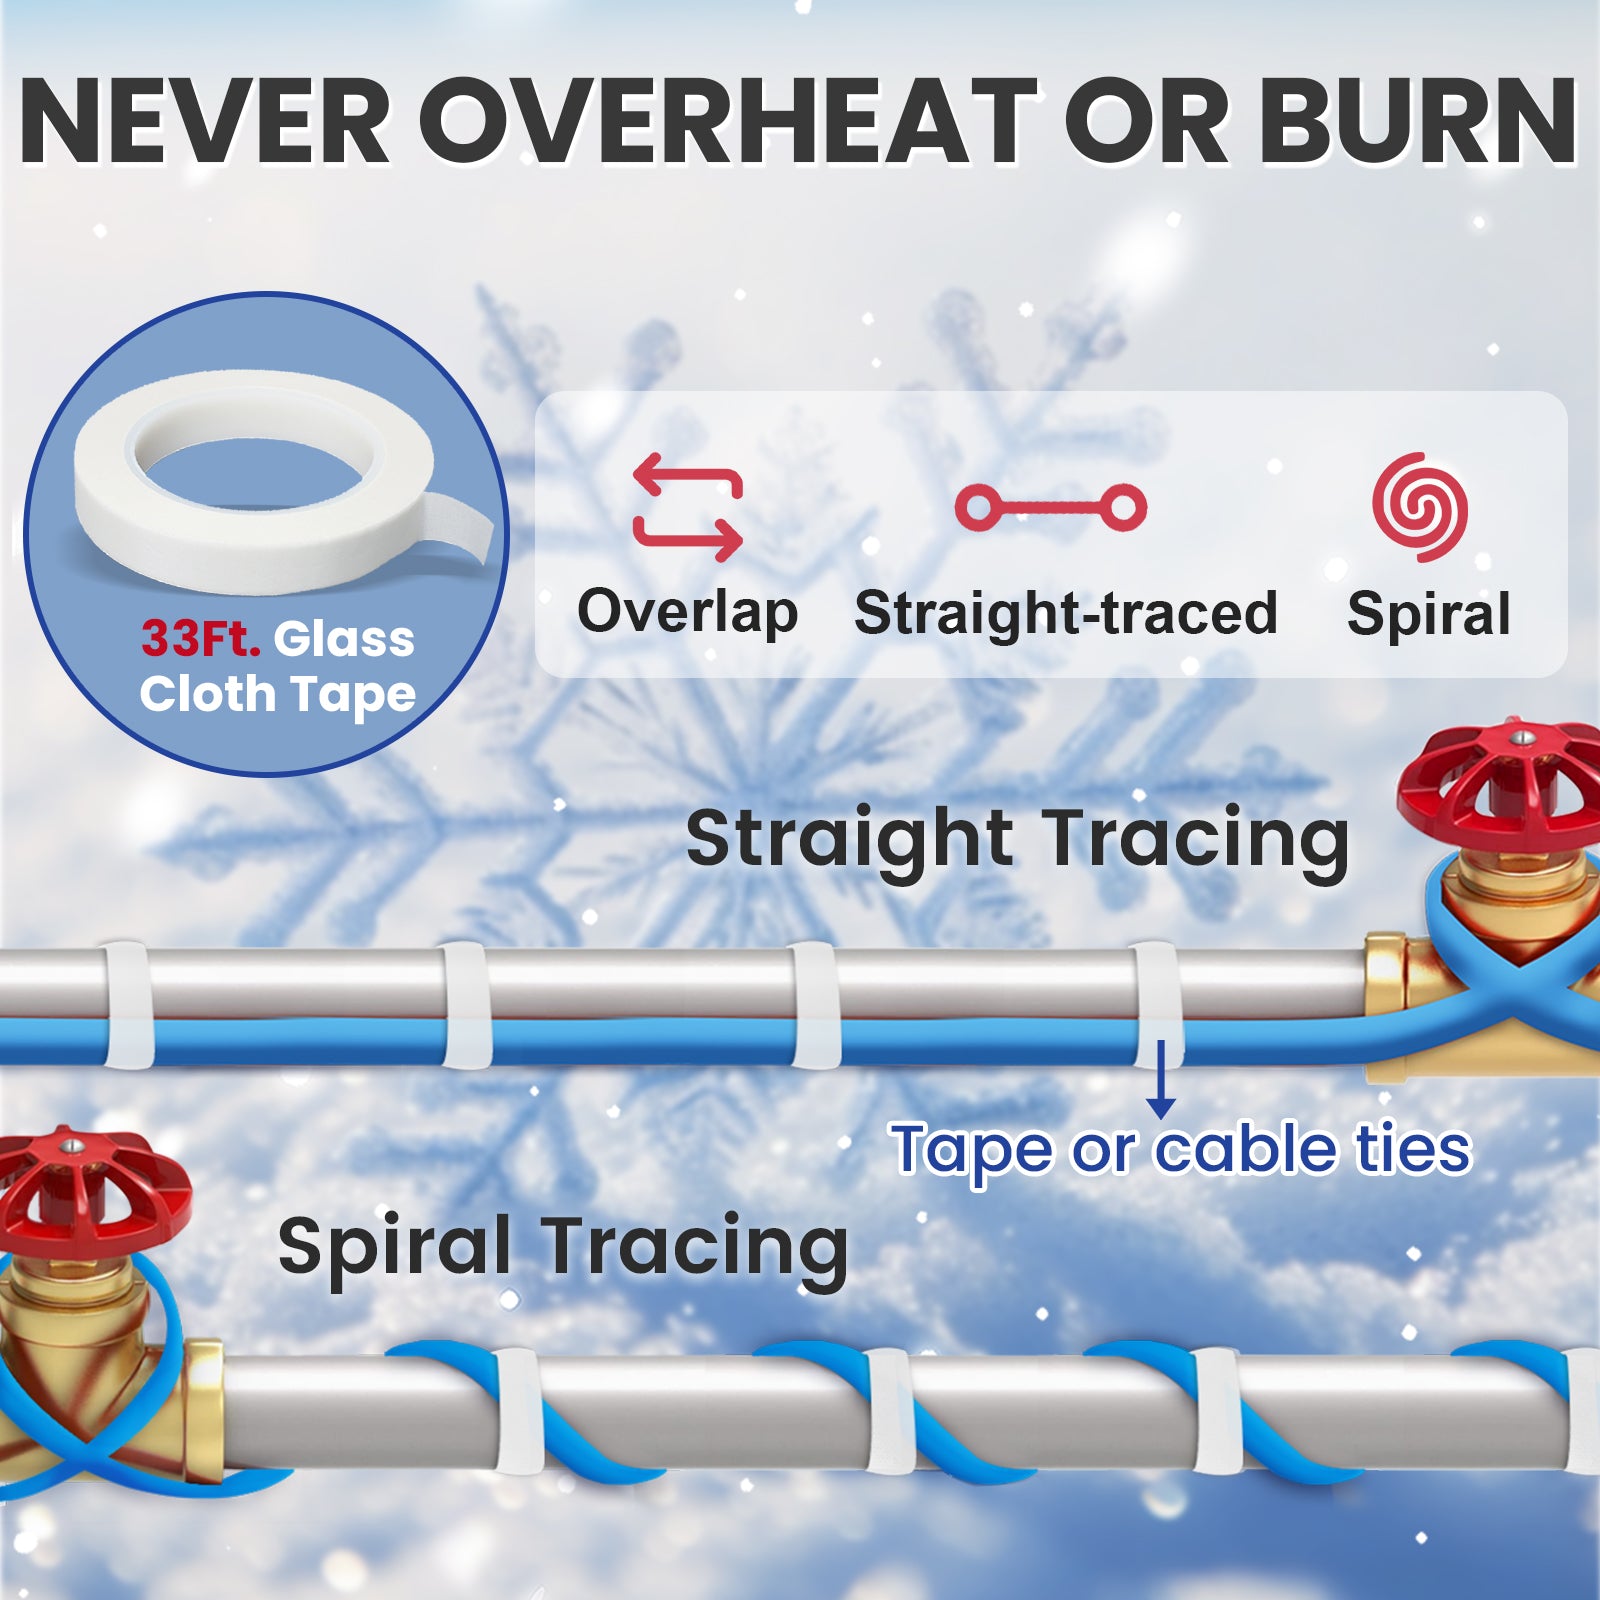
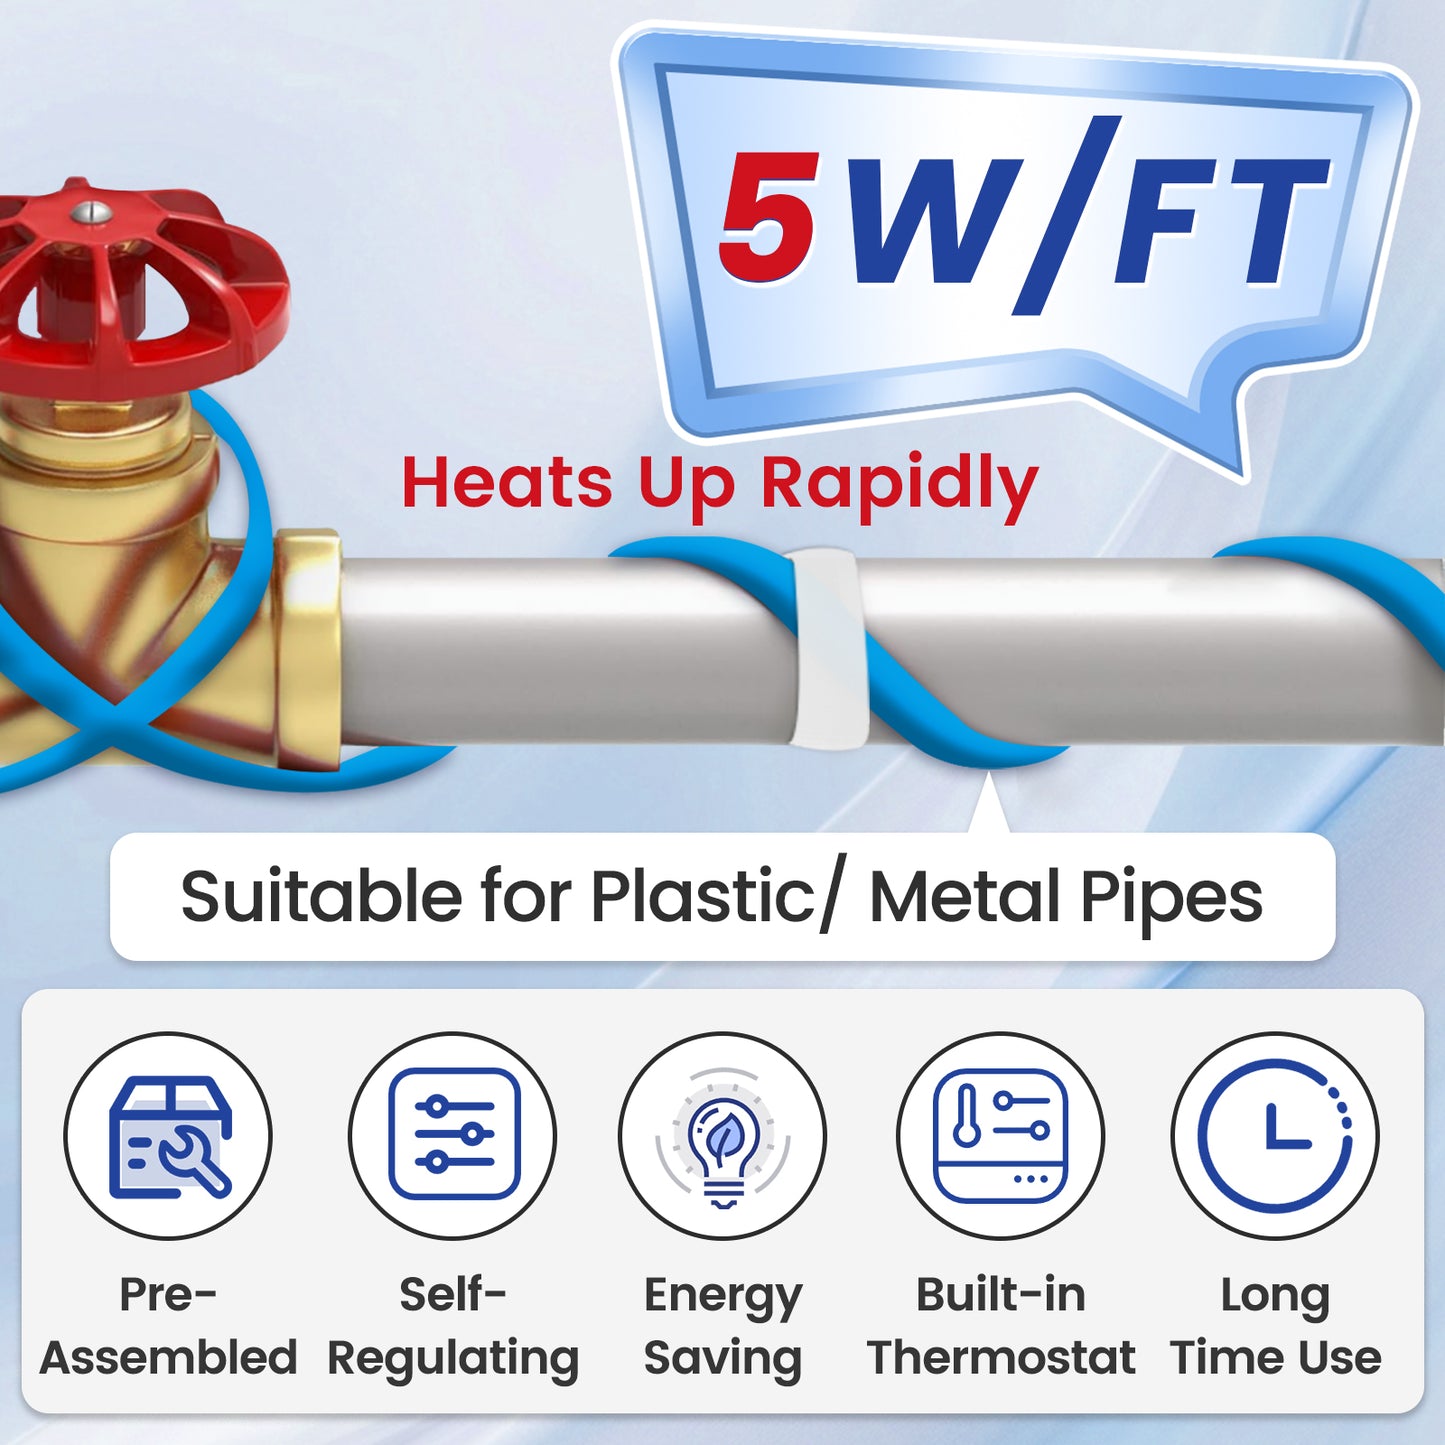
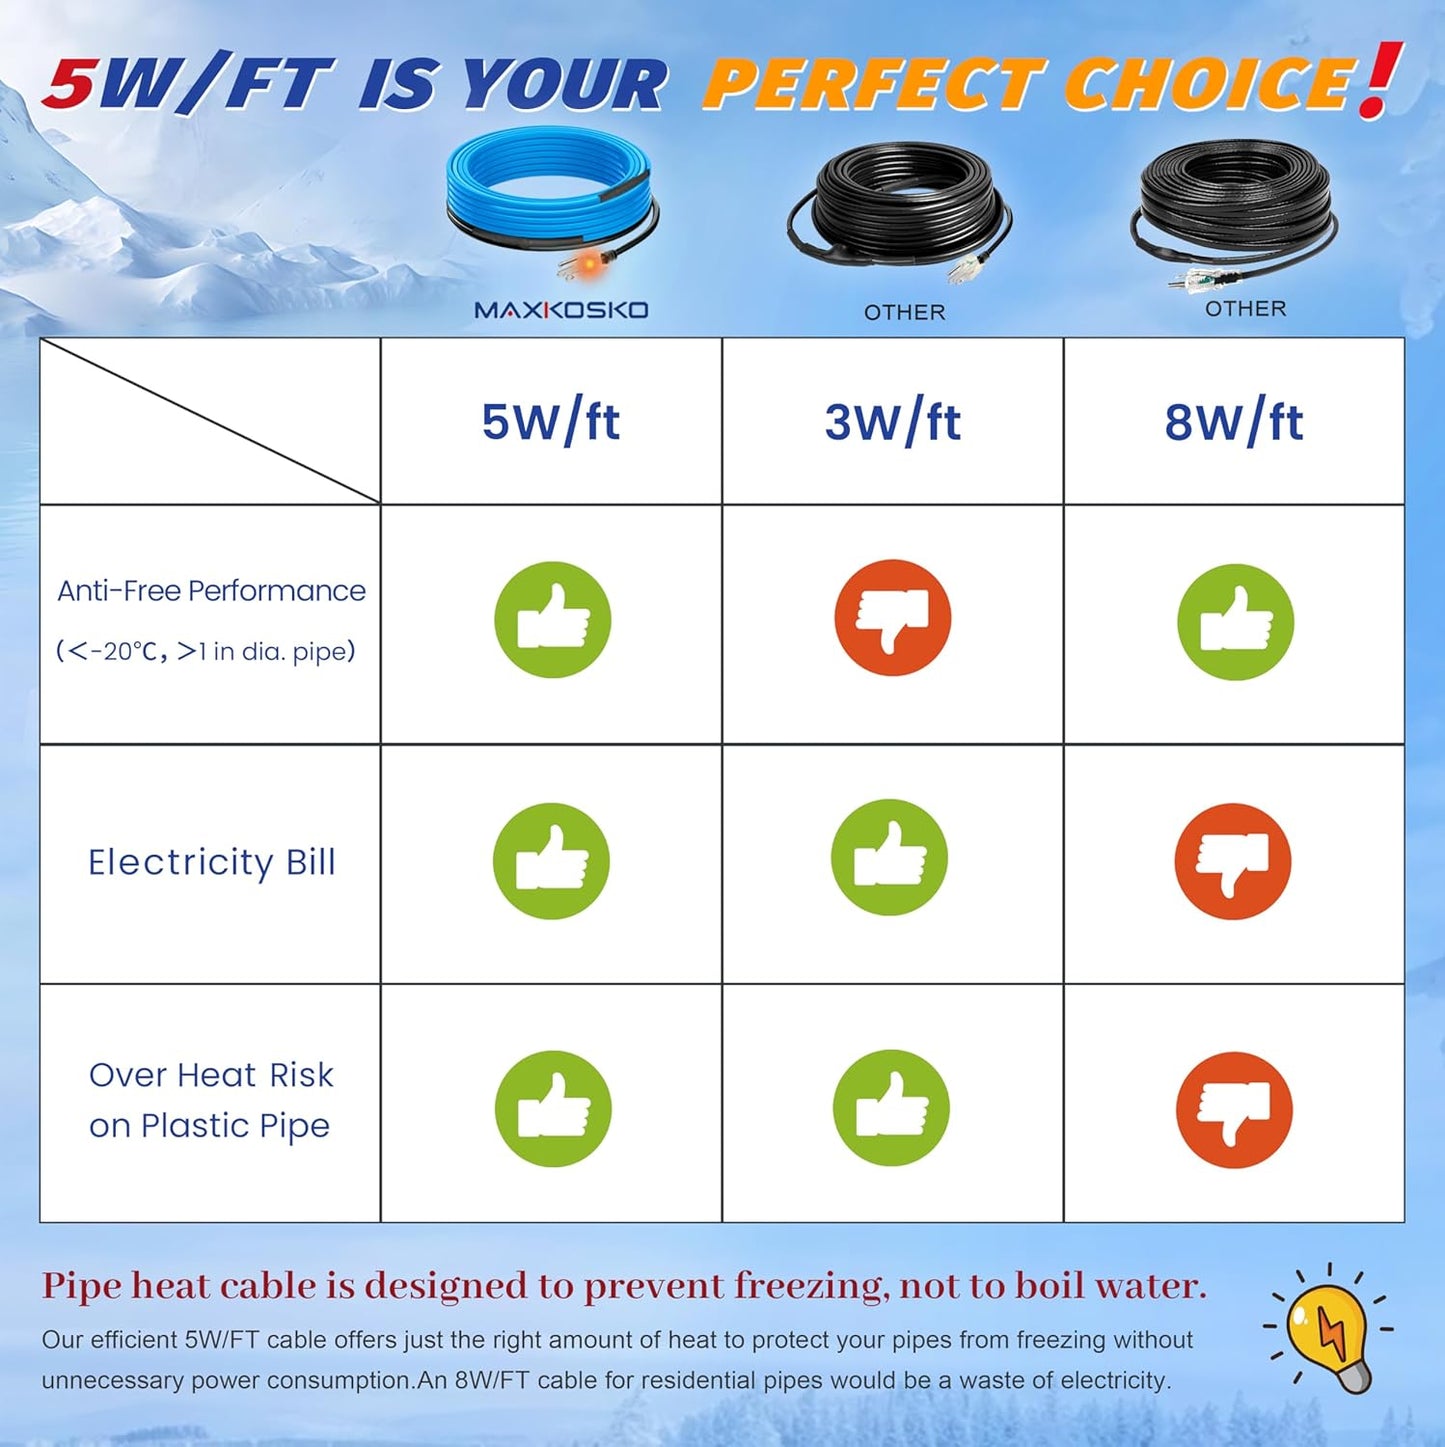
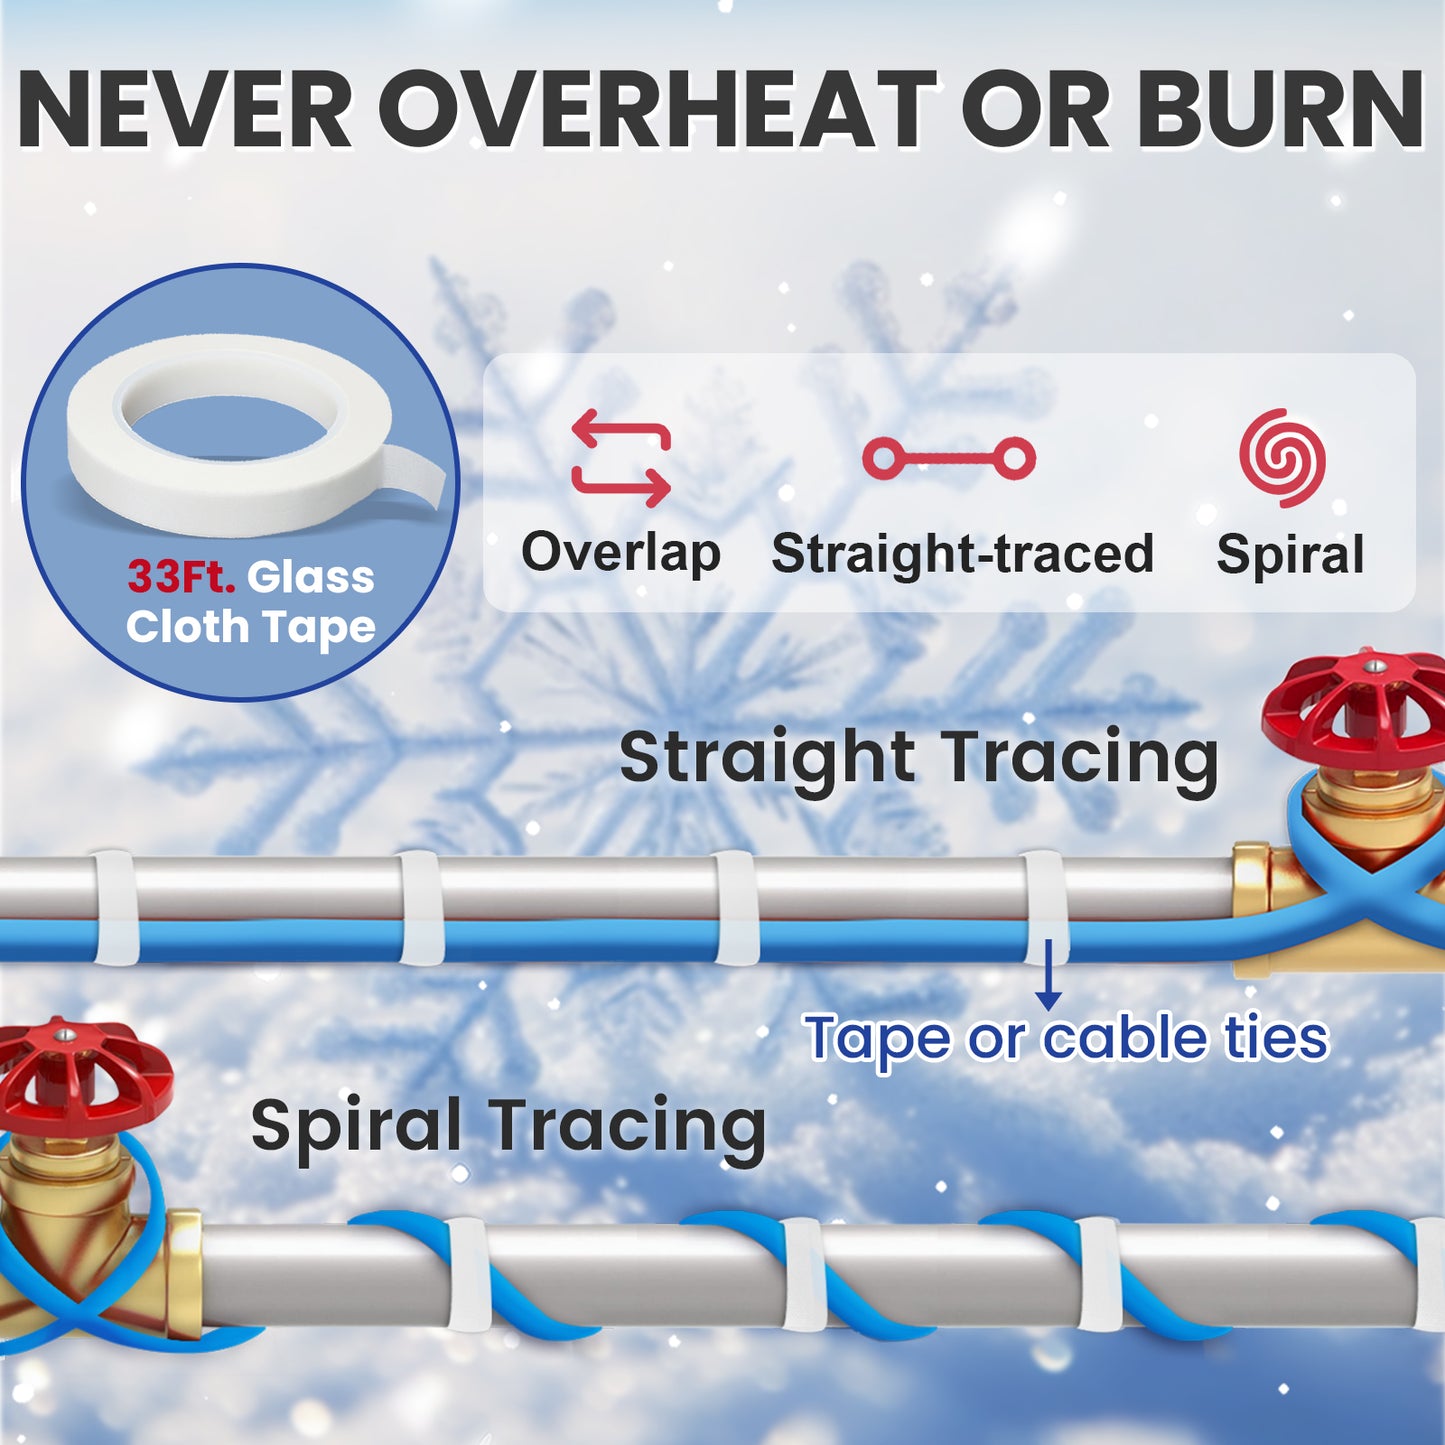
The cable produces approximately 5W/ft at 50°F (10°C) and increases its heat output as temperatures fall. It supports straight tracing, spiral wrapping, and overlapping installation when installed according to the manual.
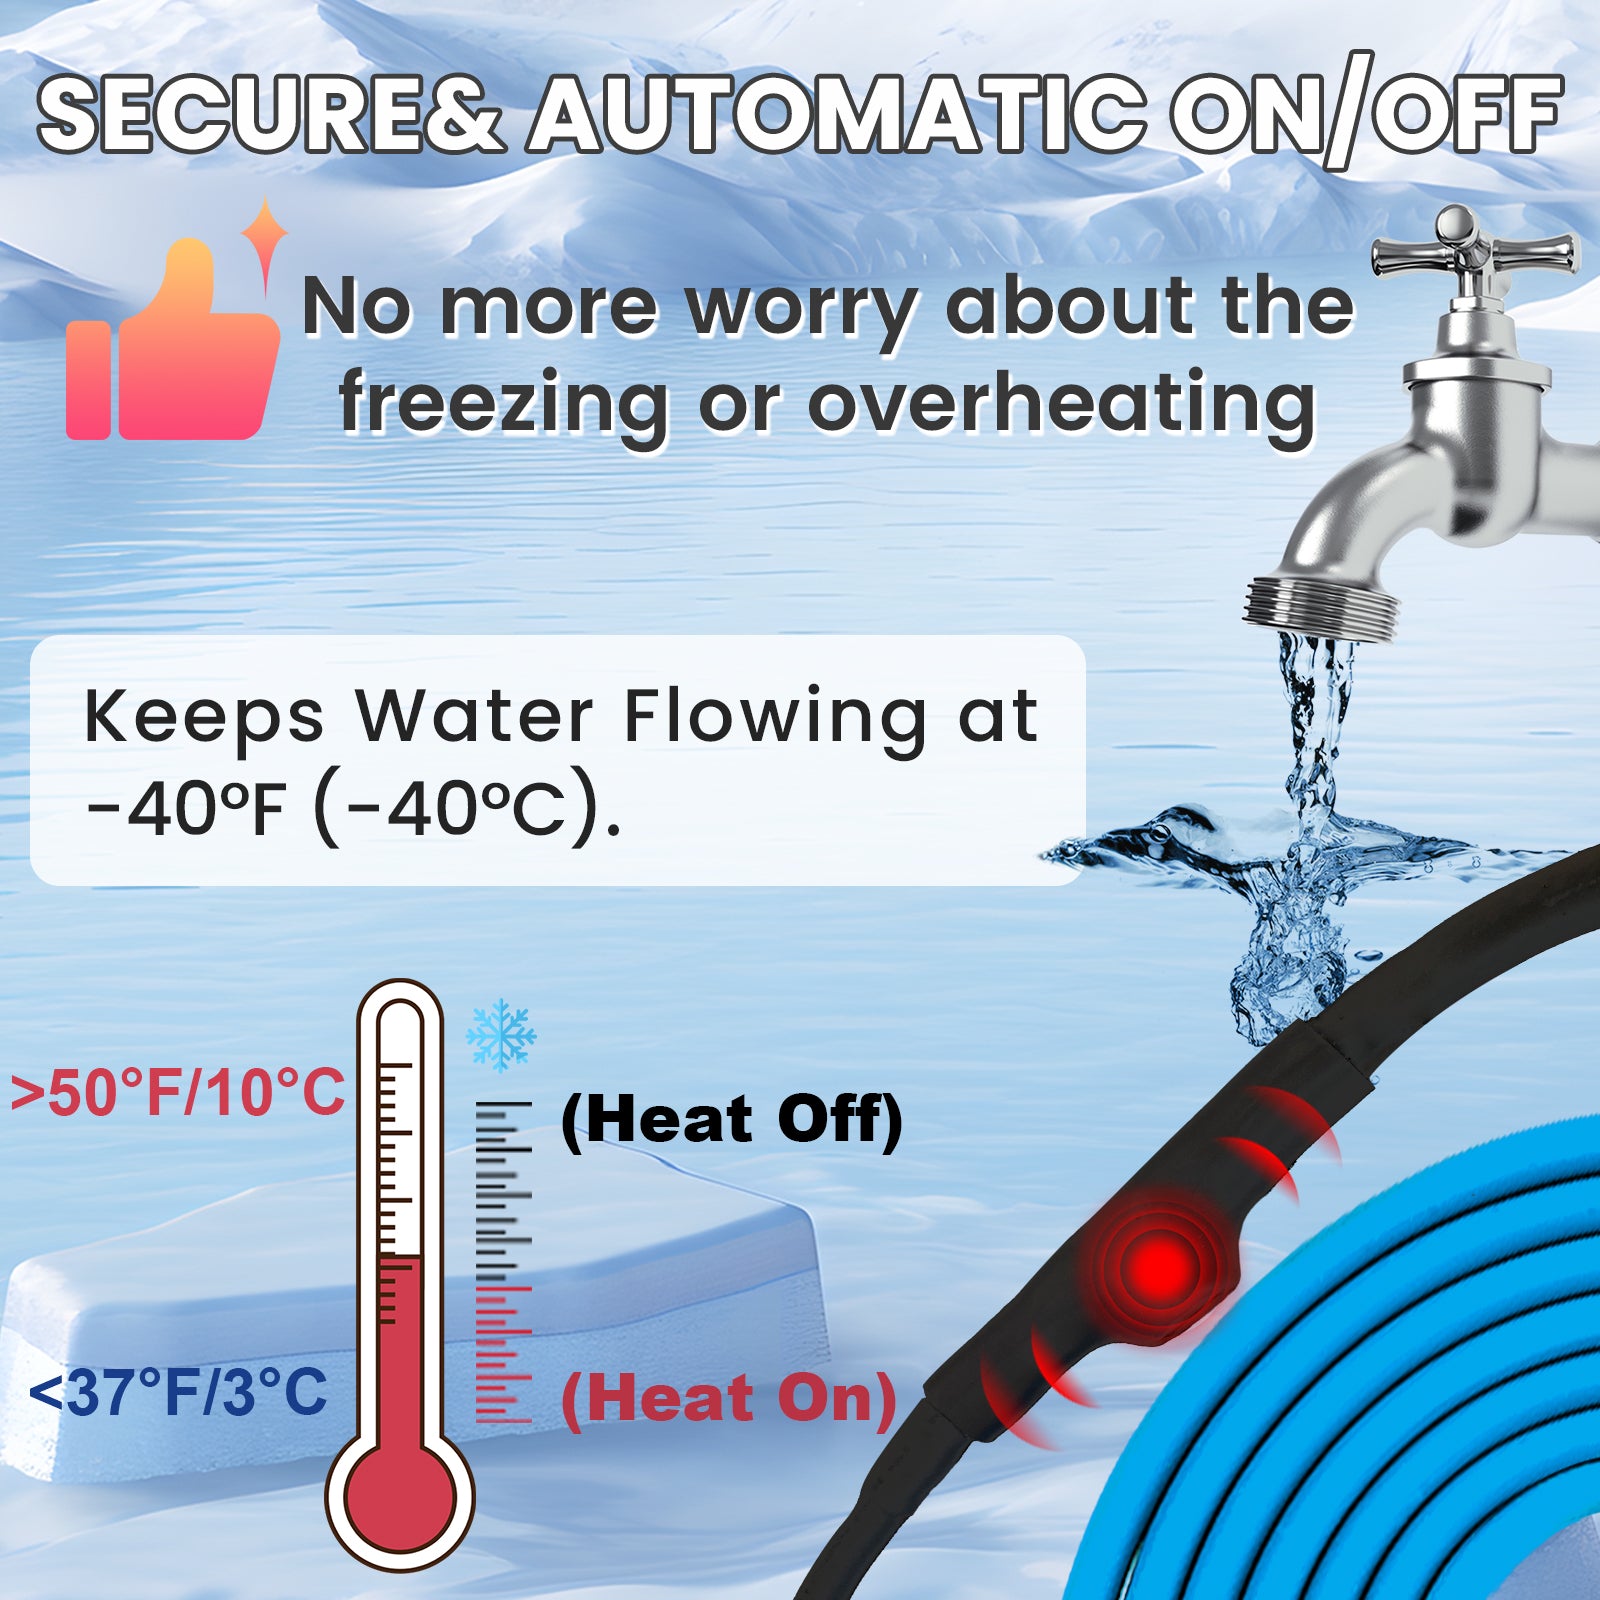
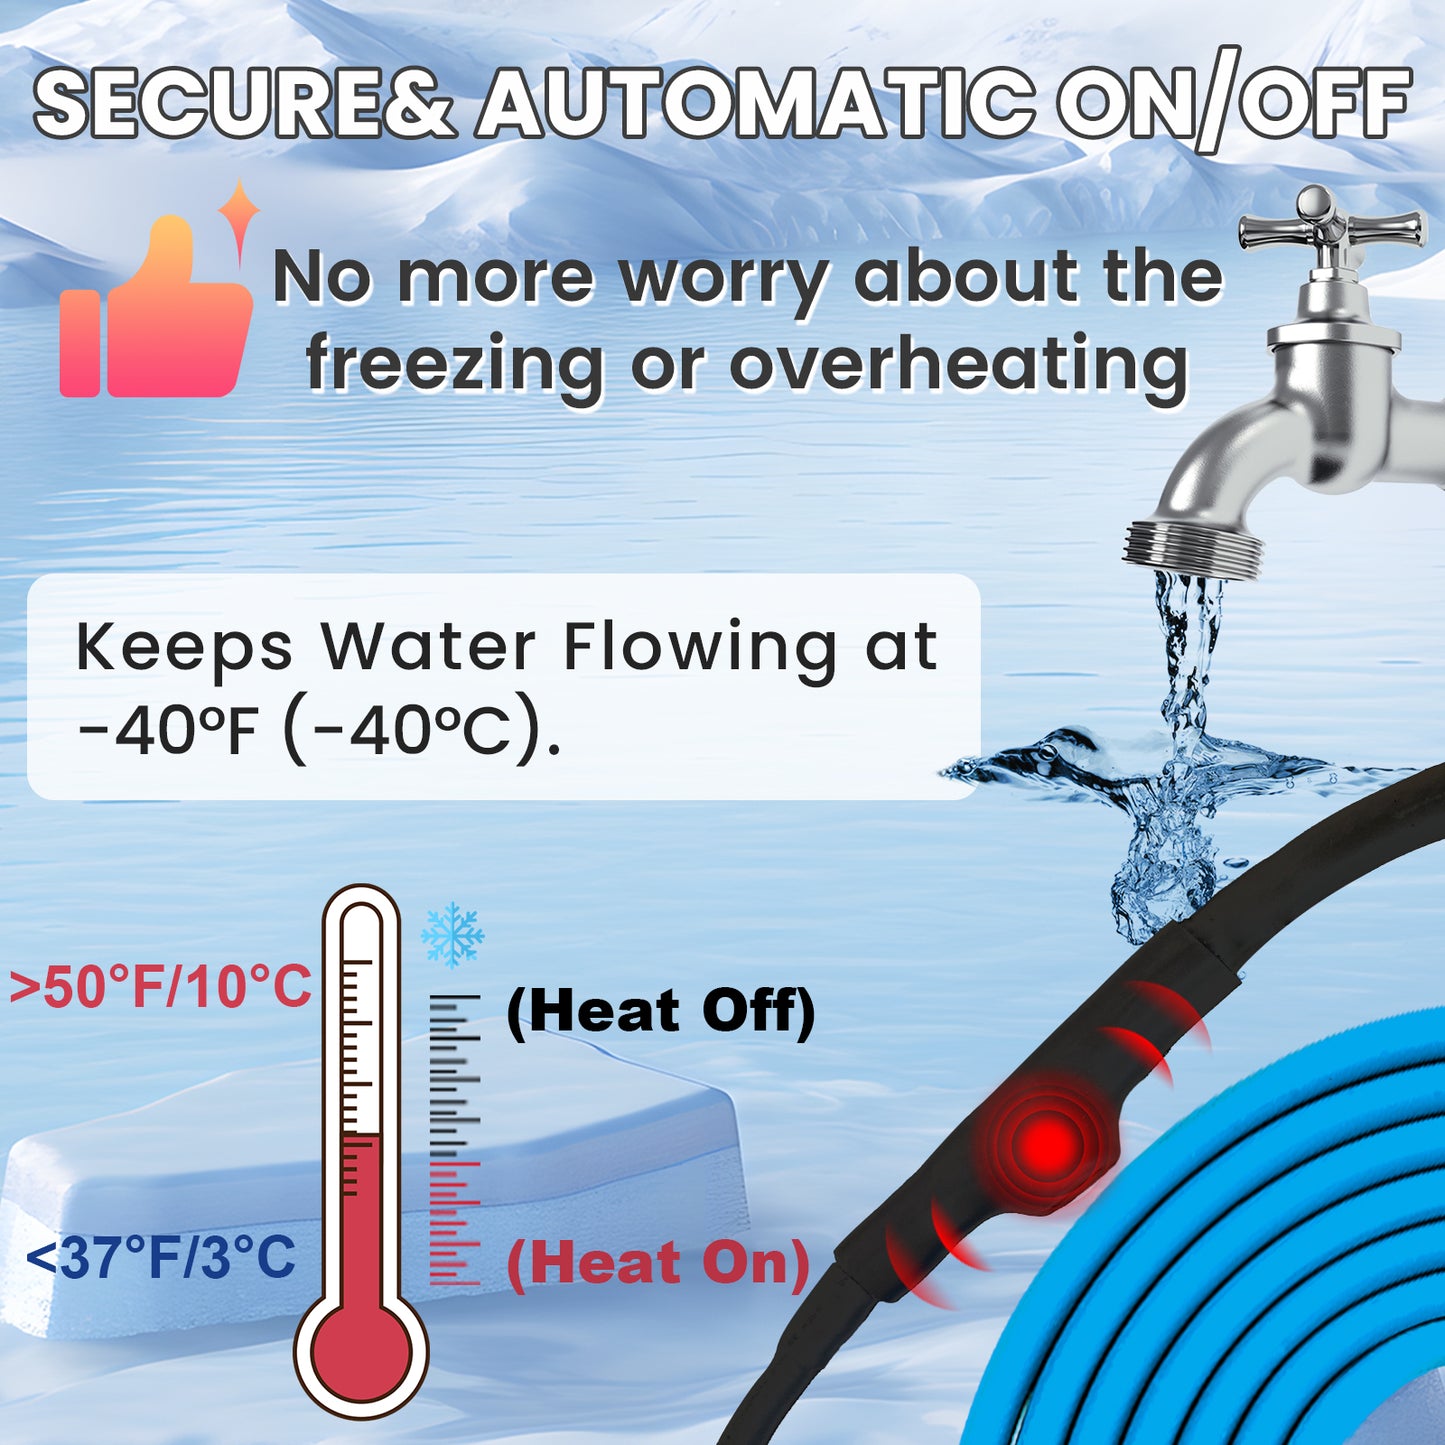
Built-In Thermostat
Typically activates below 37°F (3°C) and stops heating after the pipe reaches approximately 50°F (10°C).
Self-Regulating Heat
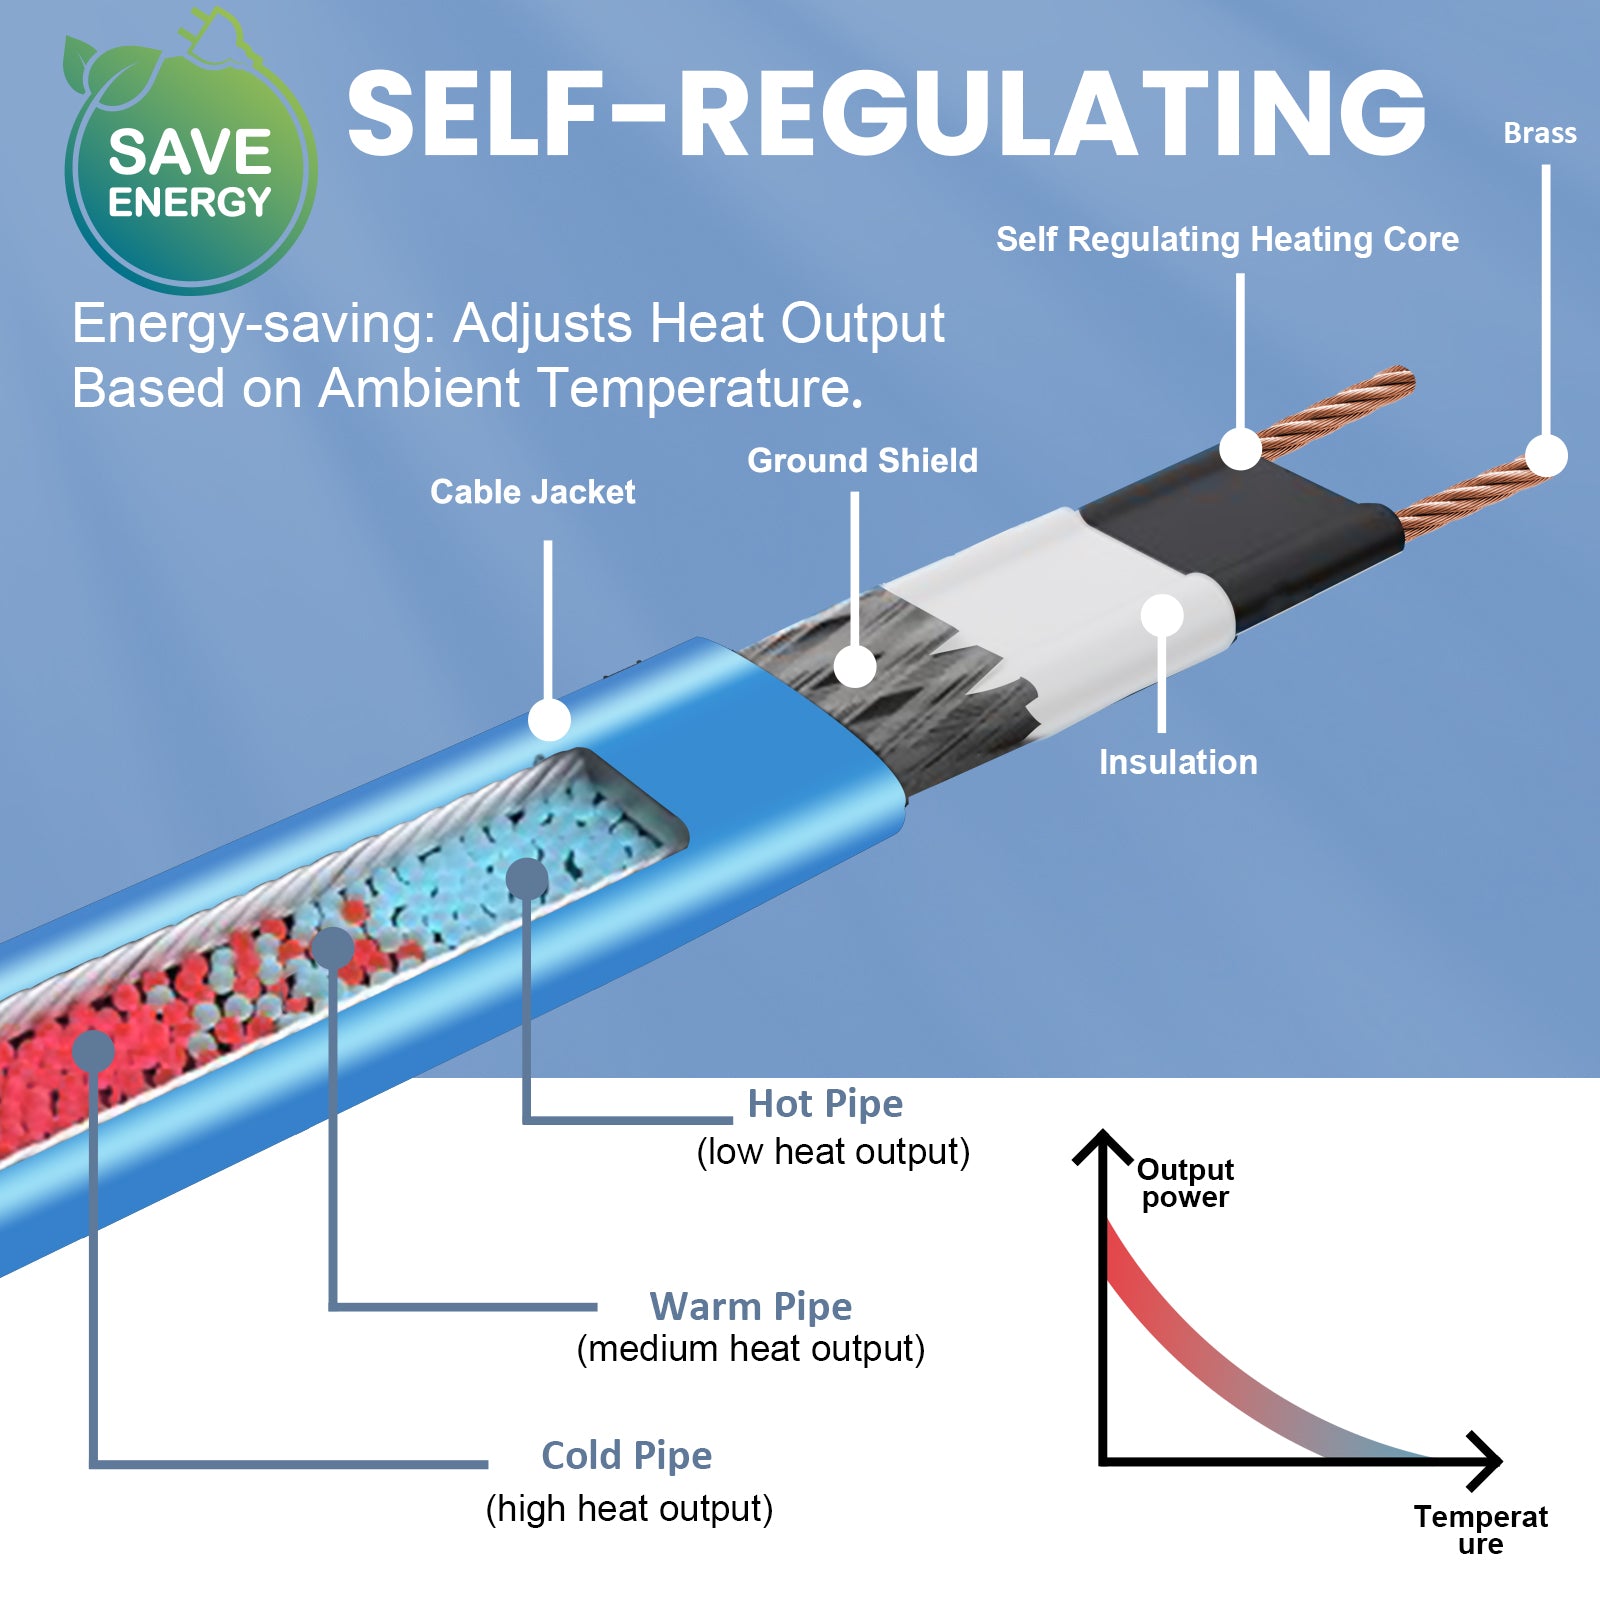
Automatically increases or reduces heat output along the cable as surrounding temperatures change.
Metal & Plastic Pipes
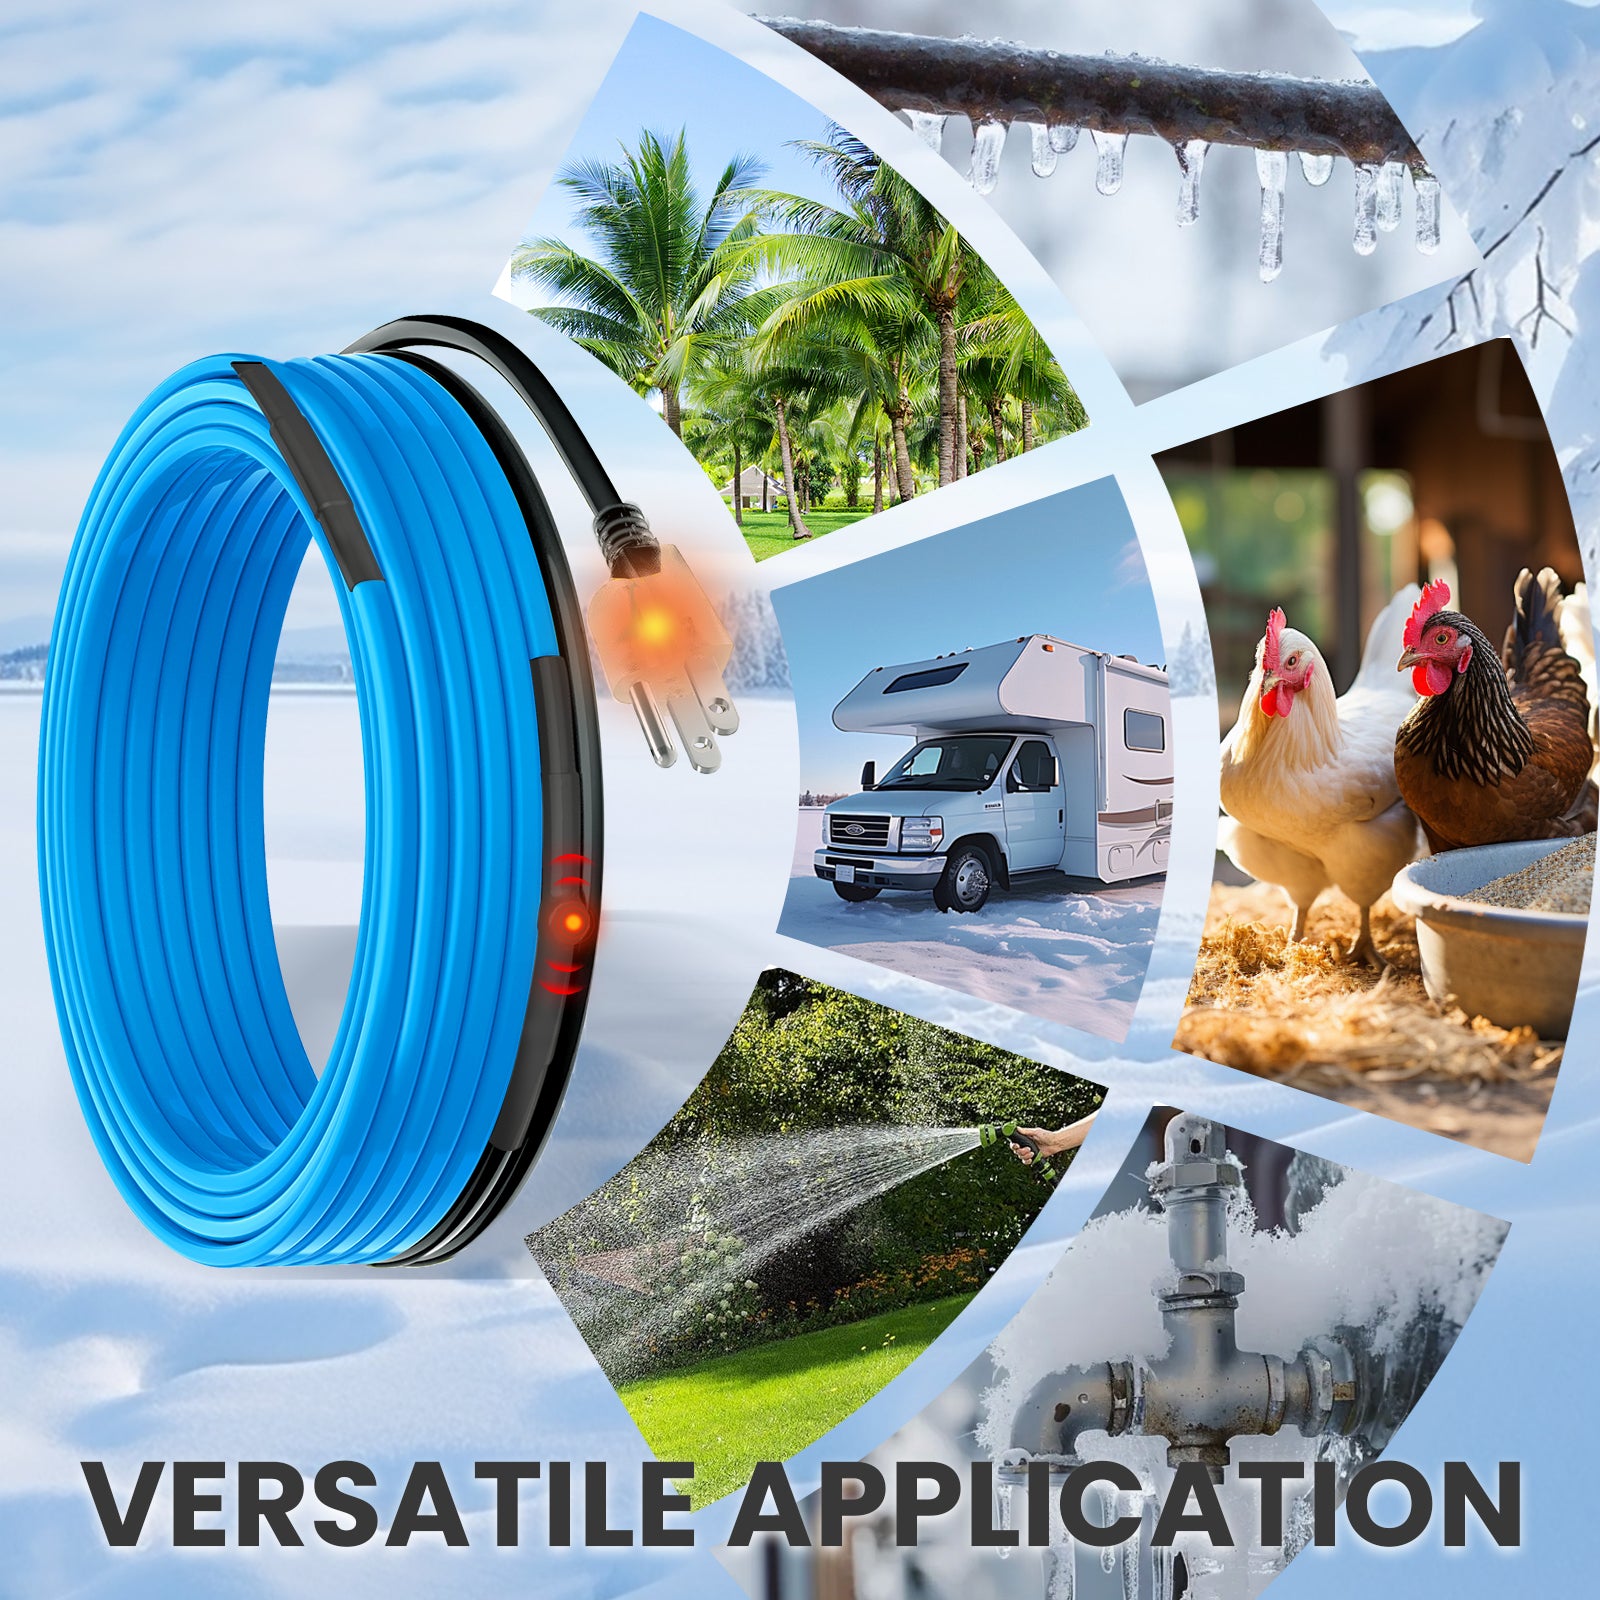
Suitable for compatible empty or water-filled rigid metal and plastic pipes when properly installed and insulated.
Installation Tape Included
Includes approximately 33 ft of glass cloth tape for securing the heating cable and thermostat to the pipe.
Important Before Ordering
Built-In Thermostat Placement Is Critical
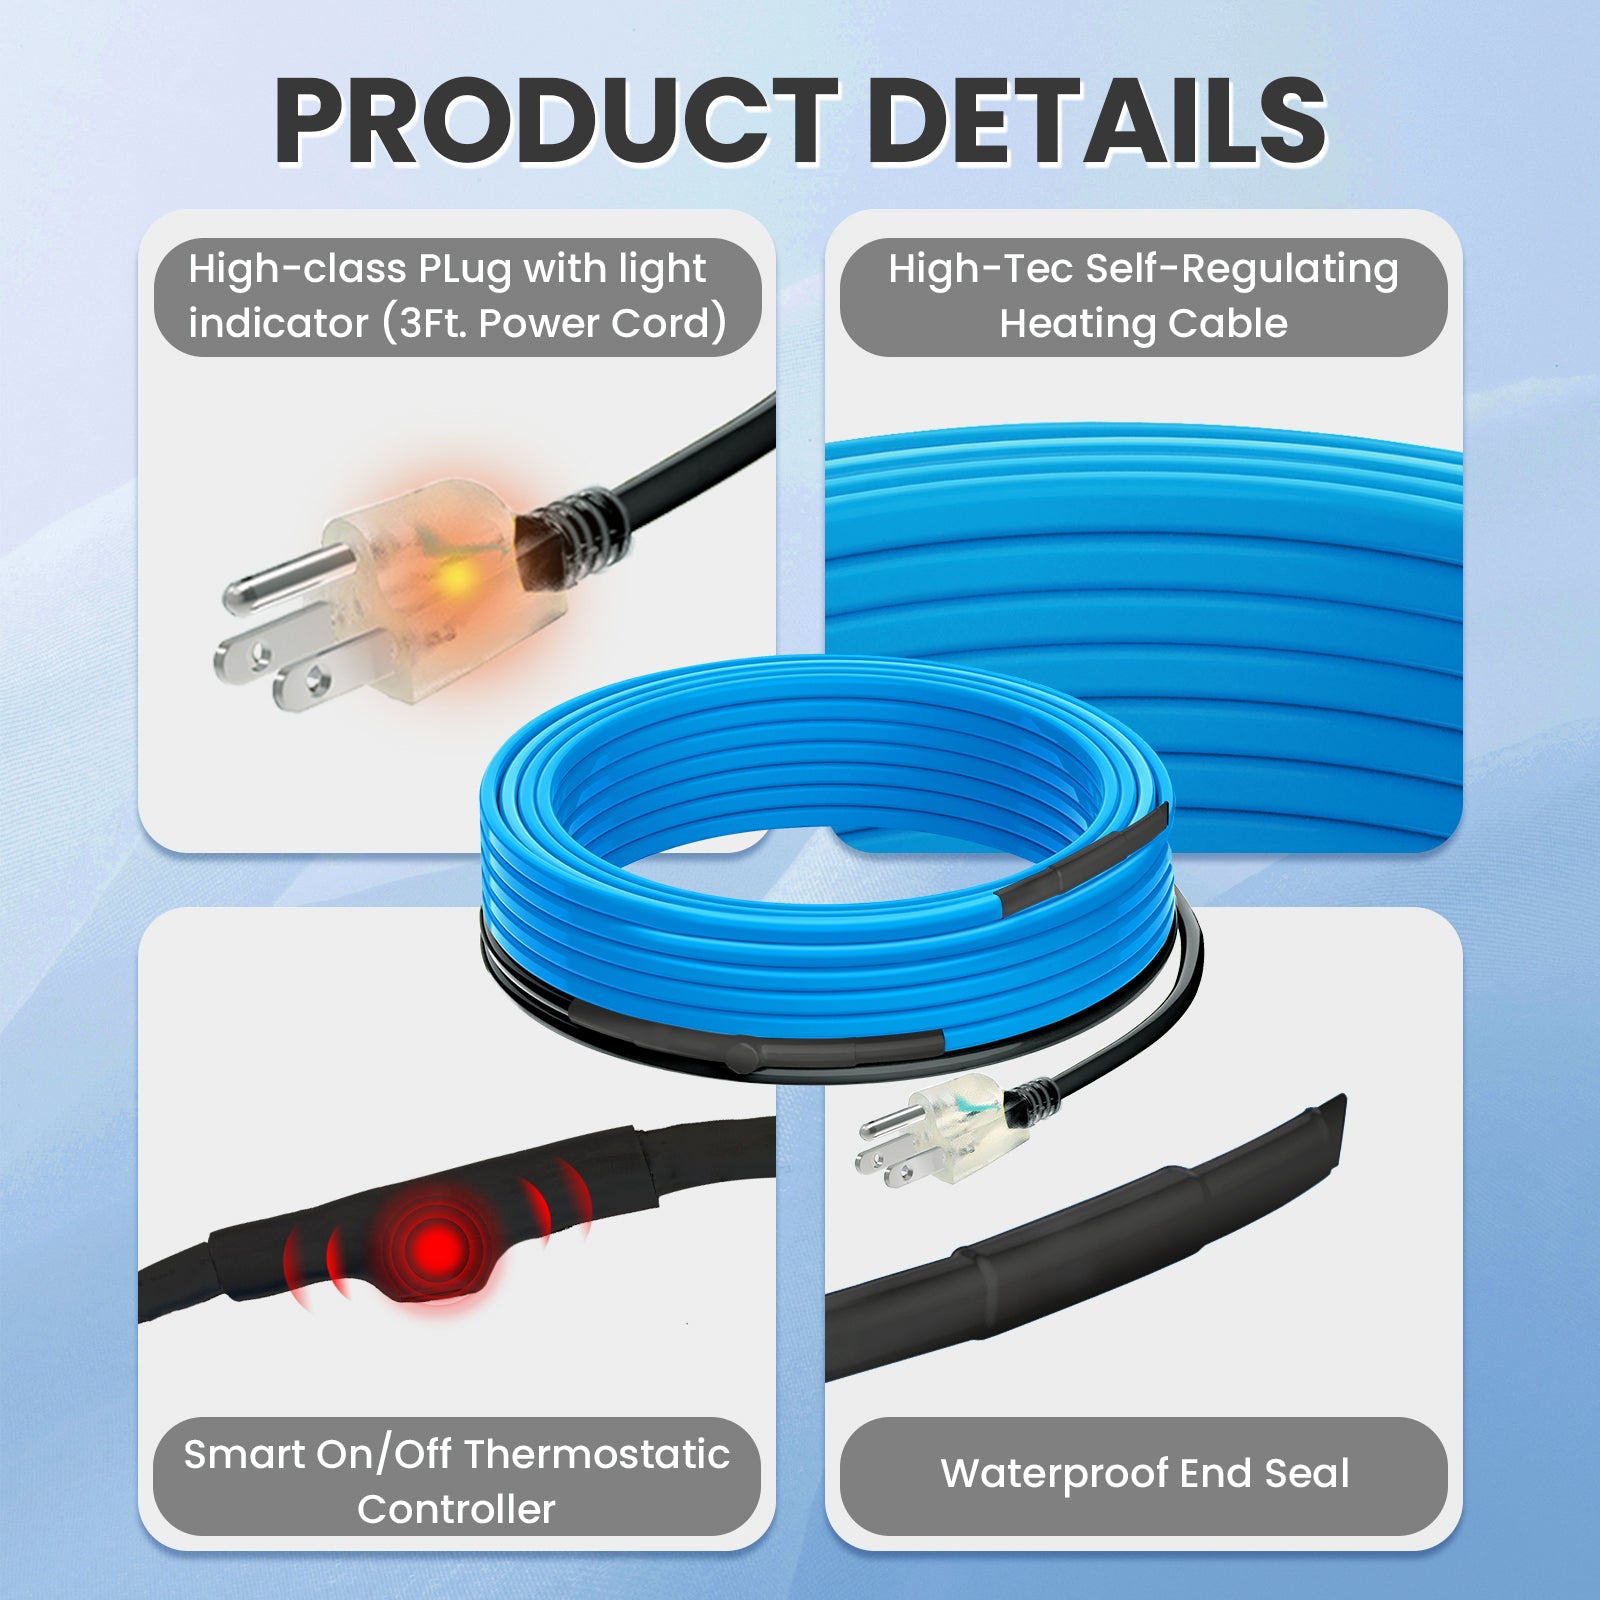
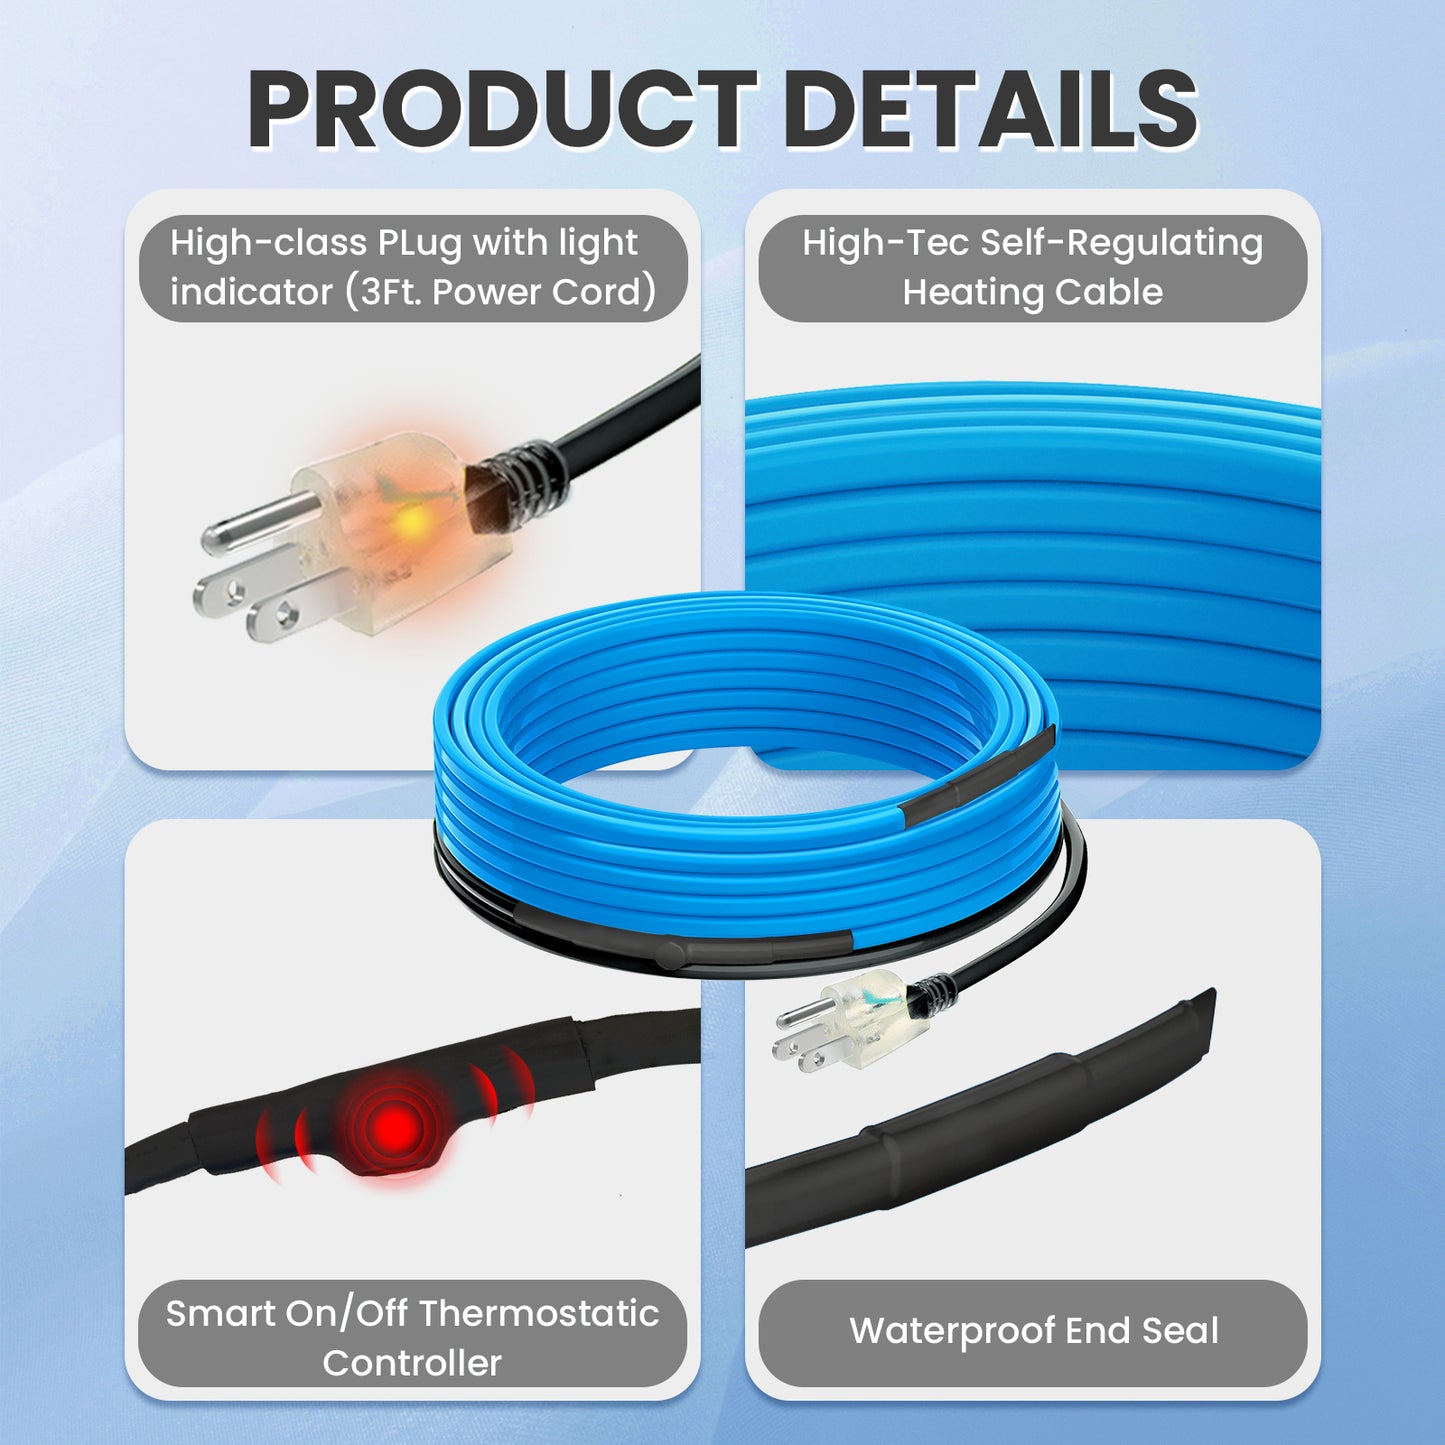
Sensor Must Touch the Pipe: Position the round thermostat firmly against the coldest section of the pipe. It should not hang in the air or rest on the heating cable.
Indicator Light Means Power: The plug light confirms that electrical power is connected. It does not confirm that the cable is actively heating.
Test Before Installation: Plug in the cable and place the thermostat in ice water or between ice packs. Wait approximately 10 minutes and confirm that the cable begins warming.
Heating Length Only: The selected size refers to the heating section. The attached 3 ft power cord provides additional non-heating reach.
Pipe Insulation Required: Cover the pipe, cable, valves, and connections with suitable nonflammable pipe insulation after installation. Colder climates may require thicker insulation.
120V GFCI Protection: Connect only to a properly grounded 120V outlet with code-compliant ground-fault protection.
Choose the Correct Length: Select enough cable for the complete pipe route. Do not energize a cut cable unless the end has been properly resealed using a compatible approved end-seal system.
Choose the Right Pipe Heating Cable
Need Visible Heating Status?
Choose the upgraded dual-LED model to see separate indicators for power and active heating.
Prefer External Control?
Choose the green cable without a built-in thermostat when you want continuous power or a separate adjustable controller.
Need 12V DC Power?
Choose the low-voltage model for RV, boat, battery, and off-grid water systems.
Optional Adjustable Control
A separate 120V sensor controller can add another temperature-control layer, although the cable’s built-in thermostat will remain active.
Specifications
| Product Type | Self-Regulating External Pipe Heating Cable |
| Rated Voltage | 110–120V AC |
| Rated Output | Approximately 5W/ft at 50°F and 6W/ft at 40°F |
| Temperature Control | Built-In Mechanical Pipe Thermostat |
| Typical Heating Start | Below Approximately 37°F (3°C) |
| Typical Heating Stop | At Approximately 50°F (10°C) |
| Power Cord Length | 3 ft, Additional to the Selected Heating Length |
| Installation Methods | Straight Trace, Spiral Wrap or Approved Overlap |
| Compatible Pipes | Compatible Empty or Water-Filled Rigid Metal and Plastic Pipes |
| Included Accessory | Approximately 33 ft Glass Cloth Installation Tape |
Basic Installation Requirements View Requirements Hide Requirements
- Clean and dry the pipe before installation.
- Place the thermostat against the coldest section of the pipe.
- Install the heating cable straight, spiraled, or in an approved overlapping layout.
- Secure the cable and thermostat approximately every 6 inches using suitable tape or ties.
- Add approximately 1 ft of cable for each valve or support when calculating the required length.
- Cover the complete installation with suitable nonflammable pipe insulation and weather protection.
- Inspect and test the cable before each winter season.
- Refer to the complete manual for pipe-size and low-temperature length calculations.
Frequently Asked Questions
Does the cable turn itself on and off?
Yes. The built-in thermostat typically starts heating below 37°F (3°C) and stops after the pipe reaches approximately 50°F (10°C).
Why is the indicator light on while the cable feels cold?
The indicator only confirms that the plug is receiving power. The heating cable remains off until the built-in thermostat detects a sufficiently low pipe temperature.
Where should the thermostat be installed?
Secure it directly against the coldest section of the pipe. Incorrect placement may cause the cable to start too late or stop too early.
Can it be used on an empty pipe?
Yes. The manual permits use on compatible empty or water-filled rigid metal and plastic pipes when the cable is correctly sized, installed, and insulated.
Can the heating cable overlap?
The self-regulating cable can cross or overlap when installed according to the product manual. Do not tightly bundle or leave the cable coiled during operation.
Can I use the separate 120V thermostat controller?
Yes, but the cable’s built-in thermostat will still control whether the heating section operates. Both controls must call for heat before the cable warms.
Before Installation
Confirm the pipe material, outside diameter, total pipe length, lowest expected temperature, insulation thickness, and available 120V GFCI-protected outlet before selecting a size.
Review the complete installation manual for detailed cable-length factors and cold-weather sizing requirements.


Frequently Asked Questions (FAQs)
-
Q1: What should I do if I finish wrapping the heating cable around the insulated water pipe, but there’s still some leftover cable?
A1: If it's not too much trouble, the best option is to unwrap and rewrap the cable, ensuring the wraps are slightly denser to fully utilize the remaining heating cable. This maximizes the efficiency of the heat produced.
A simpler option is to wrap the leftover cable back around the end section; overlapping is not a concern since our heating cable is self-regulating. This will generate additional heat, causing the cable to sense the increased temperature and lower its output power.
The final option is to cut off the excess cable. If you choose this method, make sure to seal the cut end with a waterproof end cap to prevent water ingress.
Please note that cutting should only be done with self-regulating heating cables; constant wattage cables should not be cut.
-
Q2: My heating cable is self-regulating, why do I still need a controller?
A2: Self-regulating cables adjust their power output with temperature, but they are always on and constantly consuming energy. A controller only activates the system when heating is truly needed, based on sensors, which helps save significant energy.
Plus, controllers offer many other benefits, see below for details: Adjustable Thermostat for Pipe Heat Tape