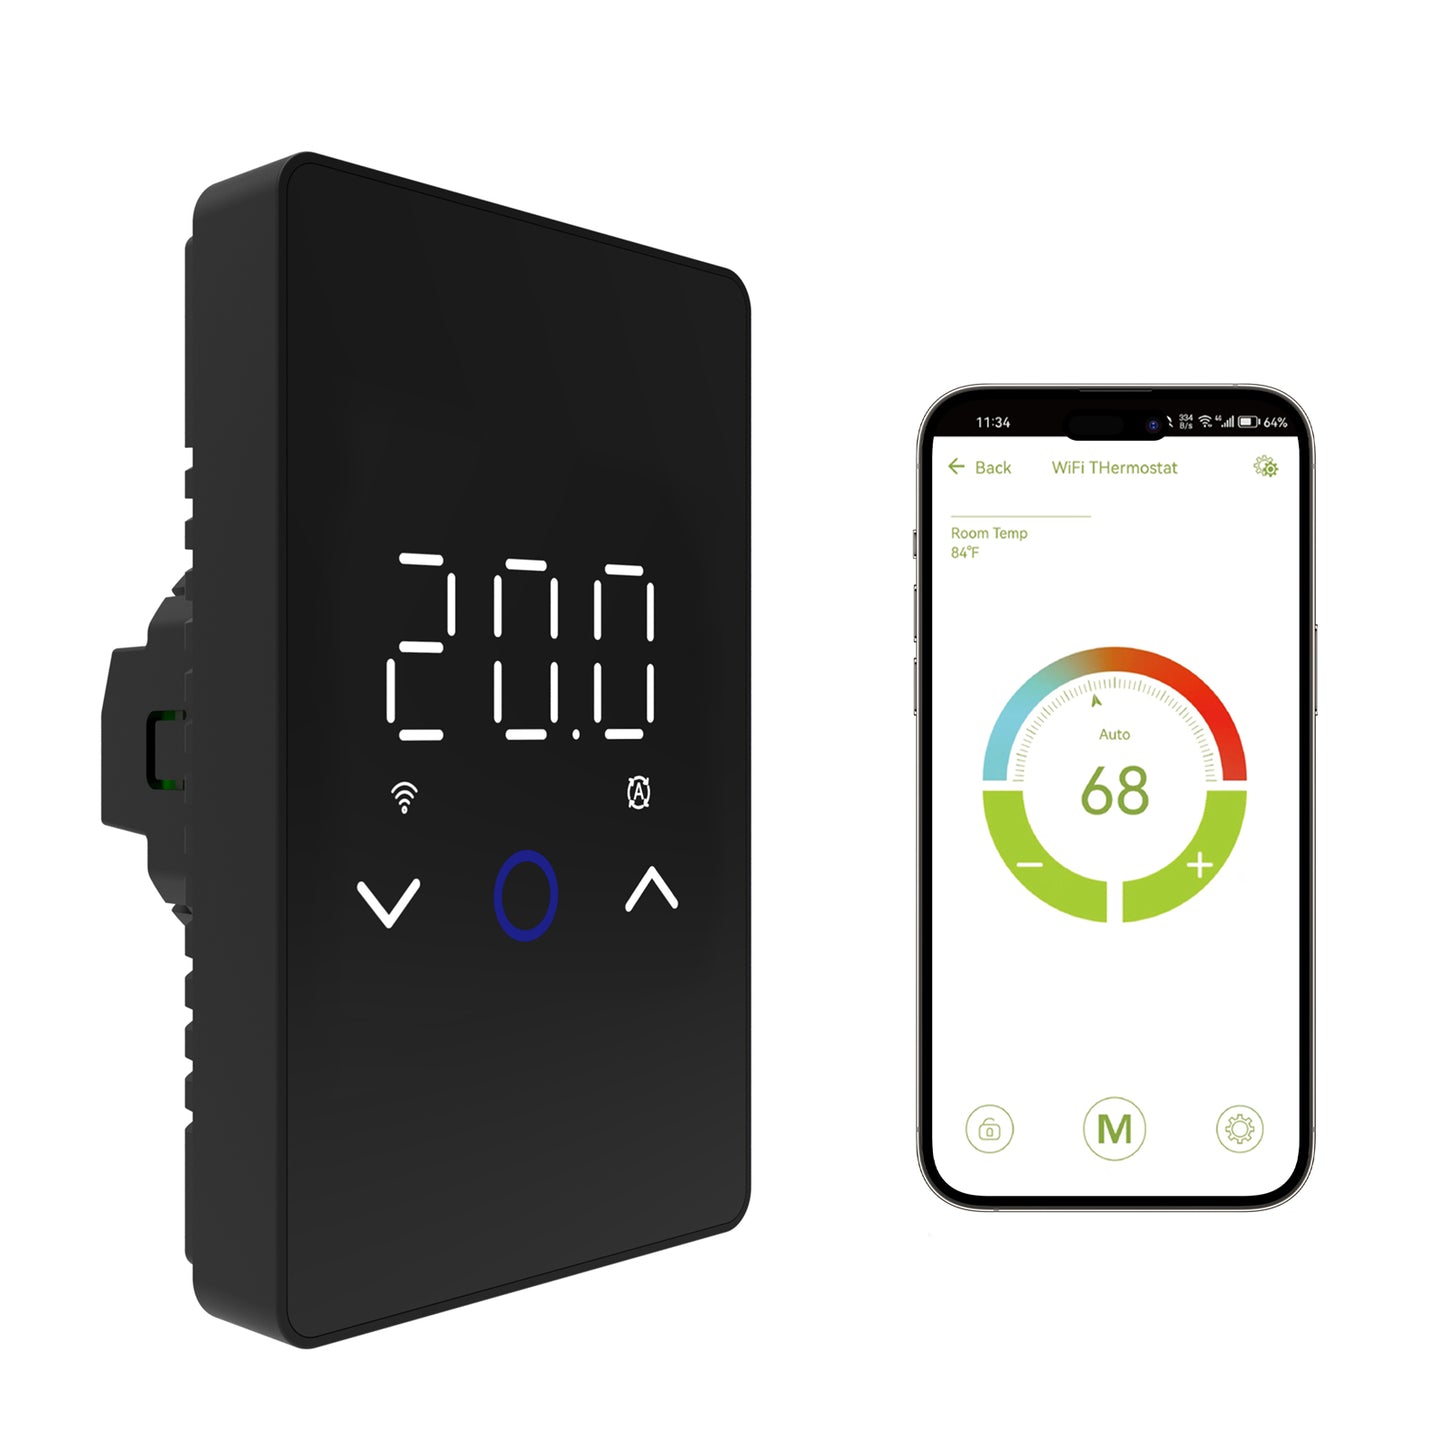
If your electric floor-heating thermostat shows an E1 or E2 error, start by identifying which sensor circuit is involved. On the current MAXKOSKO ES29AW, E1 refers to the internal room-temperature sensor, while E2 refers to the external floor-sensor circuit. E2 can result from wiring, sensor damage, an incorrect sensor setting, or an incompatible replacement sensor, so diagnose the cause before replacing the thermostat.
E1 vs E2: What Does Each Thermostat Error Mean?
| Error Code | Sensor Involved | What to Check First |
|---|---|---|
| E1 | Internal room-temperature sensor inside the thermostat | Power cycle the thermostat once. If E1 returns, the internal sensor circuit needs further evaluation. |
| E2 | External floor sensor and its circuit | Check sensor wiring, terminal contact, sensor setting, resistance, and compatibility. |
Turn Off Power Before Accessing Thermostat Wiring
The ES29AW controls a line-voltage electric floor-heating circuit. Turn off the circuit and verify power is off before removing the thermostat or touching its wiring. If you are not trained to work safely with line-voltage equipment, use a qualified electrician.
What Does E1 Mean on a Floor Heating Thermostat?
On the current MAXKOSKO ES29AW, E1 means Internal Sensor Failure. It relates to the room-temperature sensor built into the thermostat itself.
Unlike an external floor sensor, the internal sensor is part of the thermostat assembly, so there is normally no separate floor-sensor lead for the homeowner to reconnect when diagnosing E1.
What to Do When You See E1
Power Cycle the Thermostat Once
Turn off the floor-heating circuit at the breaker, allow the thermostat to power down, and then restore power according to the normal operating procedure.
Check Whether E1 Returns
If the thermostat starts normally and the error does not return, continue to monitor it. Do not repeatedly cycle the breaker if the error continues.
Get Support if E1 Persists
A persistent E1 indicates that the internal room-sensor circuit requires further evaluation. Contact MAXKOSKO support or a qualified electrician rather than attempting to modify the thermostat's internal components.
E1 Does Not Automatically Prove the Entire Heating System Has Failed
E1 identifies a thermostat sensor problem. It does not by itself tell you that the embedded heating cable, floor sensor, or entire floor-heating installation is damaged.
What Does E2 Mean on a Floor Heating Thermostat?
On the current ES29AW, E2 means External Floor Sensor Failure.
This means the thermostat is not receiving a usable signal from the external floor-sensor circuit.
Possible causes include:
- A disconnected floor sensor
- A loose sensor-wire connection
- Poor terminal contact
- A damaged sensor lead
- A shorted sensor circuit
- An open sensor circuit
- An incorrect floor-sensor type setting
- An incompatible existing or third-party floor sensor
E2 Does Not Automatically Mean the Thermostat Is Bad
An E2 code can originate anywhere in the external sensor circuit. Check the sensor connection, resistance, and compatibility before deciding that the thermostat needs replacement.
How to Troubleshoot an E2 Floor Sensor Error
Work from the simplest connection issue toward sensor testing and compatibility. Do not begin by replacing parts.
Turn Off and Verify Power
Disconnect the floor-heating circuit before removing the thermostat or accessing sensor terminals. Resistance measurements must also be performed on a de-energized circuit.
Inspect the Floor-Sensor Connection
Check the floor-sensor terminals identified in the ES29AW wiring instructions. Make sure both sensor conductors are securely connected and have not pulled loose.
Check the Terminal Contact
Make sure the terminal is making electrical contact with the exposed conductor rather than clamping only on wire insulation. Follow the thermostat wiring instructions for conductor preparation and terminal connection.
Check the Sensor Type Setting
If you are reusing an existing embedded sensor, confirm that the thermostat is configured for a compatible sensor resistance type. Do not select a setting based only on how the sensor looks.
Measure the Sensor Resistance
If the connection and settings appear correct, measure resistance across the two sensor wires with a multimeter and compare the reading with the specifications for that sensor at the approximate floor temperature.
Evaluate the Complete Result
If the resistance is abnormal, the sensor or its wiring may be damaged. If resistance appears normal but E2 remains, verify sensor compatibility, wiring continuity, thermostat settings, and the thermostat sensor input before replacing components.
Check the Sensor Connection Before Replacing Anything
A sensor cannot provide a temperature signal if one of its conductors is not making reliable electrical contact at the thermostat.
Look for:
- A sensor wire that has pulled out of the terminal
- Insulation trapped under the electrical contact point
- A conductor that was stripped or connected incorrectly
- A damaged sensor lead near the thermostat box
- A loose or unreliable terminal connection
Do Not Modify Live Thermostat Wiring
Do not tighten, strip, reconnect, or reposition conductors while the thermostat circuit is energized. If the wiring condition cannot be safely identified, stop and use a qualified electrician.
Check the Floor Sensor Type Setting
This step is especially important after replacing an older thermostat while keeping the original sensor embedded beneath the floor.
The current ES29AW includes a matching floor sensor. Its default sensor specification is 10k NTC, B25/50 = 3380.
The thermostat also provides selectable settings for compatible replacement sensors, including:
- 0–10kΩ
- 1–10kΩ
- 2–12kΩ
- 3–15kΩ
However, sensor compatibility involves more than one resistance reading.
Different NTC sensors can use different resistance-temperature curves and Beta values. Two sensors that show similar resistance at one temperature may not behave identically across the operating range.
Do Not Guess the Sensor Setting
If the original floor sensor cannot be positively identified, do not choose 10k, 12k, or 15k solely from one approximate multimeter reading. Review the original sensor specification or confirm compatibility before continued operation.
If you are replacing an old thermostat and want to keep the existing embedded sensor, read the guide to checking floor-sensor compatibility before thermostat replacement.
How to Interpret a Floor Sensor Resistance Check
A multimeter can help identify an obvious open or shorted sensor circuit, but readings must be interpreted according to both sensor type and temperature.
| Reading | Possible Meaning | What to Do |
|---|---|---|
| Near 0Ω | May indicate a shorted sensor or sensor lead. | Recheck the meter setup and isolated sensor connection before concluding that the sensor has failed. |
| OL / infinite resistance | May indicate an open, broken, or disconnected sensor circuit. | Check the terminal connection and sensor wiring before deciding the embedded probe is damaged. |
| Approximately expected resistance | The sensor circuit appears electrically plausible at that temperature. | Still confirm that the sensor type and resistance curve are compatible with the thermostat setting. |
| Stable but unexpected resistance | The sensor may be a different NTC type or the actual floor temperature may differ from the assumed test temperature. | Identify the original sensor specification before changing thermostat settings. |
For the included MAXKOSKO 10k NTC sensor, resistance is approximately 10,000Ω at 25°C (77°F). Because an NTC sensor changes resistance with temperature, a colder or warmer floor will produce a different reading.
This article focuses on the E2 diagnostic sequence. For the complete multimeter procedure, use the floor heating sensor and cable resistance testing guide.
Can You Switch to Room Mode to Clear an E2 Error?
Room Mode uses the internal room-temperature sensor rather than controlling directly from the external floor sensor.
That does not mean switching to Room Mode is automatically the correct solution for a failed floor sensor.
A functioning external sensor may still be important for:
- Floor-temperature control
- Maximum floor-temperature limiting
- Flooring-manufacturer requirements
- The intended design of the floor-heating installation
On the ES29AW, Combined Sensor Mode uses the room sensor for temperature control while the external floor sensor provides the maximum floor-temperature limit.
Do Not Bypass a Required Floor Sensor
Do not change sensor mode simply to avoid an E2 warning if the flooring or heating-system instructions require floor-temperature sensing or limiting. Diagnose the sensor fault and follow the requirements for the installed floor.
For a detailed explanation of these control methods, see Floor Sensor vs Room Sensor vs Both Mode.
What If E2 Remains After the Sensor Tests Normally?
If the floor sensor shows a plausible resistance but E2 remains, do not immediately assume either the sensor or thermostat is good.
Check whether:
- The resistance was measured with the sensor properly isolated.
- The sensor type selected in the thermostat matches the actual sensor.
- The terminal connection remains secure when the thermostat is reinstalled.
- The sensor lead has an intermittent break.
- The existing third-party sensor uses a compatible resistance curve.
- The thermostat input can correctly read a known compatible sensor.
A qualified electrician or MAXKOSKO support can help separate a sensor problem from a thermostat-input problem when the result is unclear.
When Should You Consider Replacing the Thermostat?
A replacement thermostat may be appropriate when the controller itself has been confirmed to be the problem, but an E2 code alone is not enough evidence.
Before replacing the thermostat, confirm:
- Floor-sensor wiring
- Sensor resistance
- Sensor compatibility
- Sensor-type setting
- Supply voltage
- Heating-system load
- Line and load wiring requirements
- Required ground-fault protection
Replacing the Thermostat Does Not Replace the Embedded Sensor Automatically
If an old floor sensor is permanently installed beneath tile or another finished floor, it may remain part of the new thermostat installation. Confirm compatibility before assuming a thermostat replacement will solve the error.
When to Stop Troubleshooting and Get Professional Help
Stop and Seek Qualified Assistance If:
- E1 continues after a normal power cycle.
- The sensor wiring condition cannot be safely identified.
- You find melted, discolored, burned, or overheated thermostat terminals.
- The circuit breaker or ground-fault protection repeatedly trips.
- The floor sensor wiring is damaged inside an inaccessible floor assembly.
- A compatible sensor measures normally but the thermostat still reports E2.
- Line-voltage measurements or thermostat rewiring would be required.
Do not bypass a sensor, protective device, circuit breaker, ground-fault protection, or other required control to keep the heating system operating.
E1 & E2 Troubleshooting Checklist
- E1 means the thermostat has detected a problem involving its internal room-temperature sensor.
- E2 means the thermostat has detected a problem involving the external floor-sensor circuit.
- Turn off and verify power before accessing thermostat wiring.
- For E2, check the sensor connection before replacing the thermostat.
- Make sure the sensor conductor—not only its insulation—is making secure terminal contact.
- Confirm the selected sensor type when an existing third-party sensor is reused.
- Near 0Ω may indicate a short, while OL may indicate an open circuit.
- Sensor resistance must be interpreted according to sensor type and temperature.
- A single 10k, 12k, or 15k reading does not prove complete sensor compatibility.
- Do not switch sensor modes simply to bypass a required floor sensor.
- Replace the thermostat only after the actual source of the fault has been reasonably identified.
Need a Replacement Floor Heating Thermostat?
If testing confirms that the existing thermostat needs replacement, the MAXKOSKO ES29AW is designed for compatible 120V and 240V electric floor-heating cables and mats with a maximum resistive load of 15A.
It includes a matched 10k NTC floor sensor and provides selectable settings for several compatible replacement-sensor ranges, which may be useful when an existing embedded sensor cannot easily be removed.
View MAXKOSKO ES29AW Smart Thermostat
Before replacement, verify voltage, heating load, wiring, sensor compatibility, and required ground-fault protection. The ES29AW does not include built-in GFCI protection.
If the cause of E1 or E2 is still unclear, use the MAXKOSKO support page before replacing parts unnecessarily.
Frequently Asked Questions
What does E1 mean on a MAXKOSKO floor heating thermostat?
E1 means Internal Sensor Failure and relates to the room-temperature sensor built into the thermostat. Power cycle the thermostat once. If E1 returns, contact MAXKOSKO support or a qualified electrician for further evaluation.
What does E2 mean on a floor heating thermostat?
E2 means External Floor Sensor Failure on the current ES29AW. Possible causes include a disconnected sensor, poor terminal contact, damaged sensor wiring, an incorrect sensor setting, or an incompatible existing sensor.
Does E2 mean I need a new thermostat?
No. E2 can be caused by the floor sensor, its wiring, terminal connection, sensor setting, or compatibility. Diagnose those items before replacing the thermostat.
What resistance should a MAXKOSKO floor sensor have?
The included ES29AW sensor is a 10k NTC sensor with B25/50 = 3380 and measures approximately 10,000Ω at 25°C (77°F). Resistance changes with temperature.
What does OL mean when testing a floor sensor?
OL or infinite resistance may indicate an open circuit, broken sensor lead, or disconnected sensor. Check the test setup and terminal connection before concluding that the embedded sensor has failed.
What does 0 ohms mean on a floor sensor?
A reading near 0Ω may indicate a shorted sensor circuit. Confirm the multimeter setup and isolated sensor connection before making a final diagnosis.
Can I use a 12k or 15k floor sensor with the ES29AW?
Potentially, if the existing sensor is compatible with one of the thermostat's supported sensor settings. Confirm the sensor specifications or resistance-temperature characteristics rather than relying on one resistance reading alone.
Can I switch to Room Mode if I get an E2 error?
Room Mode does not use the floor sensor for direct floor-temperature control, but it should not be used simply to bypass a floor sensor that is required by the flooring or heating-system instructions. Diagnose the E2 fault first.
How do I test the floor sensor with a multimeter?
With the circuit de-energized and the sensor isolated as required, measure resistance across the two sensor wires and compare the result with the sensor specification at the approximate temperature. Use the dedicated MAXKOSKO multimeter guide for the complete procedure.
When should I contact MAXKOSKO support?
Contact support when E1 persists, when E2 remains after wiring, settings, resistance, and compatibility have been checked, or when you cannot safely determine whether the problem is the sensor or thermostat.