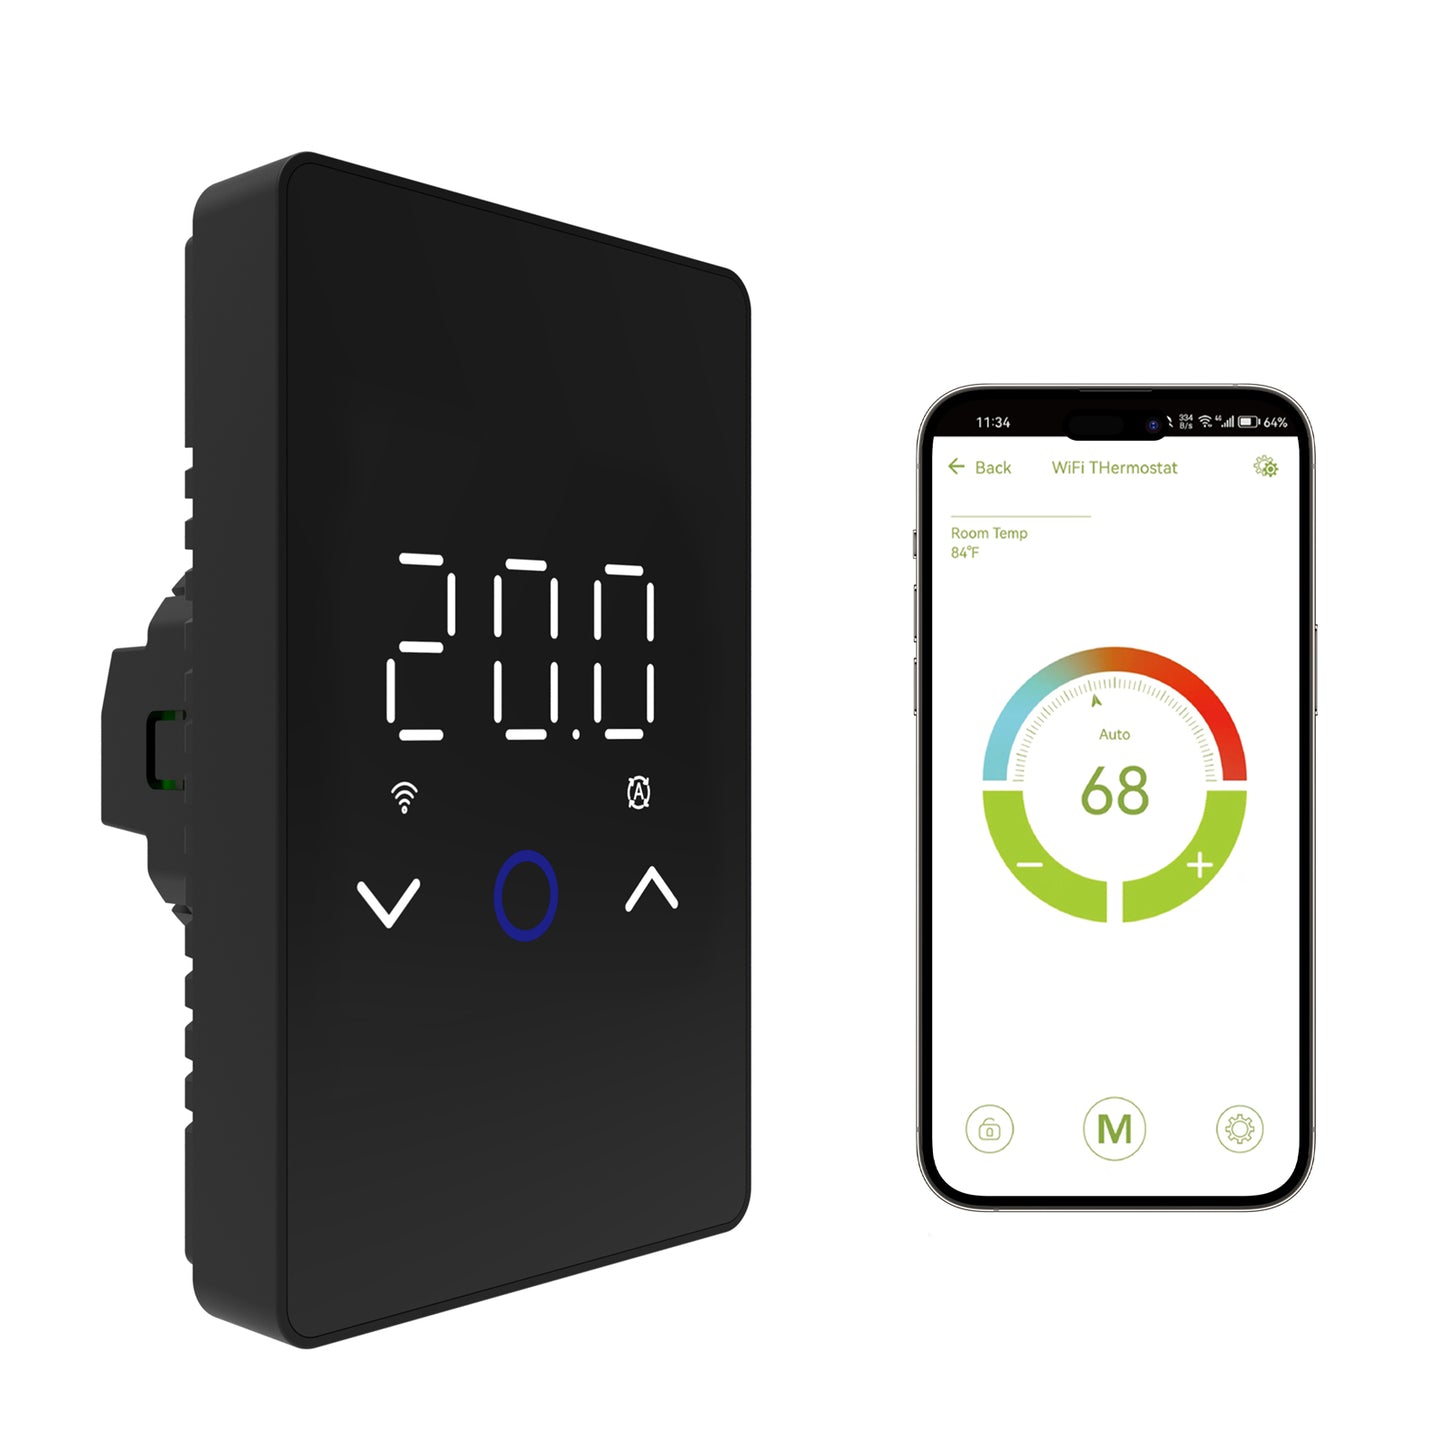
Before replacing an electric floor-heating thermostat, check the floor heating thermostat sensor compatibility as carefully as the voltage and wiring. An existing floor sensor buried under tile may be reusable, but only when its resistance characteristics match a sensor type supported by the replacement thermostat. Do not assume compatibility from wire color, probe appearance, or one resistance reading alone.
Can You Reuse the Old Floor Sensor With a New Thermostat?
Sometimes yes.
If the existing floor sensor is already embedded beneath tile, stone, or another finished floor, reusing it can avoid opening the floor simply to install a new temperature probe.
However, reuse should depend on electrical compatibility rather than physical appearance.
Before connecting an existing sensor to a replacement thermostat, confirm:
- The sensor type or original thermostat specification
- The nominal sensor resistance
- The applicable resistance-temperature characteristics or Beta value when available
- The sensor resistance at a known temperature
- Whether the replacement thermostat supports that sensor type
- Whether the existing sensor wiring is intact
Use the Included Sensor for a New Installation
When a new floor sensor can still be installed correctly, the sensor supplied with the replacement thermostat is generally the preferred option because its specifications are already matched to that controller.
Why Floor Sensor Compatibility Matters
Many electric floor-heating thermostats use an NTC thermistor as the external floor sensor.
NTC means the sensor's electrical resistance changes with temperature. The thermostat measures that resistance and converts it into a temperature value.
If the thermostat expects one resistance-temperature relationship while the installed sensor follows another, the calculated floor temperature can be inaccurate.
Possible results include:
- A displayed floor temperature that is higher than expected
- A displayed temperature that is lower than expected
- Heating stopping earlier than intended
- Heating continuing longer than intended
- Unexpected floor-temperature limiting
- Sensor-related error codes
A Working Sensor Is Not Necessarily a Compatible Sensor
A sensor can have continuity and produce a stable resistance reading while still using the wrong resistance-temperature curve for the thermostat. Electrical continuity alone does not confirm full compatibility.
10k, 12k, and 15k Sensors: What Do Those Numbers Mean?
Floor-heating sensors are often described by a nominal resistance such as 10kΩ, 12kΩ, or 15kΩ.
That number is normally specified at a particular reference temperature. For example, the sensor supplied with the current MAXKOSKO ES29AW is a 10k NTC sensor with B25/50 = 3380.
Its resistance is approximately 10,000Ω at 25°C (77°F), but its resistance changes as temperature changes.
This is why a sensor cannot be identified reliably from resistance alone unless the measurement temperature is also known.
| Sensor Information | Why It Matters |
|---|---|
| Nominal resistance | Identifies the sensor's specified resistance at its reference temperature. |
| Reference temperature | Tells you the temperature at which the nominal resistance applies. |
| Beta value / resistance curve | Describes how resistance changes as the sensor becomes warmer or colder. |
| Measured resistance | Provides a useful diagnostic value only when the test temperature and sensor specification are considered together. |
Why One Multimeter Reading May Not Be Enough
Suppose an existing sensor measures approximately 12kΩ when you test it.
That does not automatically prove that it is a nominal 12k sensor compatible with a thermostat's 12k setting.
The actual floor or room temperature during the measurement matters. A different NTC sensor can also pass through a similar resistance value at that particular temperature while following a different resistance curve elsewhere.
The most useful evidence is usually:
- The original thermostat or sensor manual
- The sensor manufacturer's resistance-temperature specifications
- A resistance measurement taken at a known temperature
- Additional known-temperature measurements when the original sensor specification cannot otherwise be confirmed
If you need the detailed meter procedure, use the floor heating sensor multimeter testing guide.
Which Existing Floor Sensors Can the ES29AW Support?
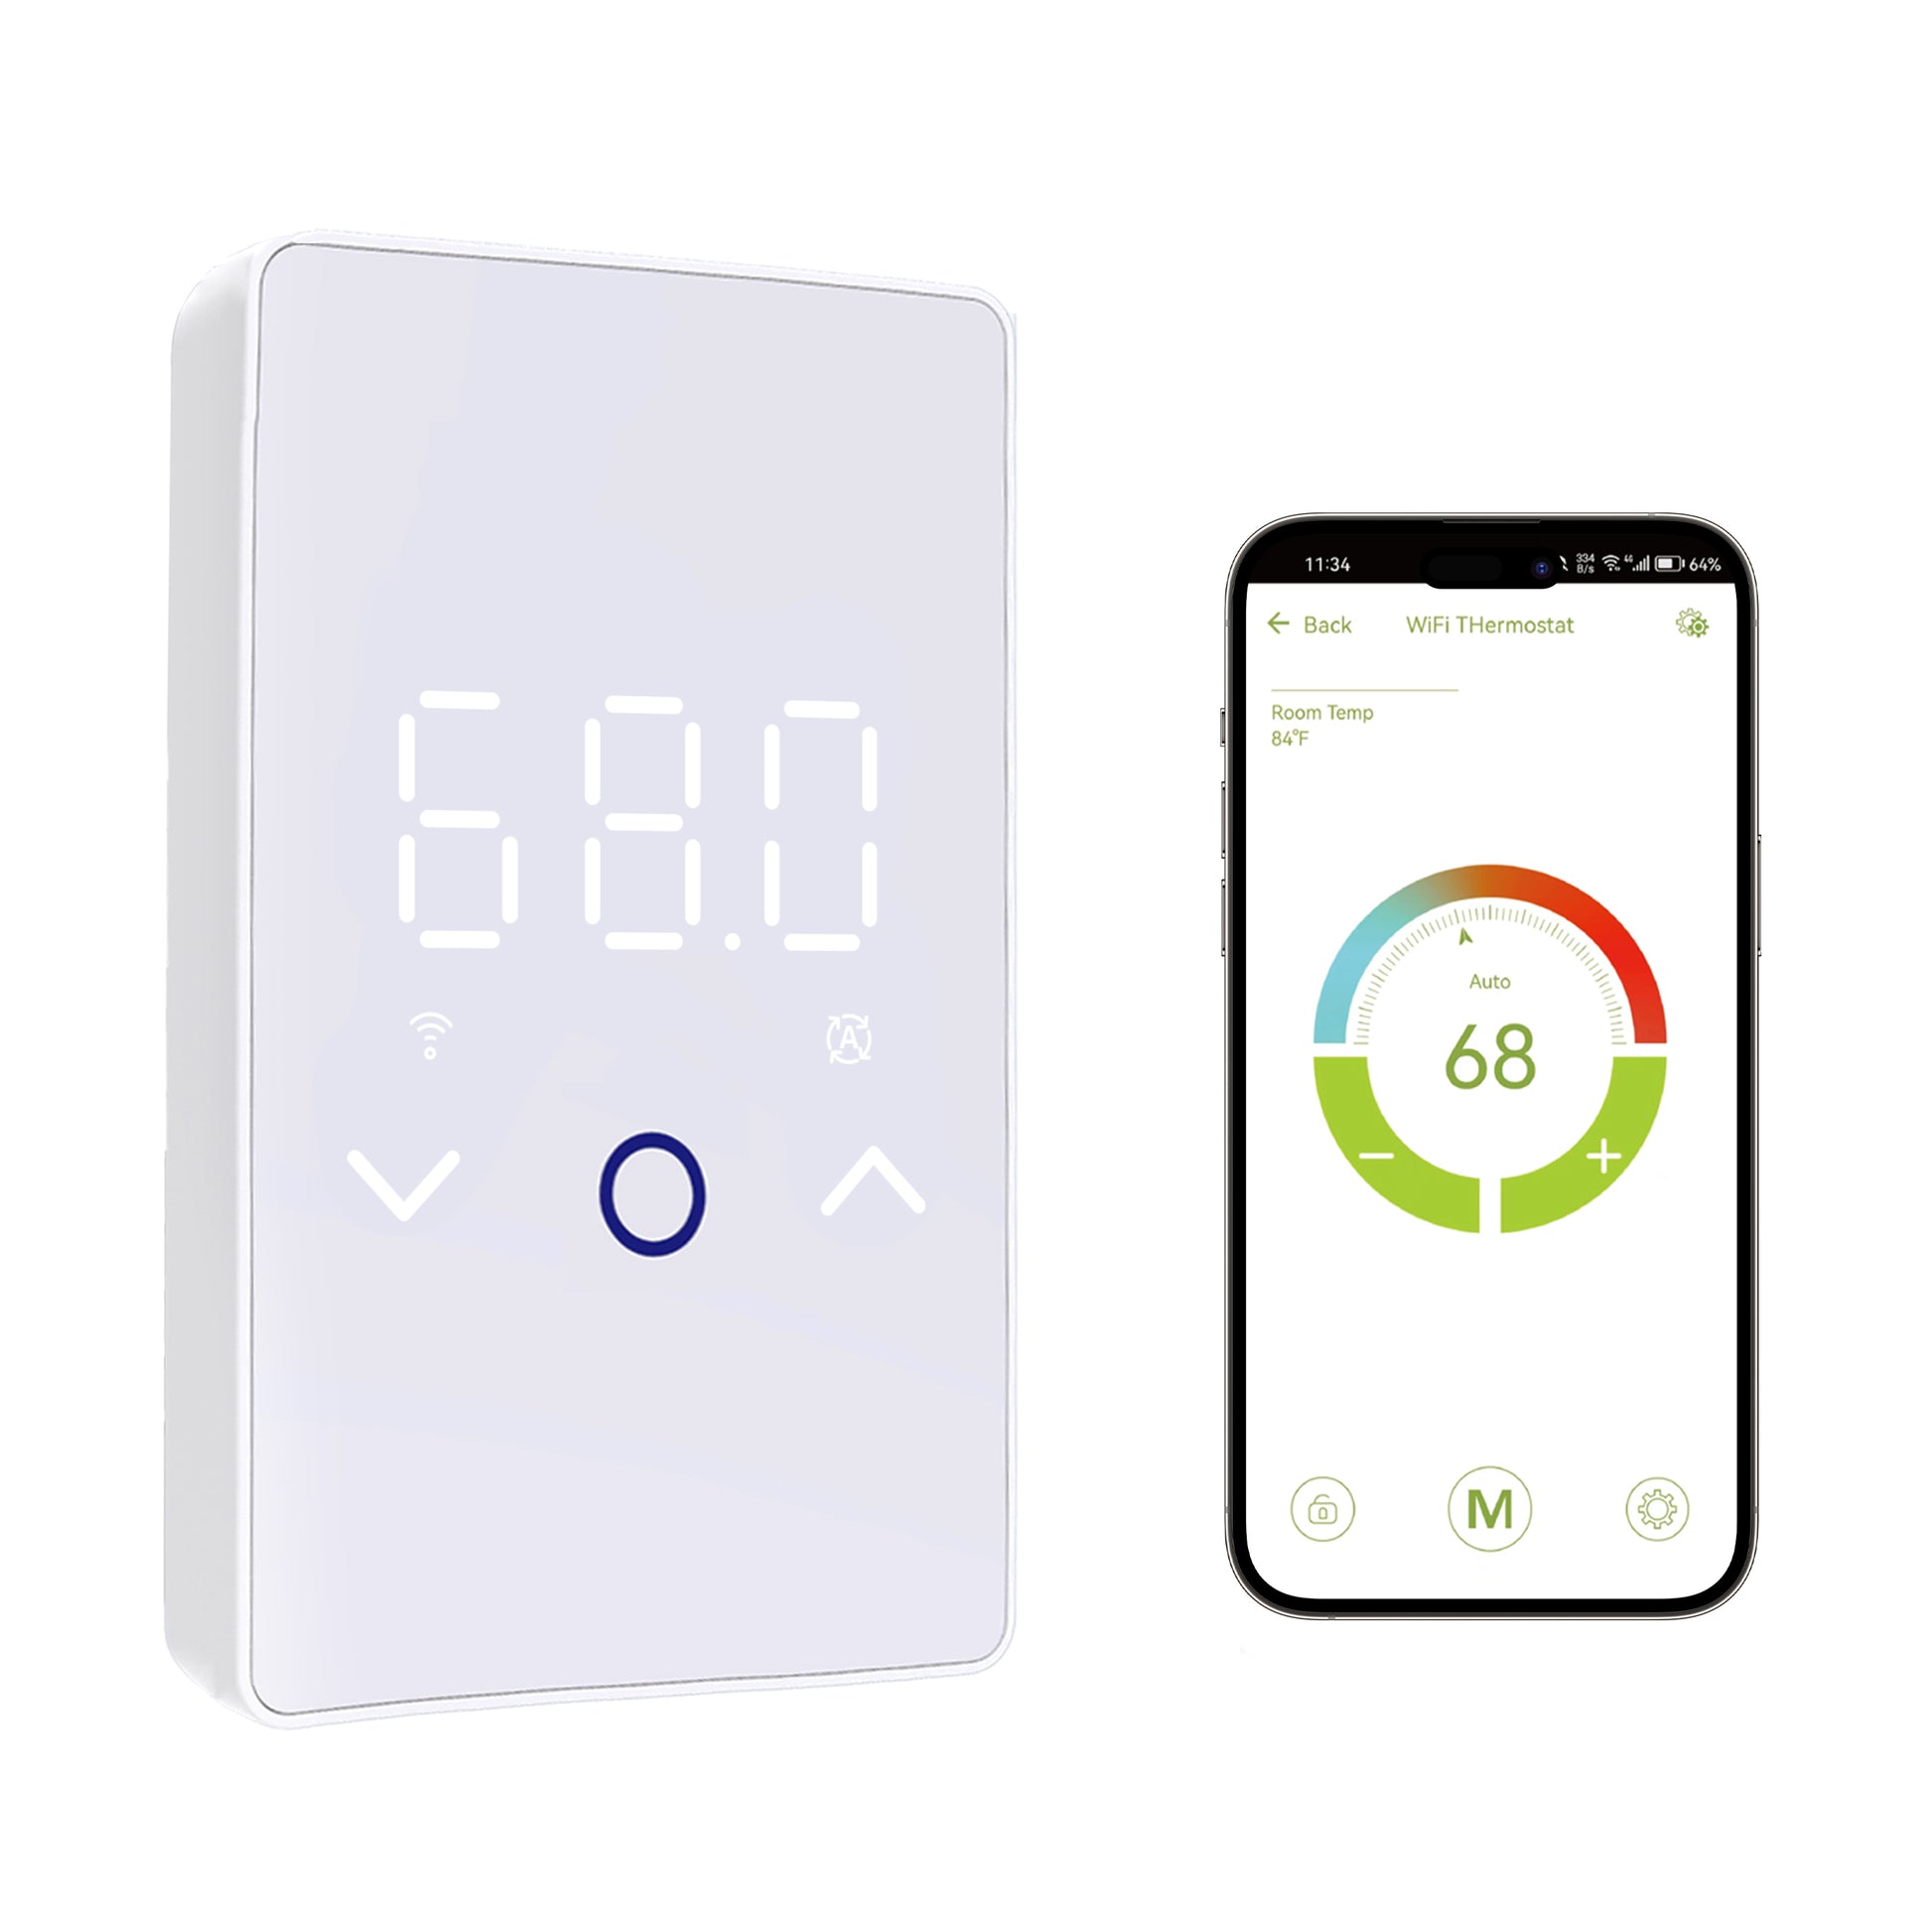
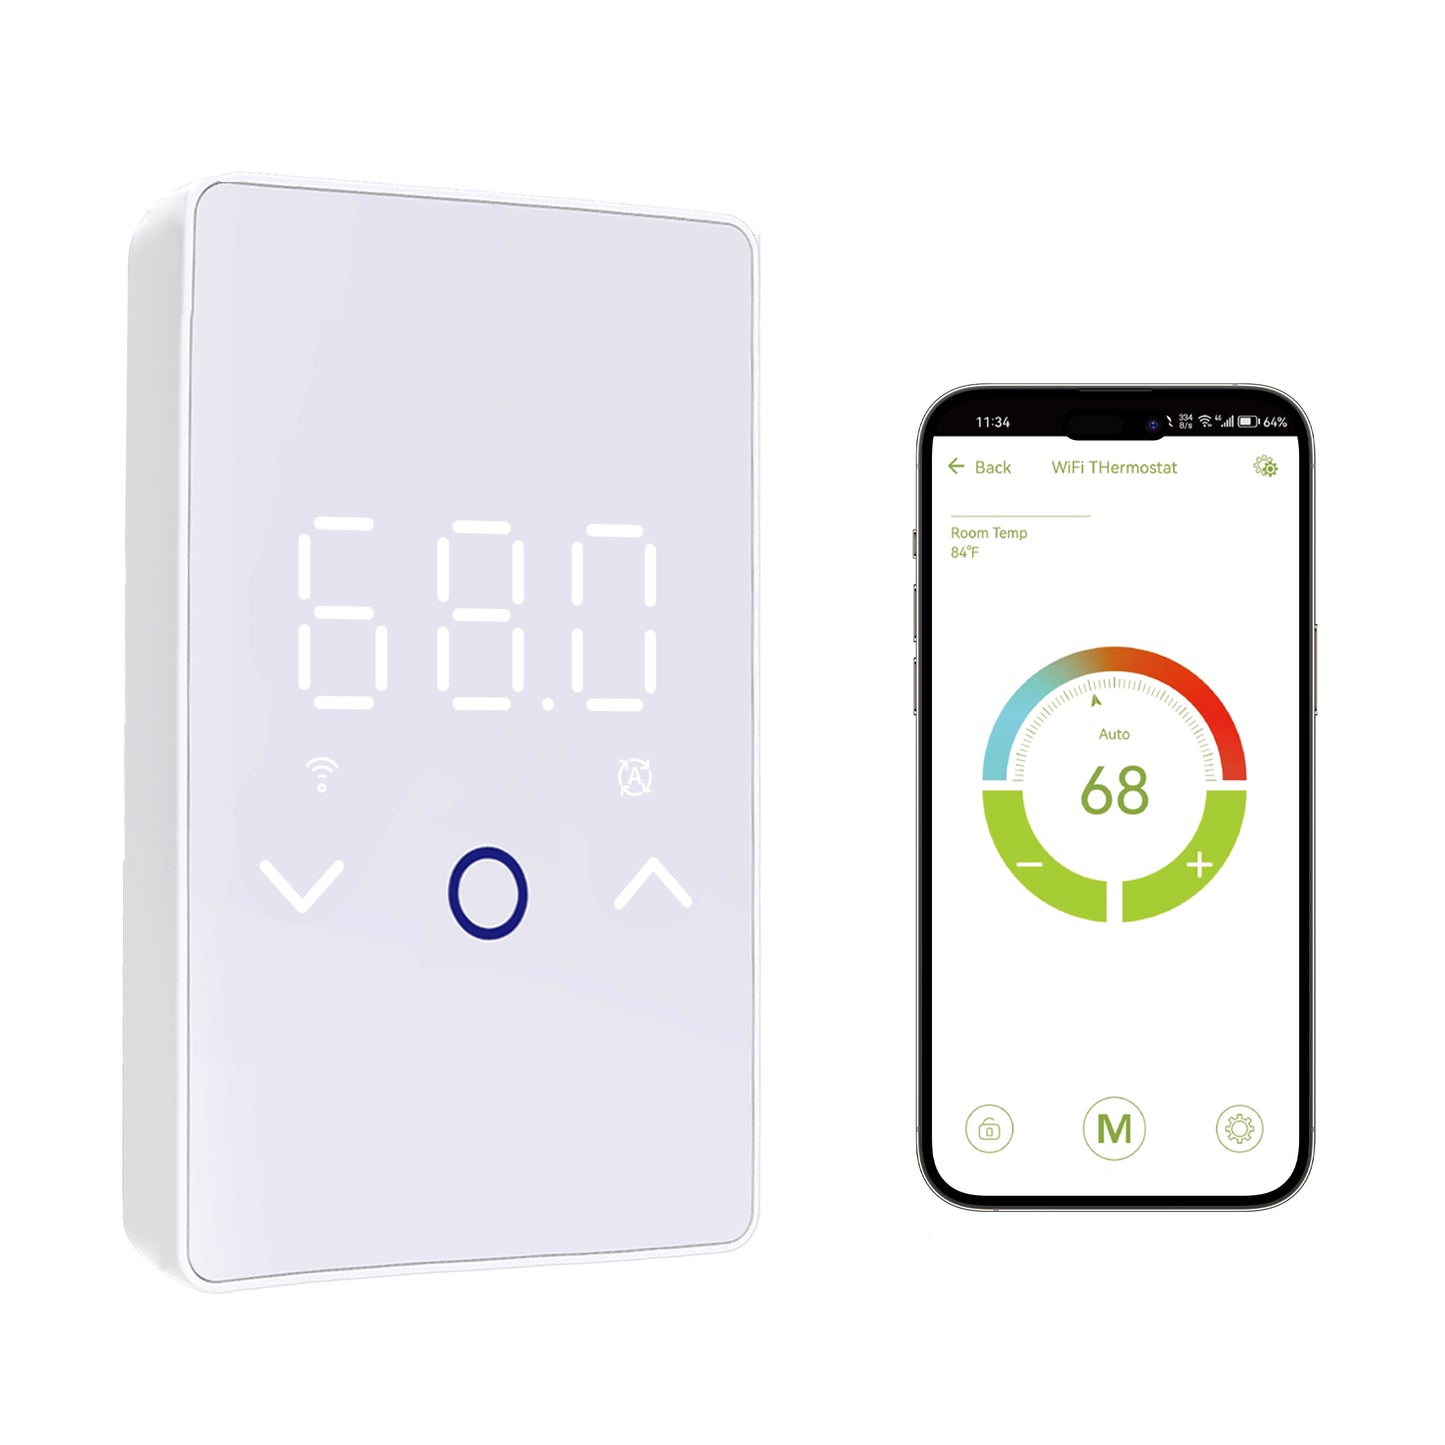
The current MAXKOSKO ES29AW includes its own matched floor sensor and also provides selectable settings for several compatible replacement-sensor ranges.
Current selectable settings include:
- 0–10kΩ
- 1–10kΩ
- 2–12kΩ
- 3–15kΩ
These settings can make replacement easier when an existing sensor is permanently embedded in the floor.
However, the presence of a 10k, 12k, or 15k setting should not be interpreted as universal compatibility with every sensor carrying the same nominal resistance.
Do Not Choose the Sensor Setting by Guessing
Confirm the existing sensor specifications whenever possible. A sensor with the wrong resistance-temperature characteristics can produce inaccurate control even if one measured resistance happens to look close to the selected thermostat setting.
How to Check an Existing Floor Sensor Before Replacing the Thermostat
Identify the Existing Thermostat
Record the old thermostat manufacturer and model before removal. Its manual or technical data may identify the original floor-sensor specification.
Find the Sensor Specification
Look for nominal resistance, reference temperature, Beta value, or a resistance-temperature table for the installed sensor.
Check Whether the Sensor Can Be Replaced
If the sensor was installed in suitable conduit and can be removed according to the installation design, using the sensor supplied with the new thermostat may be the simplest compatibility solution.
Measure the Existing Sensor
With the circuit de-energized and the sensor isolated as required, measure resistance across the two sensor conductors and record the approximate temperature at the same time.
Compare the Sensor With the New Thermostat
Confirm that the replacement thermostat supports the actual sensor characteristics rather than matching only the closest-looking resistance number.
Use the Correct Sensor Setting
If compatibility is confirmed, configure the replacement thermostat for the applicable supported sensor type before relying on the displayed floor temperature.
Do Not Use Calibration to Hide a Sensor Mismatch
A thermostat's temperature calibration feature can be useful when a correctly matched sensor has a small and consistent offset.
It should not be used as a substitute for selecting the correct sensor type.
If the sensor and thermostat use different resistance-temperature curves, adjusting the displayed temperature at one point may still leave the reading inaccurate at warmer or colder floor temperatures.
Compatibility First, Calibration Second
Confirm the sensor type, wiring, and resistance behavior before applying a calibration adjustment. Calibration is intended for a small stable offset, not an unidentified or incompatible sensor.
What If the Old Floor Sensor Cannot Be Identified?
If the sensor is permanently buried and you cannot find its original specification, do not assume that the closest resistance setting is automatically correct.
Practical options include:
- Finding the old thermostat manual or installation record
- Contacting the original thermostat manufacturer
- Checking resistance at known temperatures
- Having a qualified installer evaluate the existing sensor
- Replacing the sensor with the new thermostat's matched sensor if the installation allows it
If compatibility still cannot be established, use a thermostat and sensor combination whose specifications can be confirmed rather than relying on an unknown embedded sensor.
Sensor Compatibility Is Not the Only Replacement Check
Even when the old floor sensor is compatible, the new thermostat must still match the electrical heating system.
Before replacing a thermostat, verify:
| Replacement Check | What to Confirm |
|---|---|
| Heating system type | The thermostat is intended for the installed resistive electric floor-heating cable or mat. |
| Voltage | The thermostat and heating system are compatible with the actual 120V or 240V circuit. |
| Heating load | The connected load remains within the thermostat's rated capacity. |
| Wiring configuration | The supply, load, grounding, and sensor wiring match the replacement thermostat requirements. |
| Ground-fault protection | The floor-heating circuit has the protection required by applicable electrical codes. |
| Floor sensor | The existing sensor is confirmed compatible or the new matched sensor can be installed. |
For the current ES29AW, the maximum connected resistive heating load is 15A, and the thermostat does not include built-in GFCI protection.
Thermostat Replacement Involves Line Voltage
Turn off and verify power before removing or testing thermostat wiring. A qualified electrician should verify circuit voltage, load, wiring, grounding, and required ground-fault protection before a replacement thermostat is connected.
What If the New Thermostat Shows E2?
If the replacement thermostat reports an external floor-sensor error, do not immediately assume the new thermostat is defective.
Possible causes include:
- A loose sensor terminal
- A disconnected sensor conductor
- An open sensor circuit
- A shorted sensor circuit
- An incorrect sensor-type setting
- An incompatible existing sensor
Use the dedicated E1 and E2 thermostat troubleshooting guide for the complete diagnostic sequence.
After Compatibility Is Confirmed, Choose the Right Sensor Mode
Sensor compatibility answers one question: whether the thermostat can interpret the external sensor correctly.
It does not decide which control mode is best for the installation.
The ES29AW provides:
- Floor Mode — controls heating from the external floor sensor.
- Room Mode — controls heating from the thermostat's internal room sensor.
- Combined Mode — controls from room temperature while using the floor sensor as a maximum floor-temperature limit.
For the complete selection logic, read Floor Sensor vs Room Sensor vs Both Mode.
Floor Sensor Replacement Checklist
- Do not assume the existing floor sensor will work with every replacement thermostat.
- Identify the original sensor specification whenever possible.
- Nominal resistance such as 10k, 12k, or 15k is only part of sensor compatibility.
- The sensor's resistance-temperature curve or Beta value can also matter.
- Record the temperature when measuring an NTC sensor with a multimeter.
- One resistance reading alone may not prove full compatibility.
- Use the sensor supplied with the thermostat for a new installation when possible.
- Do not use calibration to compensate for an unidentified or mismatched sensor.
- Also verify voltage, heating load, wiring, and ground-fault protection before replacing the thermostat.
Replacing a Thermostat With an Existing Embedded Floor Sensor?
The MAXKOSKO ES29AW Smart WiFi Thermostat includes a matched 10k NTC floor sensor and provides several selectable settings for compatible existing floor sensors. This can be useful when an older sensor is permanently embedded beneath a finished floor and replacement would be difficult.
View MAXKOSKO ES29AW Smart Thermostat
Before ordering, verify the existing sensor characteristics, system voltage, total heating load, wiring configuration, and required ground-fault protection. An existing sensor should only be reused when compatibility can be confirmed.
For thermostats, heating cables, mats, and related products, browse the MAXKOSKO floor warming collection.
Frequently Asked Questions
Can I reuse my old floor sensor with a new thermostat?
Possibly. The existing sensor needs to match a sensor type supported by the replacement thermostat. Confirm its resistance characteristics or original specifications before reuse.
Does a 10k floor sensor work with every 10k thermostat?
Not necessarily. Two sensors can share the same nominal resistance while using different resistance-temperature curves or Beta values. Confirm the complete sensor specification whenever possible.
How do I identify the floor sensor already under my tile?
Start with the old thermostat model and installation documentation. If the specification is unavailable, a resistance measurement at a known temperature can provide useful information, but one reading alone may not fully identify the sensor curve.
Can I use thermostat calibration if the old sensor reads incorrectly?
Calibration can help with a small, consistent offset after compatibility has been confirmed. It should not be used to compensate for the wrong sensor type or resistance-temperature curve.
What sensor comes with the MAXKOSKO ES29AW?
The current ES29AW includes a 10k NTC floor sensor with B25/50 = 3380. For a new installation, using the included matched sensor is the preferred option when it can be installed correctly.
What should I do if the old sensor cannot be identified?
Do not assume compatibility from appearance or the closest resistance setting. Look for the old thermostat documentation, measure the sensor under known conditions, contact the original manufacturer, or use the new thermostat's matched sensor if the installation allows replacement.