
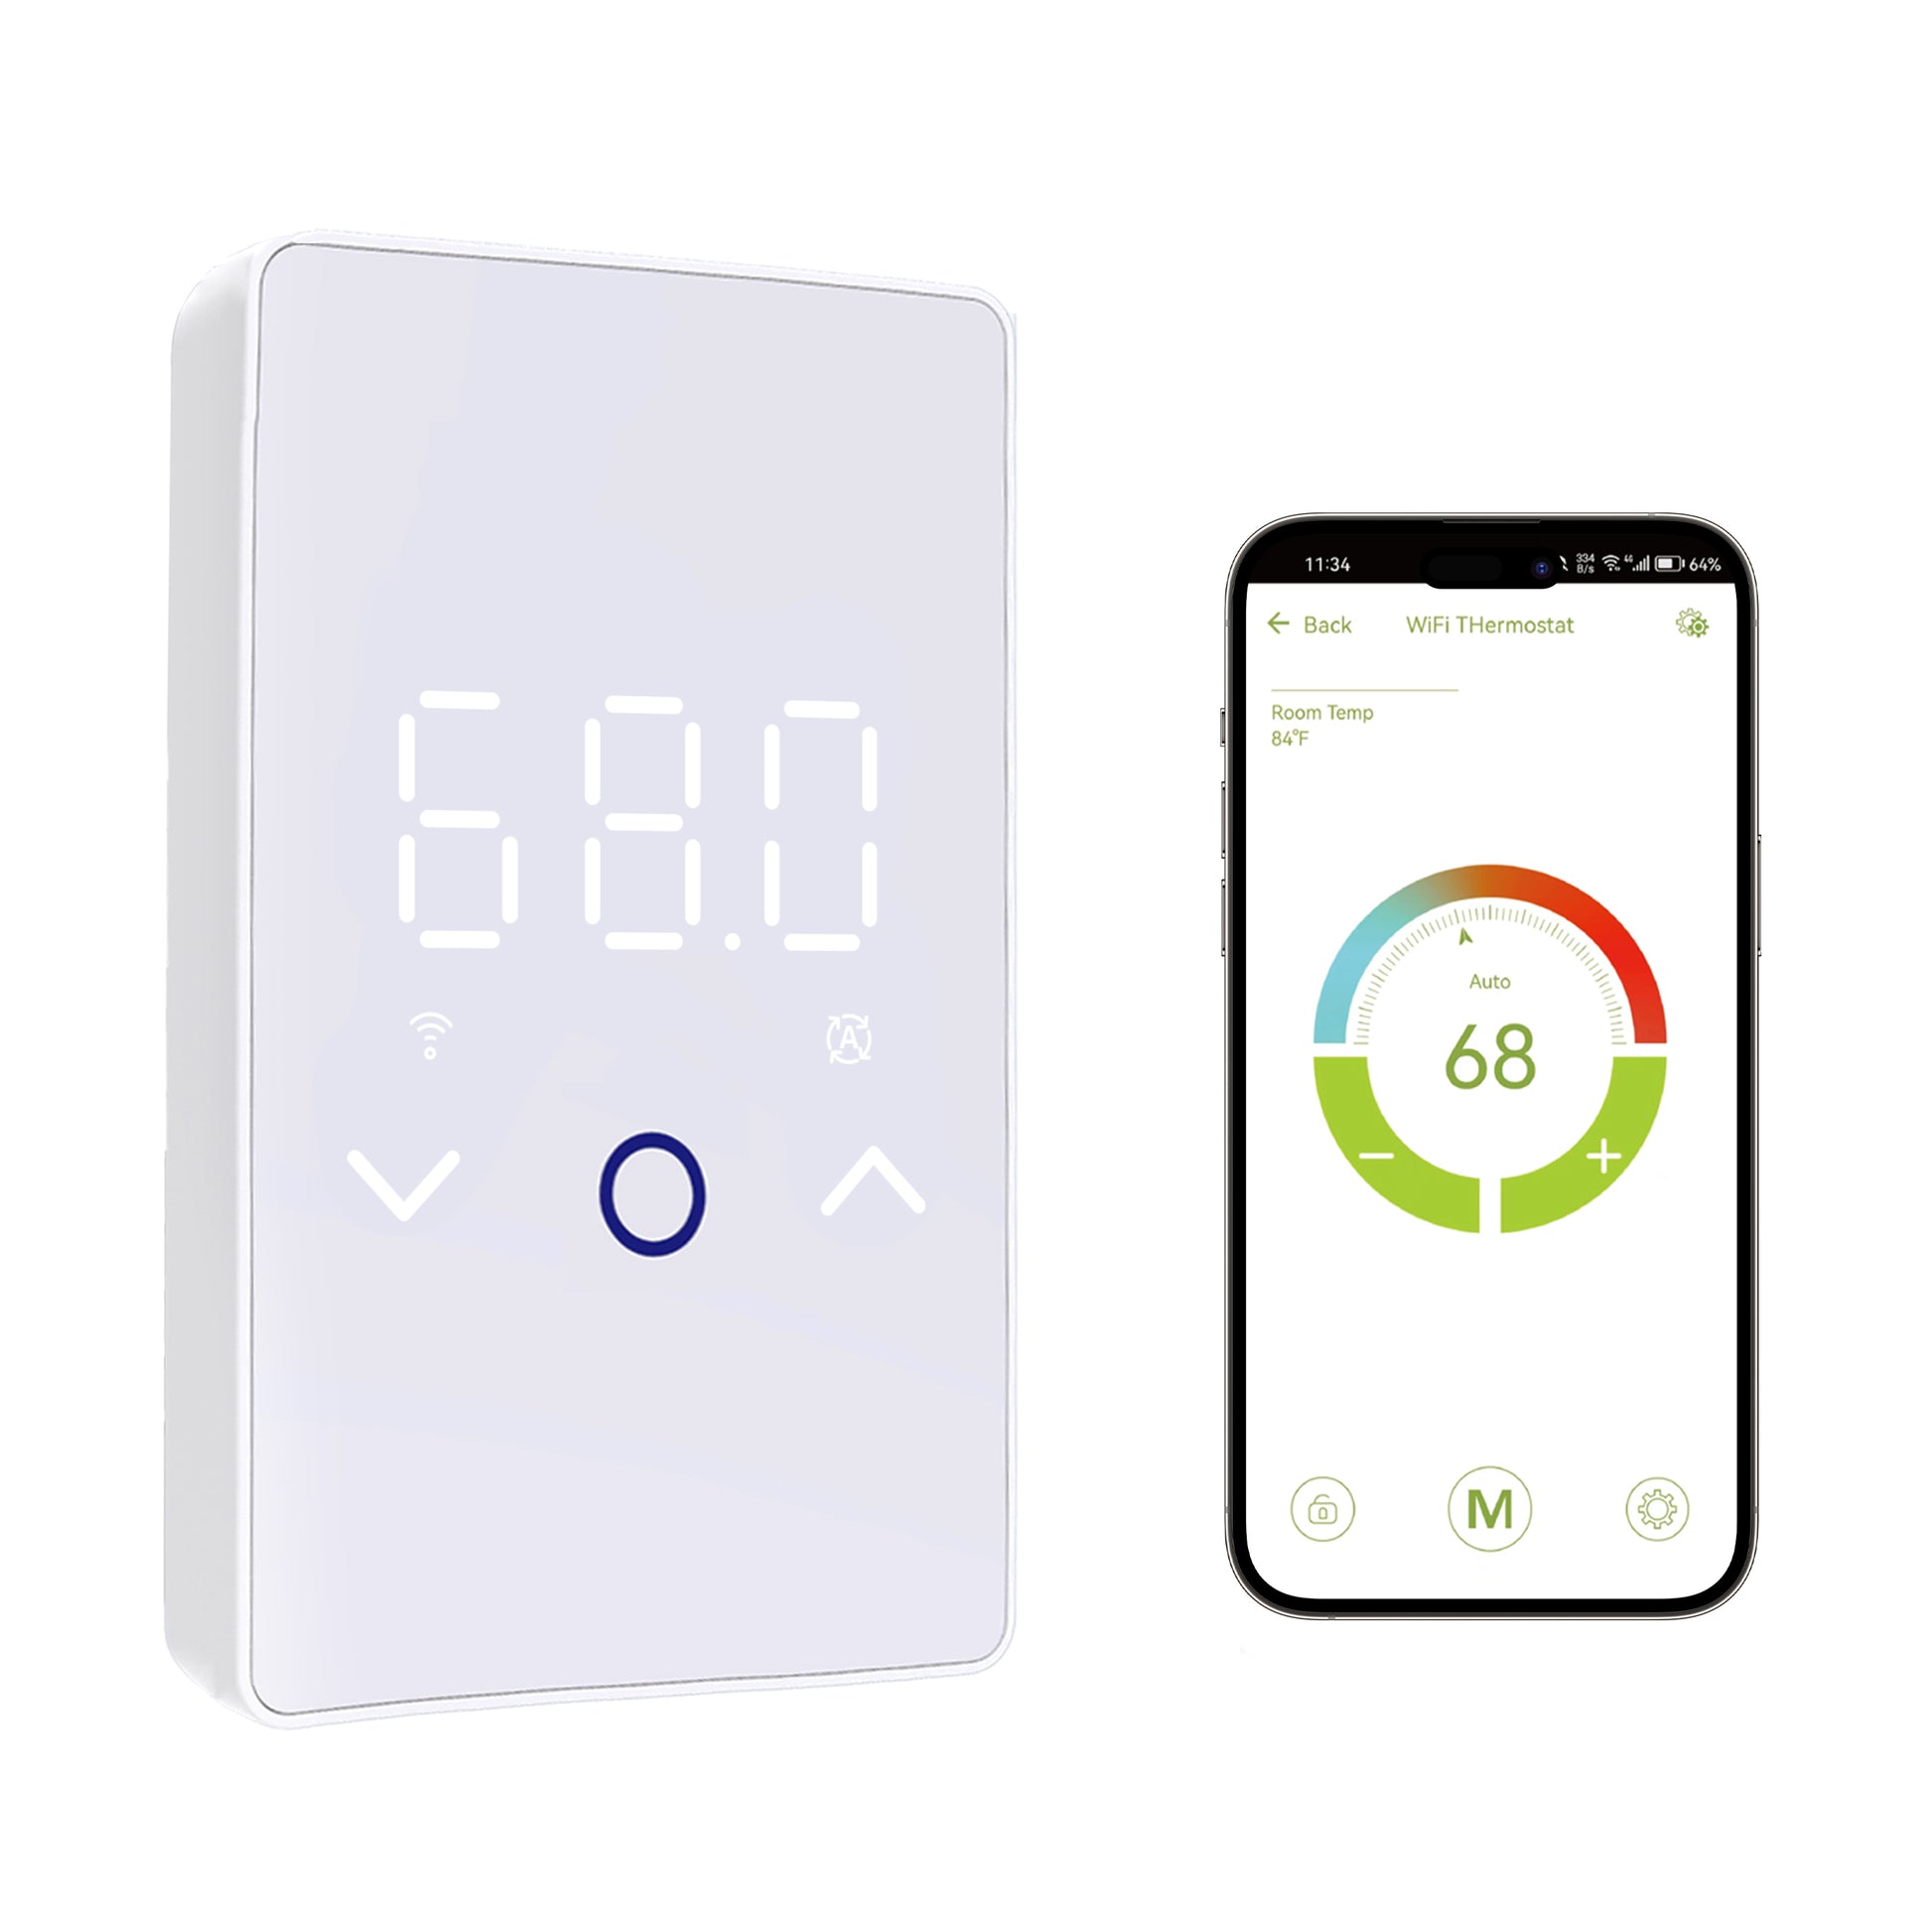


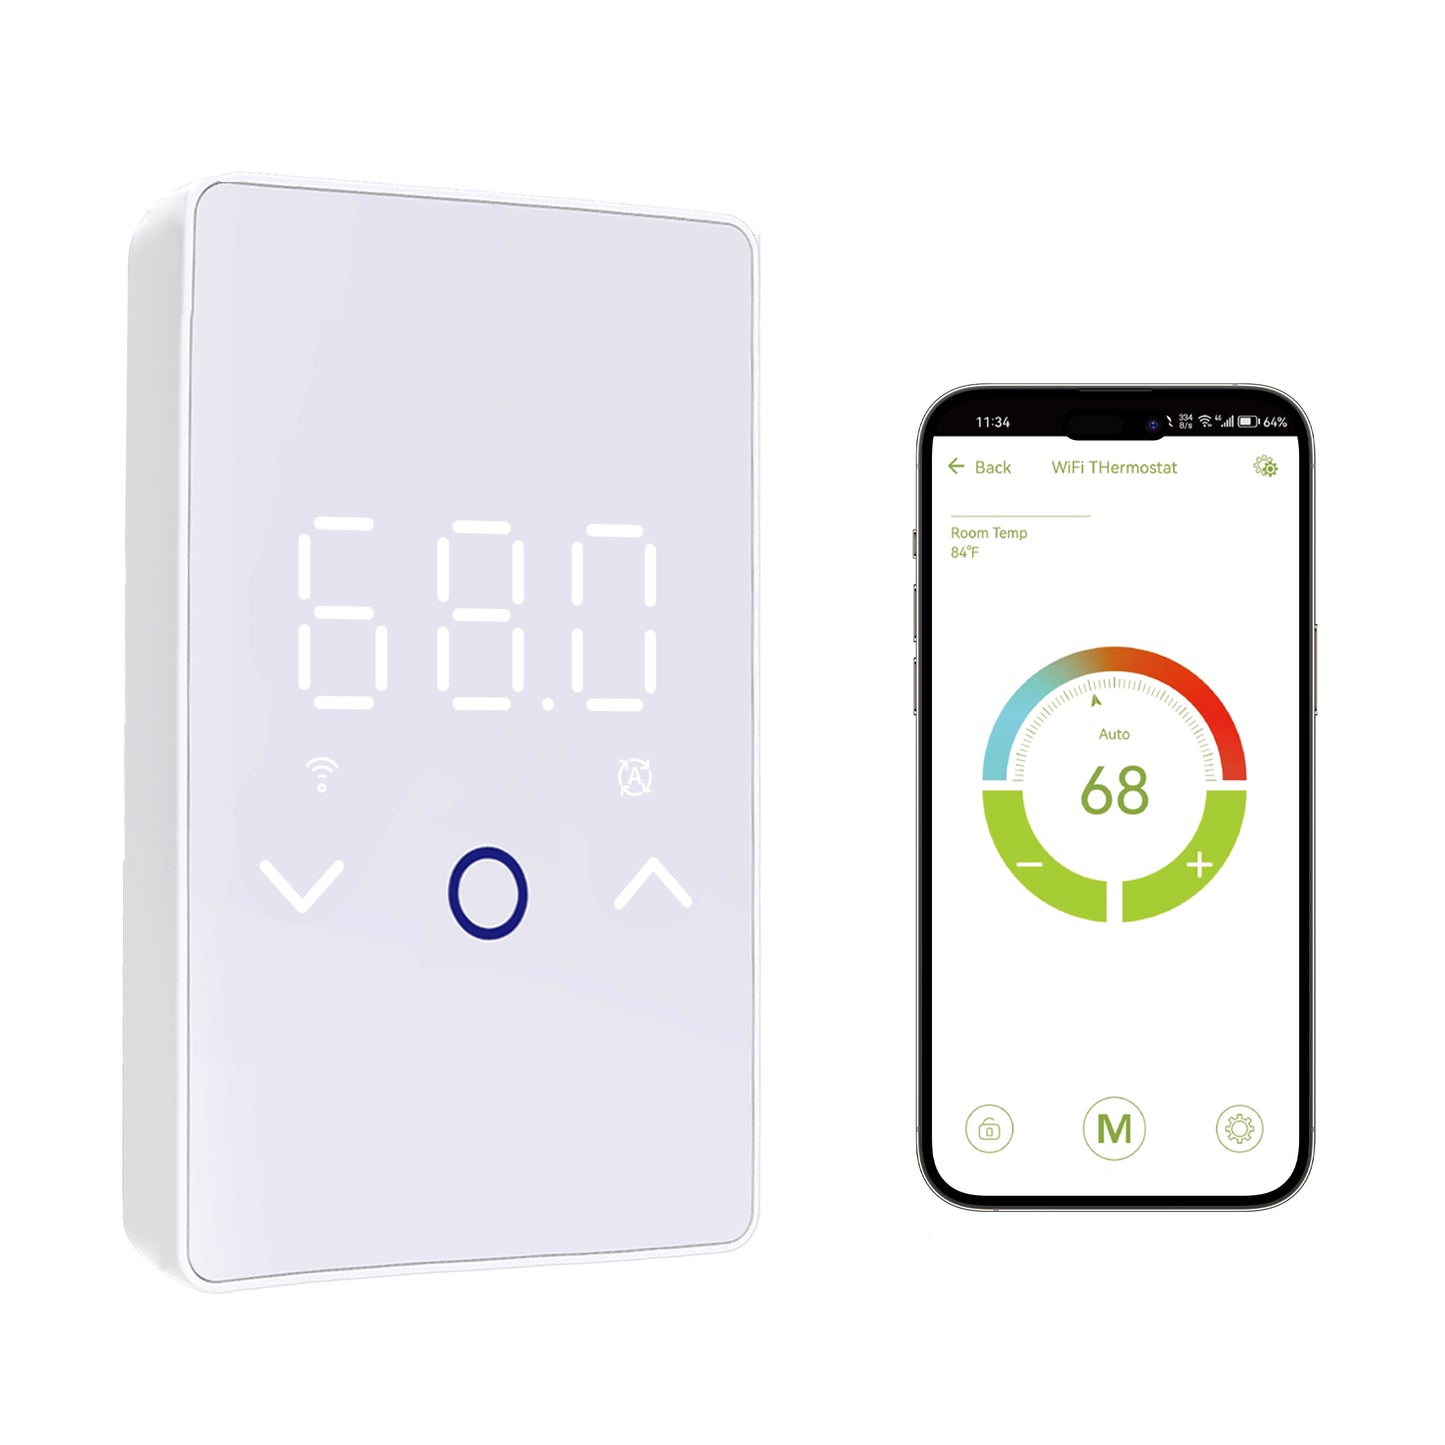
MAXKOSKO WiFi Smart Thermostat, 15A Programmable Touchscreen for 120V/240V Electric Floor Heating Systems
99 in stock
Couldn't load pickup availability


Description
ES29AW Smart WiFi Thermostat for Electric Floor Heating
MAXKOSKO ES29AW Smart Floor Heating Thermostat is designed to control compatible 120V and 240V electric floor heating cables and heating mats.
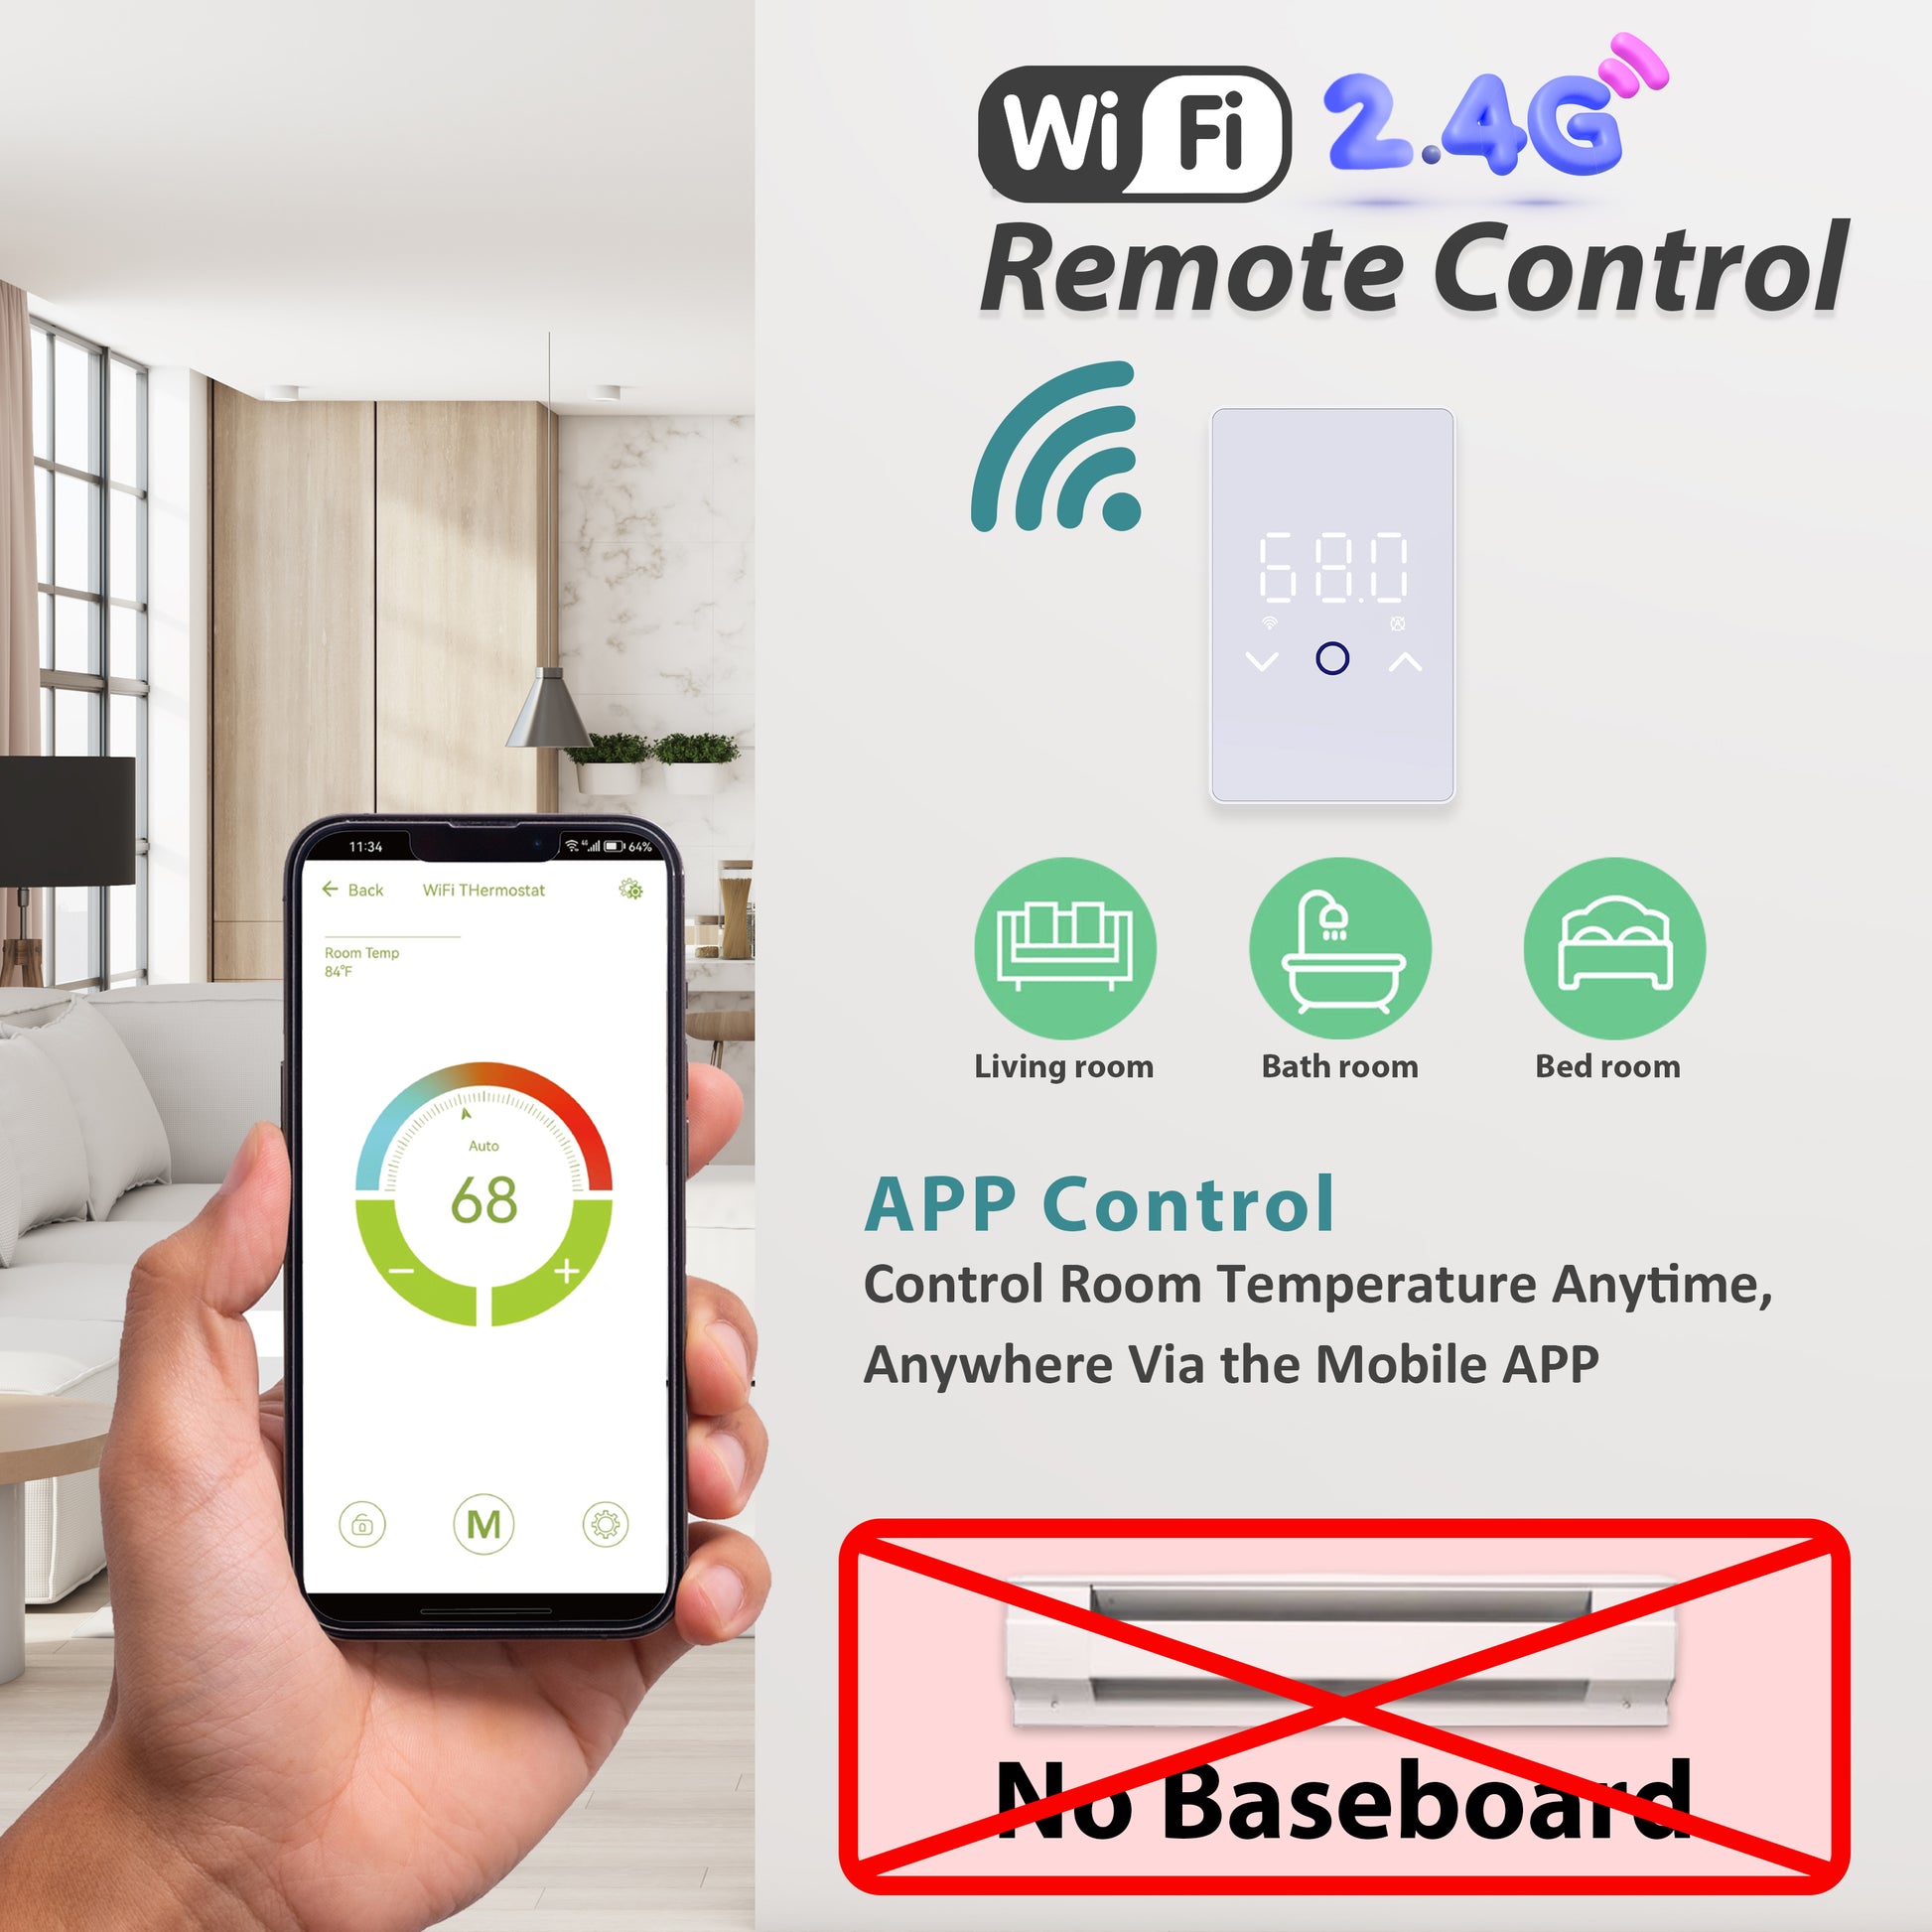
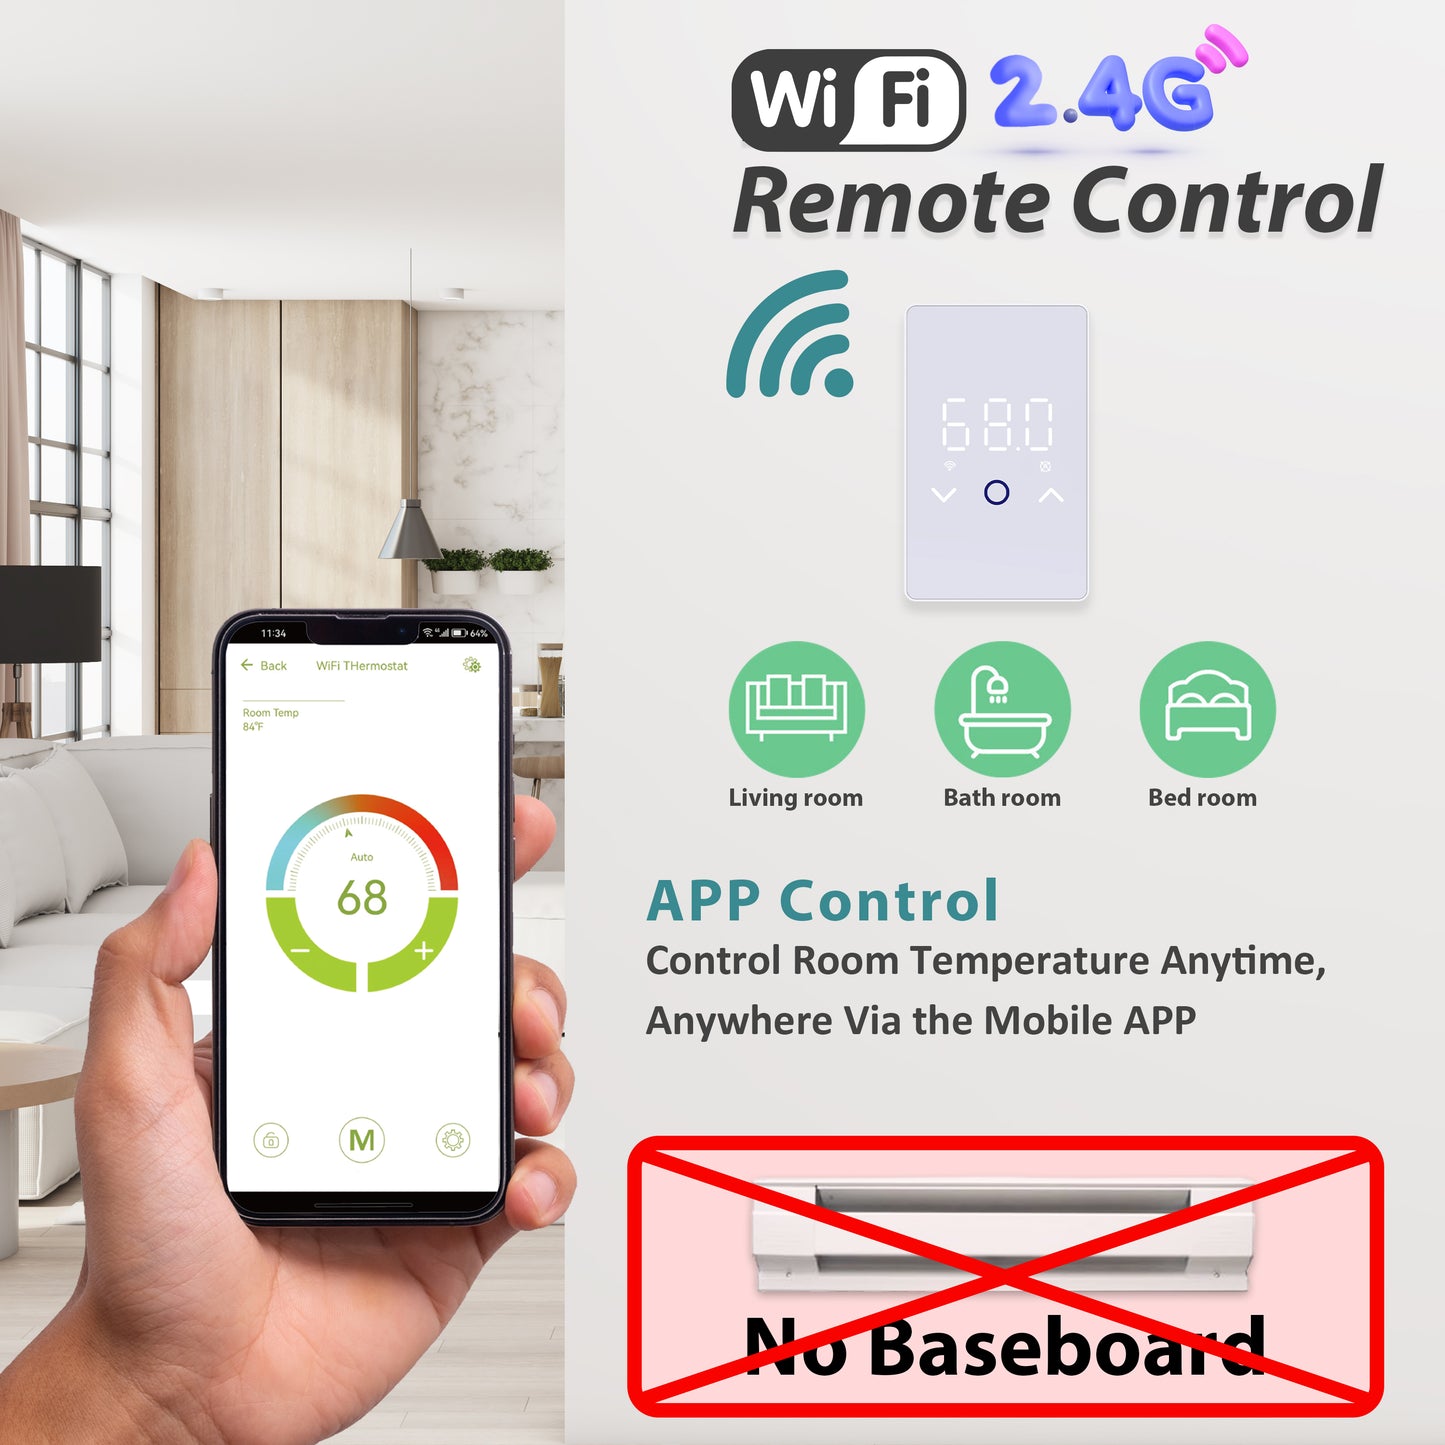
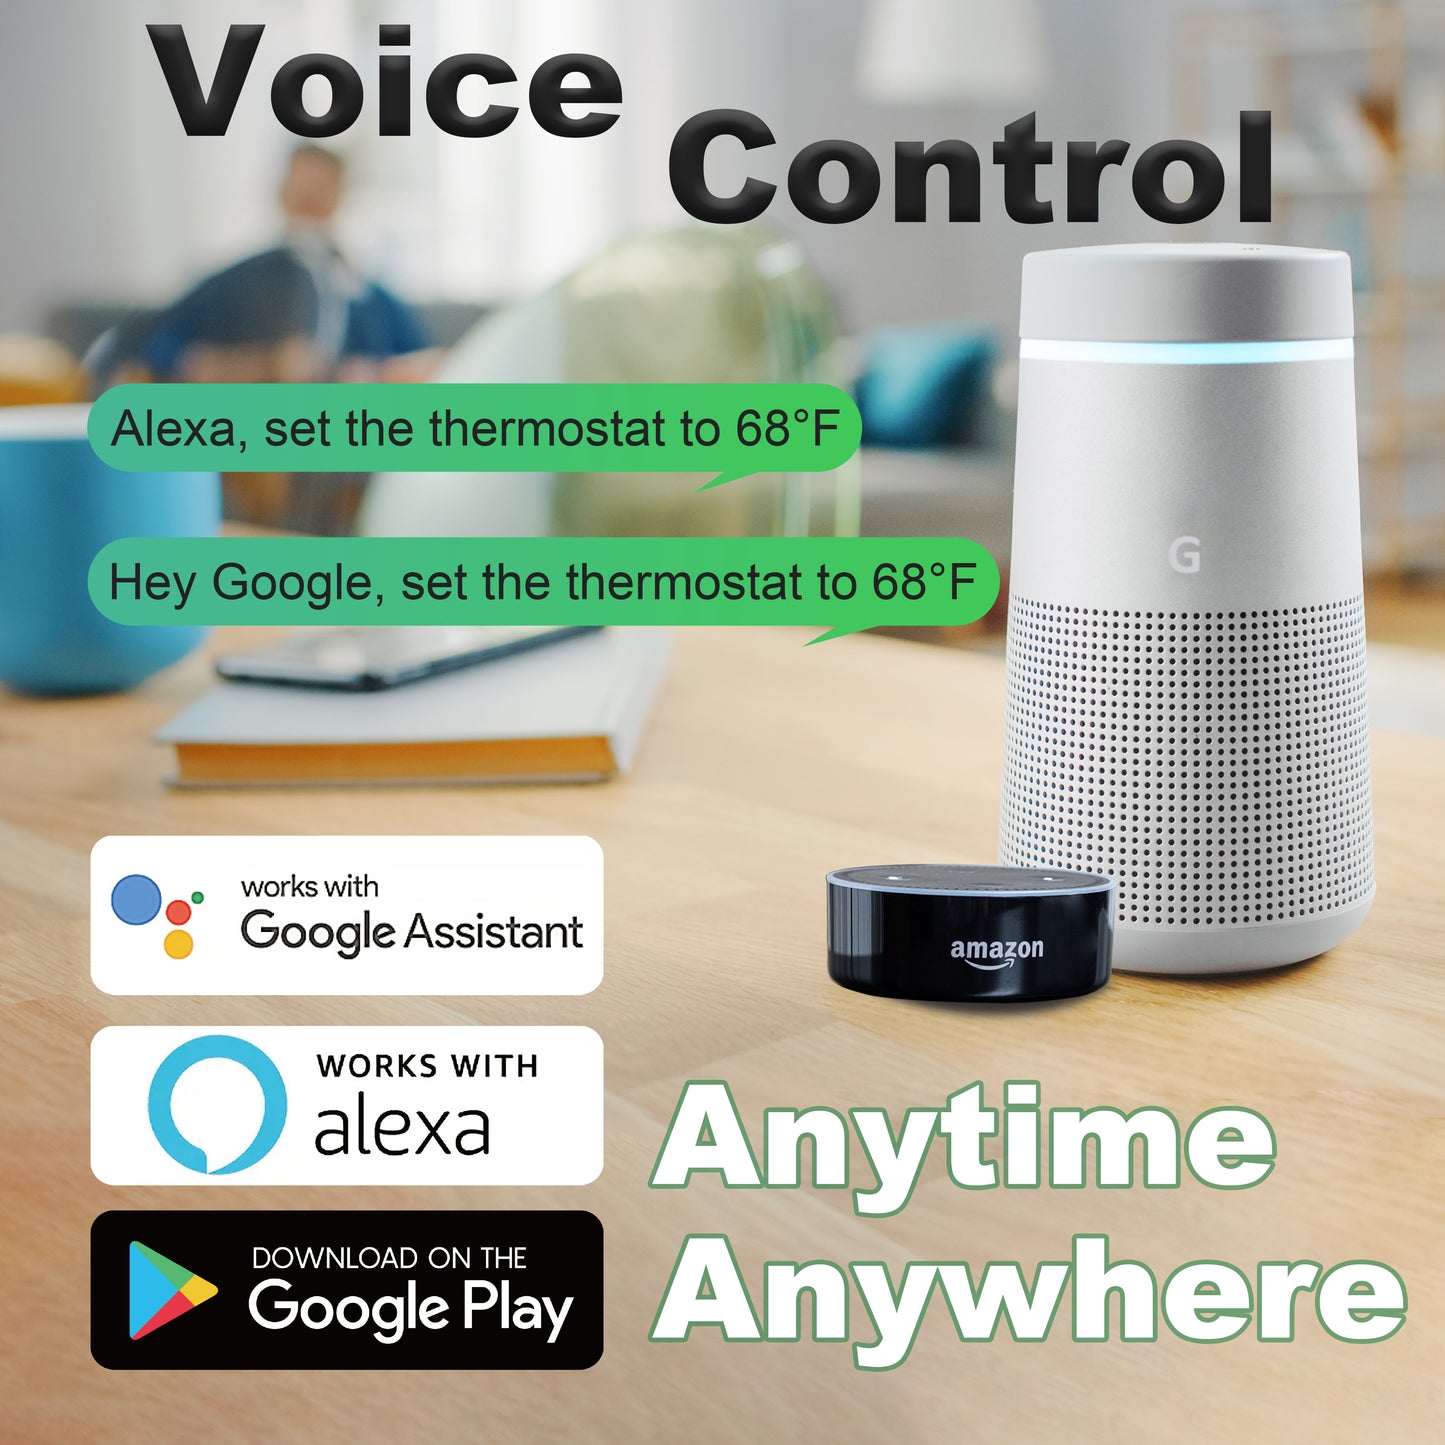
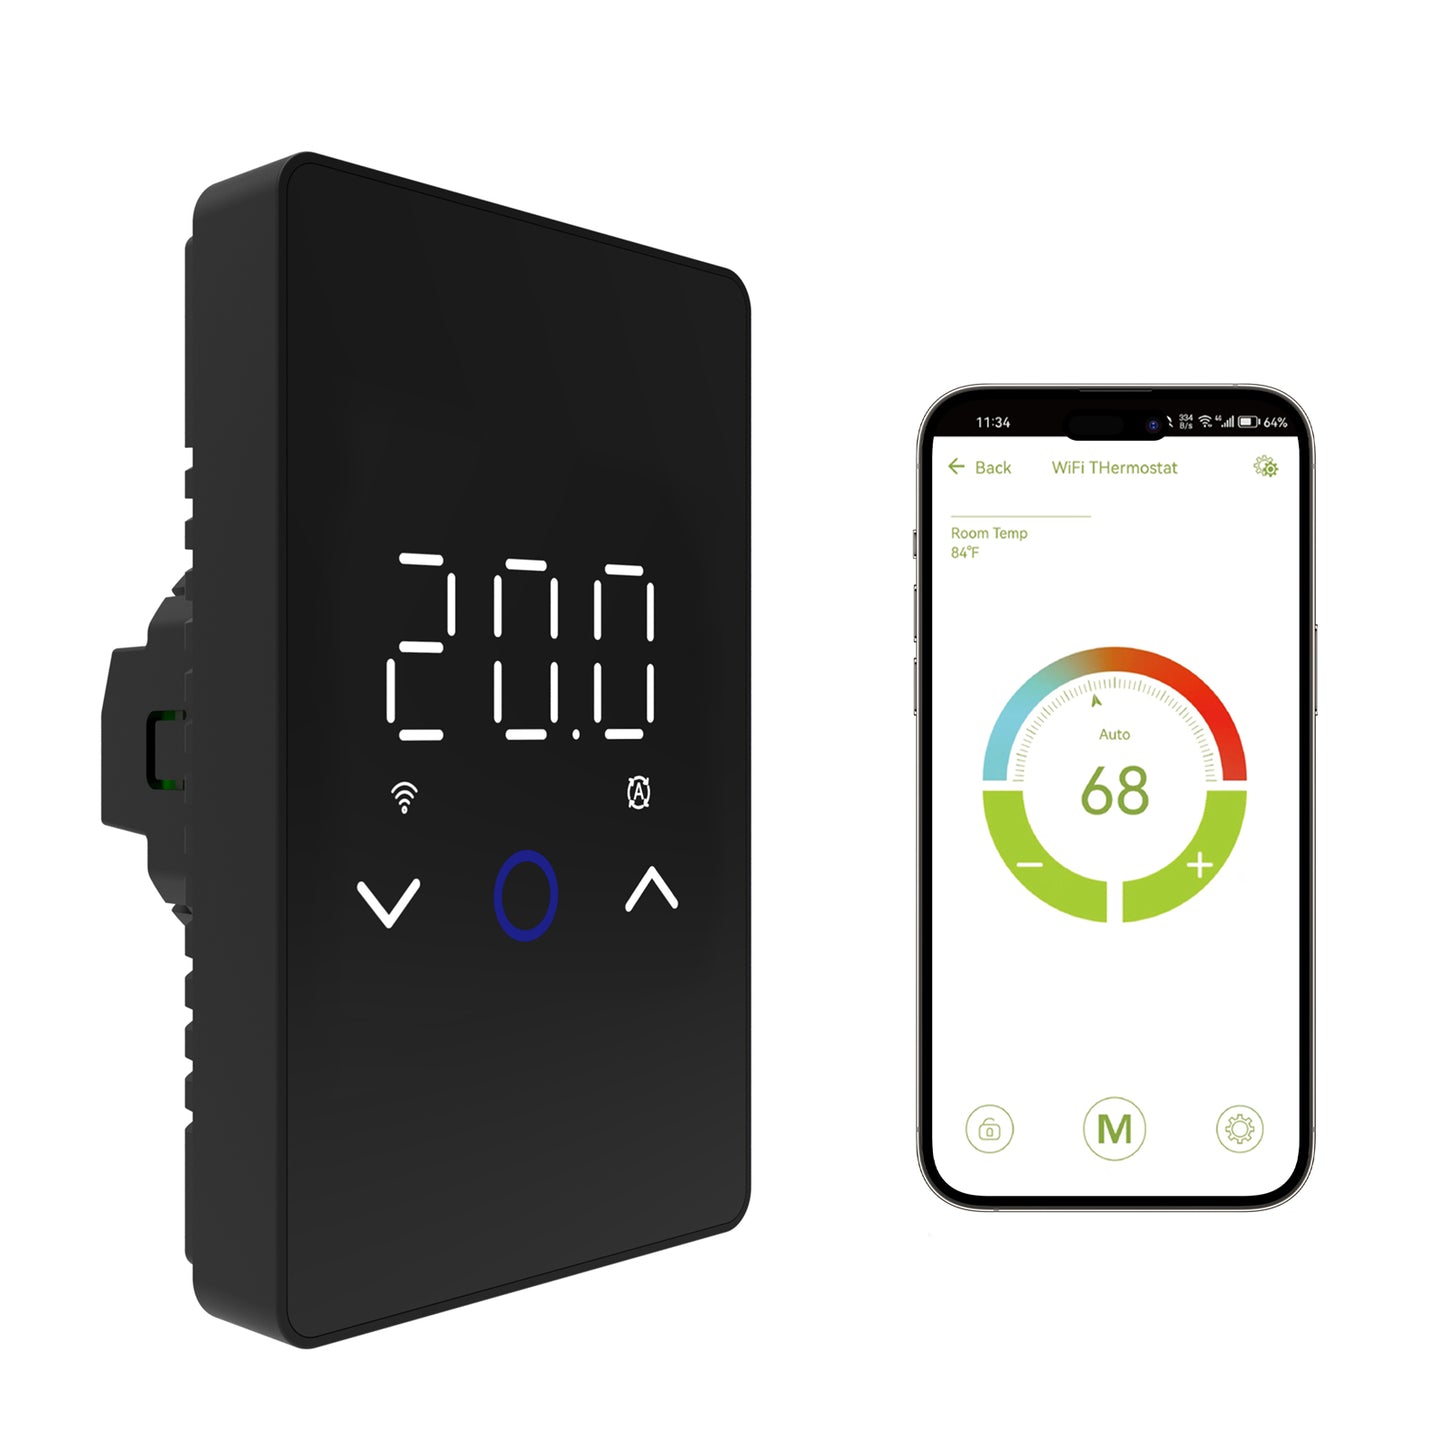
Use the touchscreen, Smart Life app, Alexa, or Google Assistant to adjust floor temperature, create heating schedules, and manage your electric radiant floor heating system remotely.
The thermostat includes a dedicated floor sensor and supports multiple sensor operating modes. Before ordering, verify the system voltage, total heating load, wiring configuration, floor sensor resistance, and required ground-fault protection.
120V / 240V Compatibility
Designed for compatible line-voltage electric floor heating cables and mats operating on 120V or 240V circuits.
Smart Life App Control
Adjust temperature, change operating settings, and manage heating schedules remotely from a compatible smartphone.
Alexa & Google Assistant
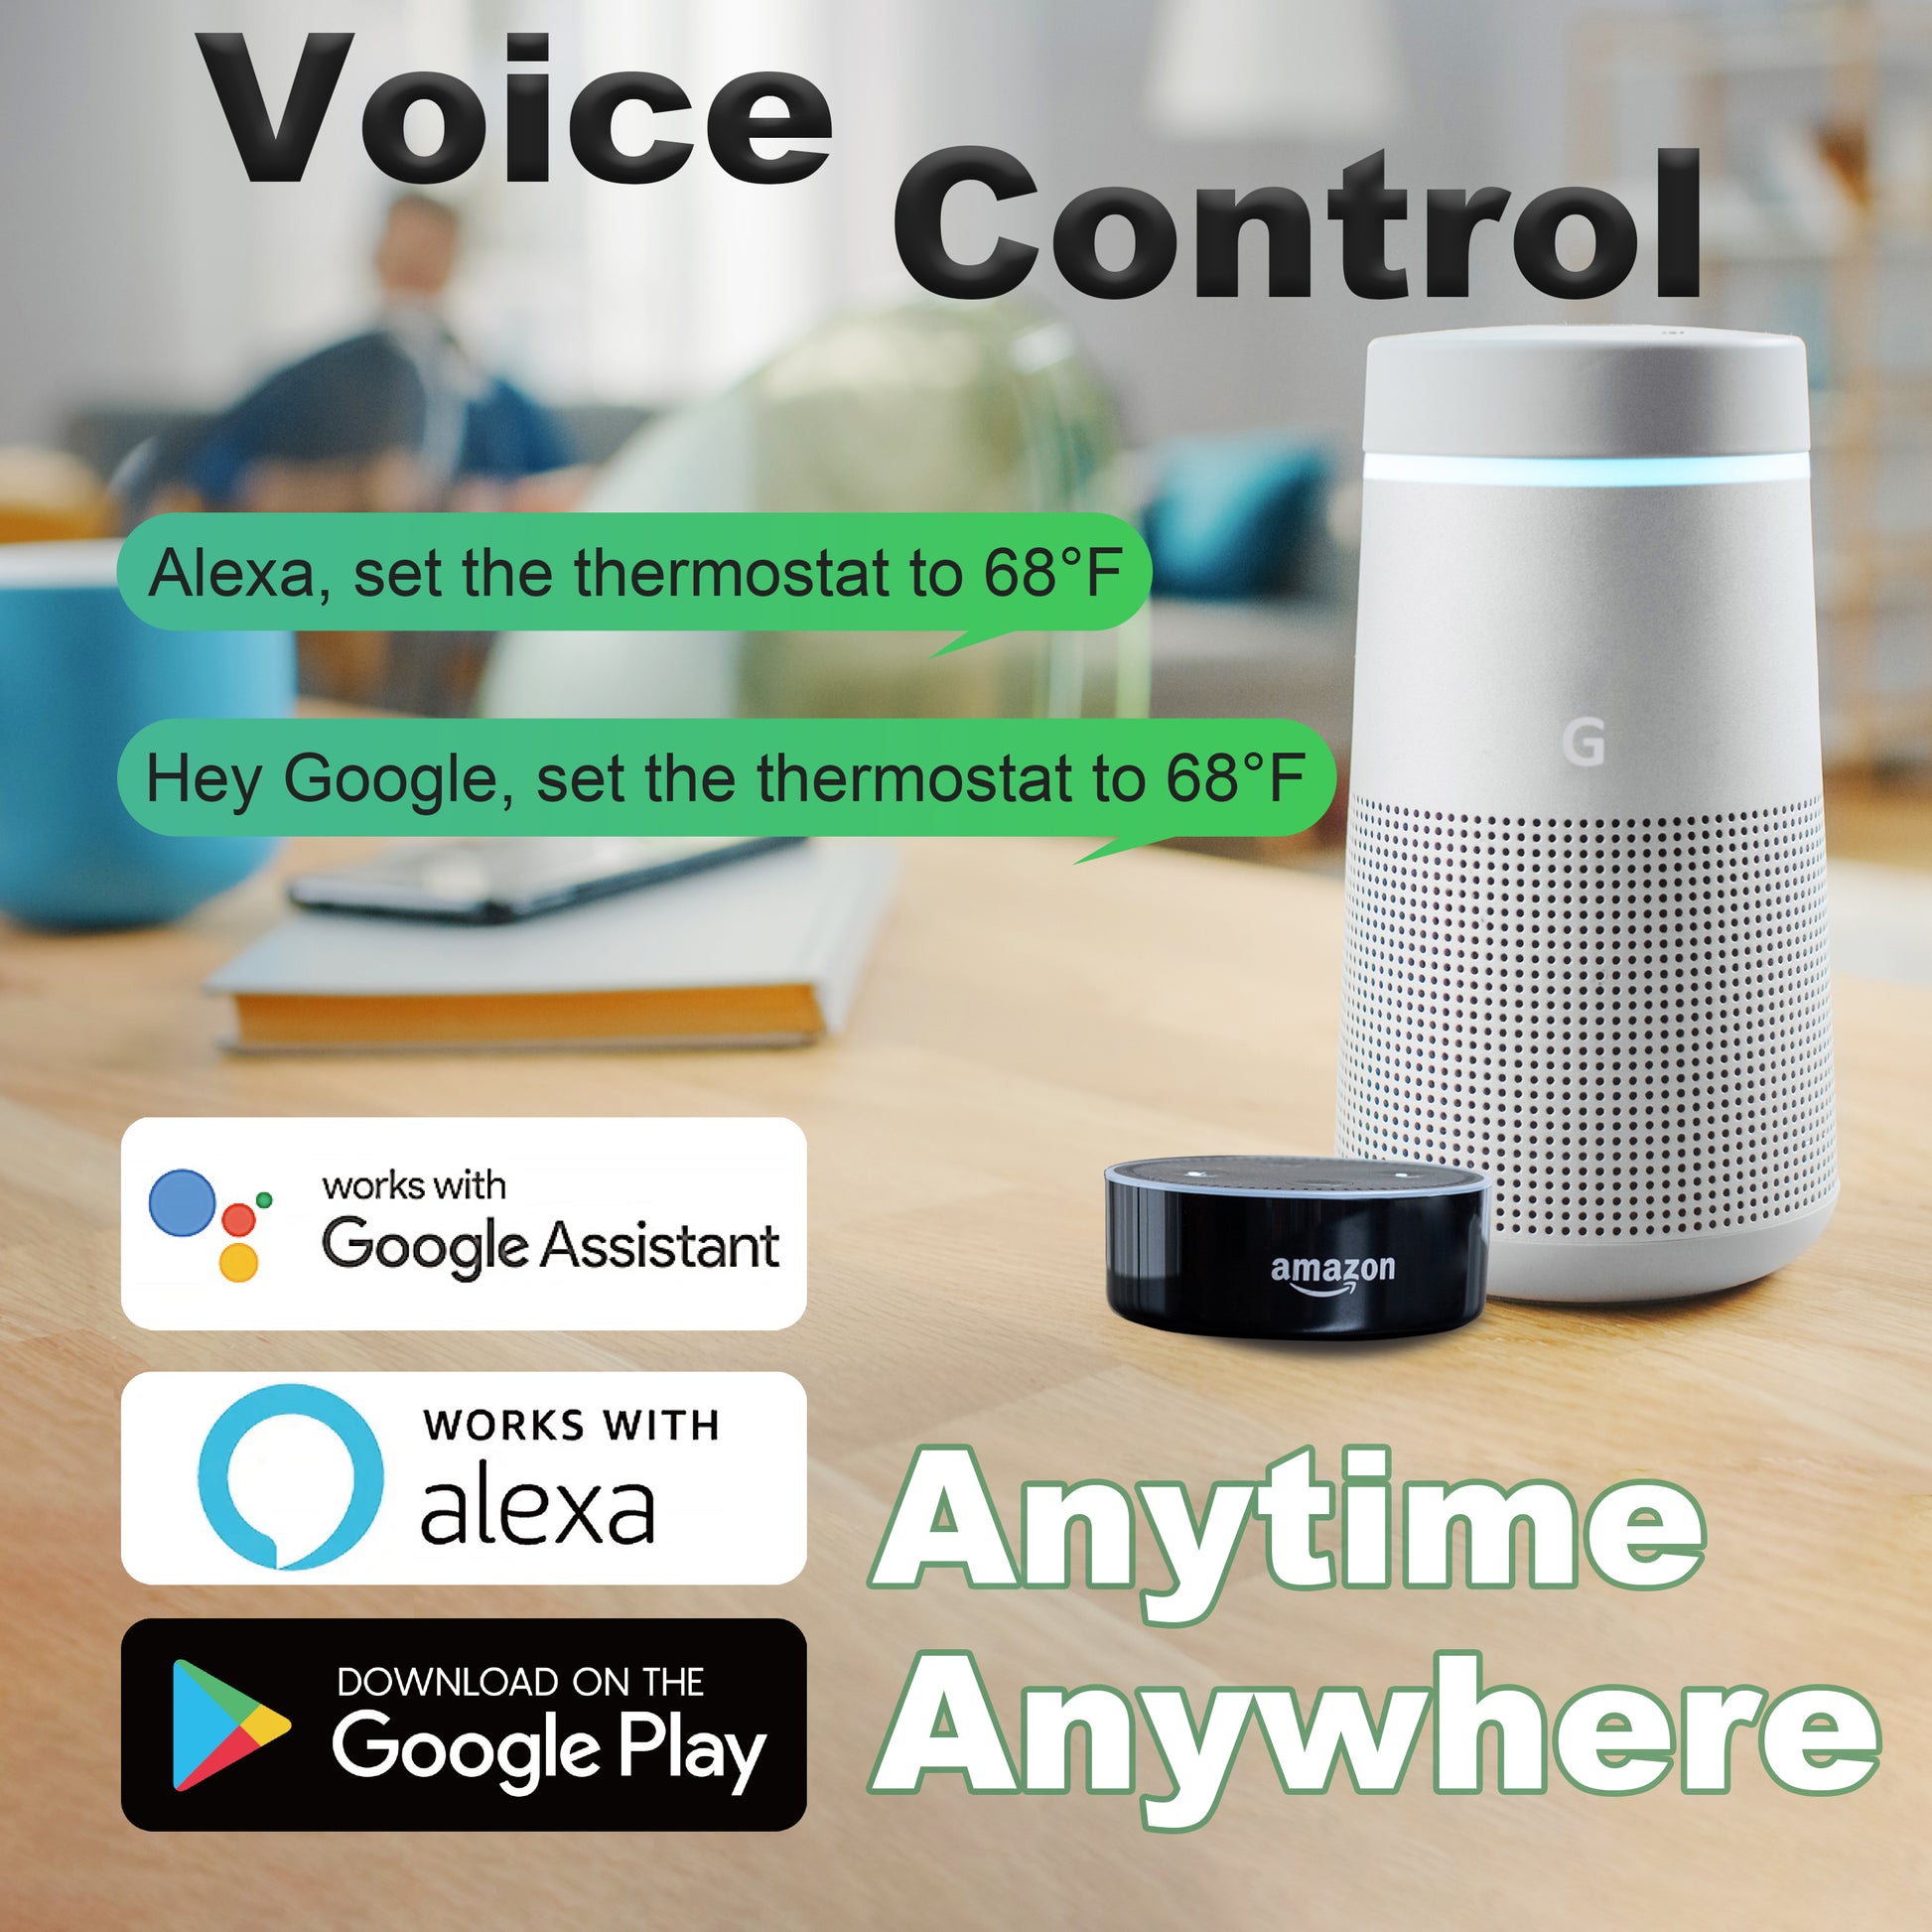
Supports compatible voice control for convenient temperature adjustment and hands-free operation.
Floor Sensor Included
The included external floor sensor helps regulate floor temperature and protect the flooring from excessive heat.
Programmable Schedule
Choose a weekday-and-weekend program or create an individual schedule for each day of the week.
Sleep-Friendly Screen-Off
Automatically turns off the display during selected nighttime periods while the thermostat continues operating normally.


Important Before Ordering
Verify Your Heating System Before Purchase
Electric Floor Heating Only: This thermostat is designed for compatible resistive electric floor heating cables and heating mats. It is not intended for hydronic floor heating systems.
Maximum Load: The connected heating system must not exceed 15A. Calculate the total current of all connected heating cables or mats before installation.
Confirm Voltage: Verify whether your heating system and electrical circuit operate at 120V or 240V before wiring the thermostat.
No Built-In GFCI: This thermostat does not include integrated ground-fault circuit interrupter protection. The floor heating circuit must receive the protection required by local electrical codes.
Floor Sensor Compatibility: The included floor sensor is recommended. An existing third-party sensor may be reused only when its resistance range matches one of the thermostat’s supported sensor types.
Wiring Must Be Verified: Confirm the line, load, neutral, and sensor wiring requirements before replacing an existing thermostat. Do not assume the wiring layout matches the previous controller.
Professional Installation Recommended: Line-voltage floor heating controls should be installed by a qualified electrician in accordance with applicable electrical and building codes.
Floor Sensor Compatibility
The thermostat includes a dedicated floor temperature sensor and also supports several selectable resistance ranges for compatible replacement installations.
Floor Sensor Mode
Controls the heating system using only the external floor sensor. This mode is commonly used when maintaining a specific floor temperature is the priority.
Room Sensor Mode
Controls heating using the thermostat’s internal room temperature sensor.
Combined Sensor Mode
Uses the internal room sensor for temperature control while the external floor sensor limits the maximum floor temperature.
Replacing an Existing Thermostat?
Do Not Select a Sensor by Appearance: Existing floor sensors may look similar while using different resistance curves.
Supported Sensor Types: The thermostat provides selectable settings for 0–10kΩ, 1–10kΩ, 2–12kΩ, and 3–15kΩ sensor ranges.
Check Before Reusing: Confirm the existing sensor resistance at known temperatures or review the original sensor specifications before selecting a sensor type.
Use the Included Sensor When Unsure: If the existing sensor cannot be positively identified, replace it with the sensor supplied with the thermostat whenever the installation allows.

Specifications
| Model | ES29AW |
| Product Type | Smart WiFi Electric Floor Heating Thermostat |
| Compatible System Voltage | 120V / 240V |
| Maximum Resistive Load | 15A |
| Compatible Heating Systems | Electric Floor Heating Cables and Heating Mats |
| Control Methods | Touchscreen, Smart Life App and Compatible Voice Assistants |
| Voice Control | Alexa and Google Assistant |
| Sensor Options | Floor Sensor, Internal Room Sensor or Combined Sensor Control |
| Selectable Floor Sensor Types | 0–10kΩ, 1–10kΩ, 2–12kΩ and 3–15kΩ |
| Floor Temperature Limit Range | 68°F to 122°F |
| Temperature Calibration | Room and Floor Sensor Calibration Available |
| Schedule Options | 5+1+1 or Individual 7-Day Schedule |
| Temperature Display | °F or °C |
| Screen Brightness | 8 Adjustable Levels, Including Screen-Off Mode |
| Additional Functions | Frost Protection, Open Window Detection and Adaptive Heating |
| Built-In GFCI | No |
| Installation | Line-Voltage Wall Installation |
Smart Controls & Heating Programs View Features Hide Features
Smart Life App
Manage temperature settings and heating schedules remotely through the Smart Life app when the thermostat is connected to a compatible WiFi network.
5+1+1 Schedule
Use one schedule for Monday through Friday and separate schedules for Saturday and Sunday.
7-Day Schedule
Customize each day individually when household routines vary throughout the week.
Adaptive Heating
The thermostat can learn how long the floor takes to warm and start heating earlier so the selected temperature is reached at the scheduled time.
Open Window Detection
Temporarily stops heating when the thermostat detects a rapid temperature drop associated with an open window.
Frost Protection
Maintains a low minimum temperature when enabled to help prevent the room or floor from becoming excessively cold.
Smart Control Notes
WiFi Availability: Remote app and voice control require a stable compatible WiFi connection. Basic thermostat control remains available from the touchscreen.
Schedule Selection: Choose either a 5+1+1 schedule or a fully customized 7-day schedule according to your routine.
Adaptive Mode: The thermostat may require several days of operation to calculate the approximate warm-up time of the installed floor heating system.


Screen-Off & Bedroom Settings View Settings Hide Settings
The ES29AW includes adjustable display settings intended for bedrooms and other spaces where a bright thermostat screen may be distracting at night.
- Adjustable Standby Brightness: Select from eight brightness levels, including a completely dark standby screen.
- Smart Night Mode: Automatically turns the screen off during scheduled sleeping hours.
- Automatic Schedule: The screen can follow programmed sleep periods.
- Manual Night Schedule: The display can be configured to turn off between approximately 11 PM and 6 AM after inactivity.
- Heating Continues: Turning off the display does not turn off the floor heating system.
Before Installation View Requirements Hide Requirements
Installation involves line-voltage wiring and must follow the wiring diagram supplied with the thermostat and heating system.
1. Verify the Circuit
Confirm the supply voltage, breaker capacity, ground-fault protection, wiring configuration, and applicable electrical code requirements.
2. Calculate the Heating Load
Add the current draw of every connected heating cable or mat and confirm the total does not exceed 15A.
3. Install the Floor Sensor
Position the supplied sensor between adjacent heating cable runs without allowing it to touch or cross the heating cable.
4. Complete the Wiring
Connect the supply, heating load, and floor sensor according to the product wiring diagram.
5. Select the Sensor Mode
Choose floor, room, or combined control and select the correct resistance type when reusing an existing sensor.
6. Configure the Thermostat
Set the temperature units, floor limit, schedule, display brightness, and optional smart heating functions.
Electrical Installation Notes
Disconnect Power: Turn off and verify the electrical supply before installing, removing, or servicing the thermostat.
Do Not Exceed 15A: Use an appropriate relay or power module if the floor heating load exceeds the thermostat rating.
Provide GFCI Protection: This thermostat does not provide built-in ground-fault protection.
Qualified Installer: Professional installation by a licensed or qualified electrician is strongly recommended.
Read the Manual: Refer to the complete thermostat and floor heating system instructions before connecting power.

Frequently Asked Questions
Does this thermostat work with both 120V and 240V floor heating systems?
Yes. It is designed for compatible 120V and 240V electric floor heating cables and mats. The supply voltage, wiring, and heating system voltage must match.
What is the maximum heating load?
The thermostat supports a maximum resistive load of 15A. Calculate the total current of all connected heating cables or mats before installation.
Does the ES29AW include built-in GFCI protection?
No. The thermostat does not include an integrated GFCI. The electrical circuit must have ground-fault protection that meets applicable local code requirements.
Is a floor sensor included?
Yes. A dedicated external floor sensor is included and is the recommended sensor for new installations.
Can I reuse the floor sensor already installed under my floor?
Possibly. The existing sensor must match one of the supported resistance ranges: 0–10kΩ, 1–10kΩ, 2–12kΩ, or 3–15kΩ. Confirm its resistance specifications before reuse.
Can the thermostat control both room and floor temperature?
Yes. Combined sensor mode uses the internal room sensor to control heating while the external sensor limits the maximum floor temperature.
Will the floor heating stop when the screen turns off?
No. Screen-off and night modes only turn off the display. The thermostat continues controlling the heating system normally.
Can I control the thermostat without WiFi?
Yes. The touchscreen can operate the thermostat directly. WiFi is required only for Smart Life app access and compatible voice control.
Should an electrician install this thermostat?
Yes. Because the thermostat controls a line-voltage heating circuit, installation by a qualified electrician is strongly recommended.
Guides & Resources
Confirm Compatibility Before Installation
Before replacing an existing floor heating thermostat or starting a new installation, confirm the following:
- The floor heating system operates at 120V or 240V.
- The total connected heating load does not exceed 15A.
- The circuit has code-compliant ground-fault protection.
- The wall box and wiring configuration are compatible.
- The included floor sensor can be installed correctly.
- Any existing floor sensor matches a supported resistance type.
Refer to the complete product manual for wiring diagrams, app pairing, schedule programming, sensor calibration, and advanced thermostat settings.


FAQ of Compatibility
-
Is the ES29AW compatible with most electric floor heating systems?
Yes. The ES29AW is designed for electric floor warming systems and supports both 120V and 240V applications. It can work with many electric floor heating cables and mats, as long as the voltage, total load, wiring method, and floor sensor type are compatible. Before installation, please confirm your system voltage, total heating load, sensor type, and local electrical code requirements. Professional installation by a qualified electrician is recommended.
-
Can I use the ES29AW to replace my old floor heating thermostat?
Yes, in many cases the ES29AW can be used to replace an old electric floor heating thermostat. However, replacing a thermostat is not only about matching the wires. You also need to confirm whether the existing floor sensor is compatible with the new thermostat. If the original floor sensor cannot be replaced, please confirm its resistance value and select the matching sensor type in the thermostat settings.
-
Can I use your thermostat with the floor sensor from my existing thermostat?
Our first recommendation is to use the floor sensor included with the ES29AW, because it is matched to the thermostat and provides the most reliable temperature reading. If your existing sensor is already installed under the floor and cannot be removed or replaced, you must know the sensor resistance type first. Then select the corresponding sensor type in the ES29AW settings. Only when the sensor type is compatible and correctly selected should the existing sensor be used.
-
What can happen if I use the wrong floor sensor?
Using the wrong floor sensor can cause inaccurate temperature readings and unstable heating control. Different NTC sensors may have different resistance values and Beta curves. If the thermostat calculates temperature based on one sensor type while the actual sensor is different, the displayed floor temperature may be higher or lower than the real floor temperature. This may cause the system to stop heating too early, heat longer than expected, or appear inconsistent.
FAQ of Sensor & Temperature
-
What sensor types does the ES29AW support?
The ES29AW includes a matching floor sensor. The default sensor type is 10k NTC, B25/50 = 3380. The thermostat also provides sensor type settings for different compatible resistance ranges. If you are replacing an old thermostat and keeping the existing floor sensor, please confirm the sensor resistance and choose the corresponding sensor type in the thermostat settings.
-
What is the difference between the floor sensor and the room sensor?
The ES29AW has two temperature sensing sources. The external floor sensor is installed in the floor and measures the floor temperature. The internal room sensor is built inside the thermostat and measures the air temperature around the thermostat. The thermostat can work in Floor, Room, or Both sensor mode depending on your installation and control preference.
-
What is the difference between Floor, Room, and Both mode?
Floor Mode controls heating based on the external floor sensor. This is generally recommended for electric floor warming because it directly measures the floor temperature. Room Mode controls heating based on the internal air sensor inside the thermostat. It may be used when no working floor sensor is available, but it does not directly measure floor temperature. Both Mode uses room temperature for control while using the floor sensor as a floor temperature limit. This can help protect the floor from overheating.
-
Can I use Room mode if my floor sensor is not working?
Room mode can be used as an alternative control method, but it does not directly measure floor temperature. For electric floor heating, a working floor sensor is still recommended for more accurate floor comfort and better floor protection. If your floor sensor is not working, first check the wiring, sensor resistance, and sensor type setting before deciding whether replacement is needed.
-
Why does my thermostat show the wrong floor or room temperature?
Possible causes include wrong sensor type selection, an incompatible existing sensor, poor sensor wiring contact, sensor damage, incorrect sensor placement, or normal temperature difference between the floor and the room air. The ES29AW also includes Room Calibration and Floor Calibration settings. If the sensor is working but the displayed temperature has a small consistent offset, calibration can be used to fine-tune the reading. If the reading is very abnormal, check sensor type and wiring first instead of relying only on calibration.
-
Where should the floor sensor be installed?
The floor sensor should be installed inside the heated floor area and positioned between two heating cable runs. It should not touch or sit directly against the heating cable. If the sensor is too close to the heating cable, it may read a temperature that is higher than the surrounding floor. Using conduit for the floor sensor is recommended because it can make future sensor replacement easier.
-
Why does my tile floor take a long time to warm up?
This is normal in many electric floor heating systems. Tile, thin-set, cement board, and concrete have thermal mass. They take time to absorb heat before the surface feels warm. Heating speed also depends on cable spacing, wattage, floor material, room insulation, starting temperature, and whether Adaptive / Early Start is enabled.
-
Can electric floor heating be used as the main heat source?
In many residential applications, electric floor heating is mainly used as a floor warming system or secondary heat source. Its primary purpose is to make the floor feel warm and comfortable underfoot. Whether it can be the main heat source depends on room size, insulation, climate, heat loss, heating output, and installation design.
FAQ of Wiring & Safety
-
Does the ES29AW support both 120V and 240V?
Yes. The ES29AW supports both 120V and 240V electric floor heating systems. Please confirm your supply voltage before installation and follow the wiring diagram in the manual. If you are not sure whether your system is 120V or 240V, please ask a qualified electrician to check it.
-
How should a 240V system be wired?
In many North American 240V floor heating installations, there are two hot lines, L1 and L2, instead of one hot and one neutral. Wire colors can vary, and a white wire in a 240V circuit may be used as a hot conductor if properly identified. Do not rely on wire color alone. A qualified electrician should verify the circuit and connect the thermostat according to the wiring diagram.
-
What is the maximum load?
The ES29AW should be used within a maximum 15A resistive load. Do not exceed the rated current. For larger floor heating areas or multiple heating mats/cables, use separate thermostats or an appropriate relay/contactor solution designed by a qualified electrician.
-
Does the ES29AW include built-in GFCI?
No. The ES29AW does not include built-in GFCI protection. Electric floor heating systems should be installed with appropriate ground-fault protection according to local electrical code requirements. Please consult a qualified electrician.
-
Why is proper wire stripping important?
Proper wire stripping is essential for safe electrical contact. If the insulation is not stripped cleanly, the terminal may clamp onto the insulation instead of the metal conductor. This can create poor contact, higher resistance, and local overheating. Make sure the conductor is properly exposed and securely clamped before tightening the terminal.
-
Can this thermostat be used for HVAC, cooling, baseboard heaters, or wall heaters?
No. The ES29AW is designed for electric floor warming systems. It is not intended for HVAC systems, cooling systems, gas heating systems, or general wall-mounted heaters. Use it only within its specified application and load rating.
FAQ of Schedule & App
-
What app does the ES29AW use?
The ES29AW works with the Smart Life app. After connecting the thermostat to the Smart Life app, you can control temperature, schedules, advanced settings, and compatible voice control integrations.
-
Why can’t the app find my thermostat?
Please use a 2.4GHz WiFi network, not 5GHz. Make sure Bluetooth is enabled on your phone, the app has the required permissions, and the WiFi icon on the thermostat is flashing quickly. Keep the phone close to the thermostat during pairing. If the WiFi icon is not flashing, press and hold the down arrow to reset the WiFi pairing state.
-
Does it work with Alexa and Google Assistant?
Yes. After the thermostat is connected to the Smart Life app, Smart Life can be linked with Amazon Alexa or Google Assistant for voice control. Availability may depend on your smart home setup, region, and app account settings.
-
What is the difference between 5+1+1 and 7-day schedule?
5+1+1 mode means Monday to Friday share one schedule, Saturday has one schedule, and Sunday has one schedule. 7-day mode means each day can be programmed individually. If your routine is similar on weekdays, 5+1+1 is easier. If your routine changes daily, 7-day mode gives more flexibility.
-
In 7-day schedule mode, why does only Monday appear green?
In 7-day mode, each day can be set individually. It is normal for Monday to appear green when you first enter the schedule interface because it is the currently selected day. Tap Tuesday, Wednesday, or another day to view or edit that day’s schedule. Monday being green does not necessarily mean the other days are not saved.
-
Why does the thermostat start heating before the scheduled time?
This may be caused by the Adaptive function. When Adaptive is enabled, the thermostat may start heating earlier so the floor or room can reach the target temperature by the scheduled time. If you want heating to start only at the scheduled time, turn Adaptive off in advanced settings.
-
Why did my schedule shift after Daylight Saving Time?
Some devices or app settings may not automatically adjust for Daylight Saving Time in every situation. If your schedule appears one hour off, check the time zone and time settings in the Smart Life app, then review the thermostat schedule.
FAQ of Troubleshooting
-
What do E1 and E2 error codes mean?
E1 means Internal Sensor Failure. This is related to the built-in room temperature sensor inside the thermostat. E2 means External Floor Sensor Failure. This is related to the floor sensor circuit. E2 may be caused by a disconnected sensor, loose wire, poor terminal contact, damaged sensor wire, wrong sensor type setting, or an incompatible existing sensor. Turn off power and have the wiring and sensor checked by a qualified electrician.
-
What should I check if my floor does not heat?
Check the circuit breaker, ground-fault protection device, thermostat power, set temperature, operating mode, schedule, floor sensor connection, heating cable connection, and heating cable resistance. If the thermostat is powered but the floor does not heat, a qualified electrician should verify wiring, load, and cable resistance.
-
What should I check if the floor is warm all the time?
Possible causes include a high set temperature, schedule settings, Adaptive mode, incorrect sensor mode, wrong sensor type, poor sensor placement, or wiring issues. If the system appears to heat even when it should not, turn off power and have the thermostat wiring, sensor wiring, and load checked by a qualified electrician.
-
How do I test the floor sensor?
A floor sensor can be tested with a multimeter by measuring resistance across the sensor wires. A reading near 0 ohms may indicate a short circuit. OL or infinite resistance may indicate an open circuit or disconnected sensor. A normal reading depends on sensor type and temperature. If you are not familiar with electrical testing, please ask a qualified electrician.
-
How do I test the heating cable?
The heating cable resistance should be measured and compared with the product specification. A reading far outside the expected range may indicate a damaged cable or incorrect product selection. Resistance testing should be performed during installation and troubleshooting by a qualified person.


